
Knowing how to repair drywall starts with identifying the damage. Small nail holes, dents, cracks, torn paper, loose joint tape and larger openings may look like similar surface problems, but they often require different materials and repair methods.
Many drywall repairs are manageable DIY projects when the surrounding panel is dry, stable and properly attached. However, recurring cracks, water damage, sagging ceilings and hidden electrical or plumbing problems can turn a simple patch into a more serious repair that needs professional attention.
This guide explains how to assess common drywall damage, choose an appropriate repair method and prepare the surface for a smooth finish. It also covers the basic tools and materials, important safety precautions, warning signs that call for professional help and where to find detailed instructions for specific repairs.
Danger: Stop and keep clear if a ceiling is bulging or sagging with water, if water is near outlets, light fixtures, or an electrical panel, or if the water may be sewage. A water-loaded ceiling can fall, so keep people and pets out from under it. Do not touch wet electrical equipment or stand in water near it. Call a licensed electrician, and call emergency services if you see smoke, sparking, or smell burning. Treat sewage as a cleanup job for professionals, not a drywall patch.
Match the Damage to the Repair
The table sorts common damage by the first question to ask and the direction the repair usually takes. The directions follow the way manufacturer repair instructions treat each type of damage.
| What You See | First Question | Usual Repair Direction |
|---|---|---|
| Dent or shallow scrape | Is the surface dry and the gypsum intact? | Sand, fill with compound, then sand and prime |
| Small hole or hairline crack | Is the area clean, dry, and firm around the edges? | Fill with compound, adding a second coat if needed |
| Medium hole | Is there firm board around it to hold a patch? | Crisscross paper tape strips over the opening and embed them in compound |
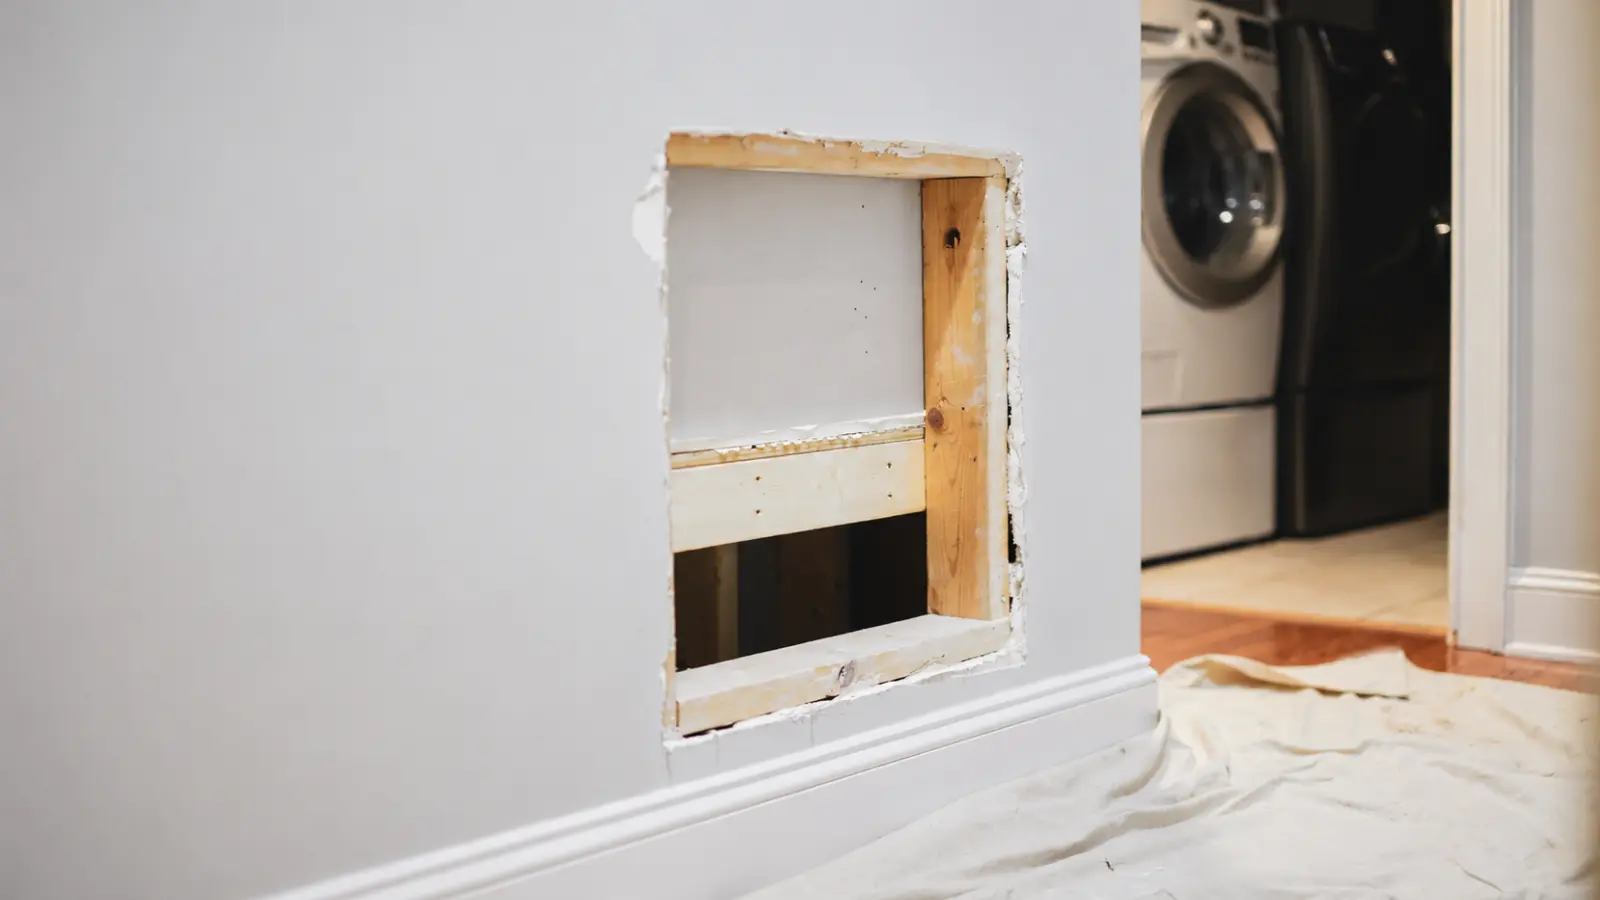
| Large hole or missing board | Is there framing or backing available to support a patch? | Back it and add a replacement piece, then tape and finish |
| Crack or lifted tape | Is it stable, or still moving? | Cut out loose material, embed tape, and rebuild after checking the cause |
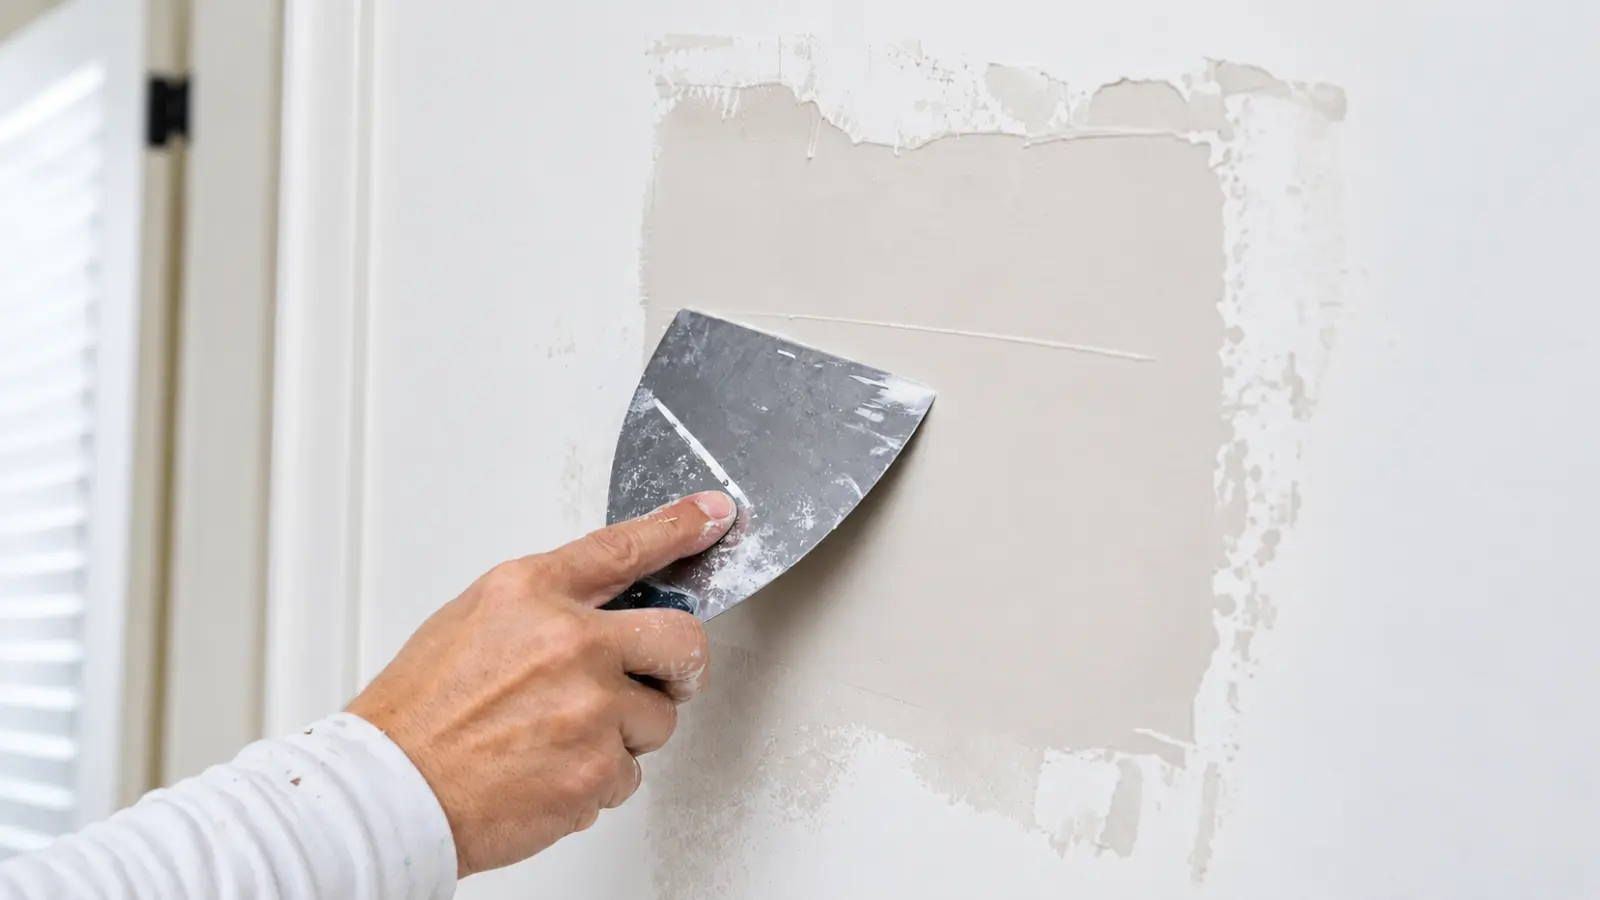
| Torn face paper | Is the board underneath firm and dry? | Skim with compound, feather the edges, then prime |
| Popped fastener | Is the panel still firmly attached to the framing? | Re-secure the panel, then cover the dimples with compound |
| Stain, soft spot, swelling, or sag | Has water reached the board, and has the source stopped? | Fix the moisture first, then judge the board |
One repair can cross categories. A doorknob hole, for example, may have crushed gypsum at the center and torn paper at the rim. Handle the missing or weak material first, then finish the surface once the patch is solid.
Fix the Cause Before the Finish
Water Damage
Stop the leak first. EPA guidance says to dry water-damaged materials within 24 to 48 hours to limit mold growth, and that the moisture source must be fixed so mold does not return. Mold areas smaller than about 10 square feet are generally treated as small jobs, while larger areas, materials wet for more than 48 hours, or visibly damaged materials call for more caution.
A dry-looking stain does not prove that the wall cavity is dry or that the leak is gone. Painting over a stain only hides the evidence. Do not judge what kind of mold you have by its color or appearance.
Cracks and Ridged Seams
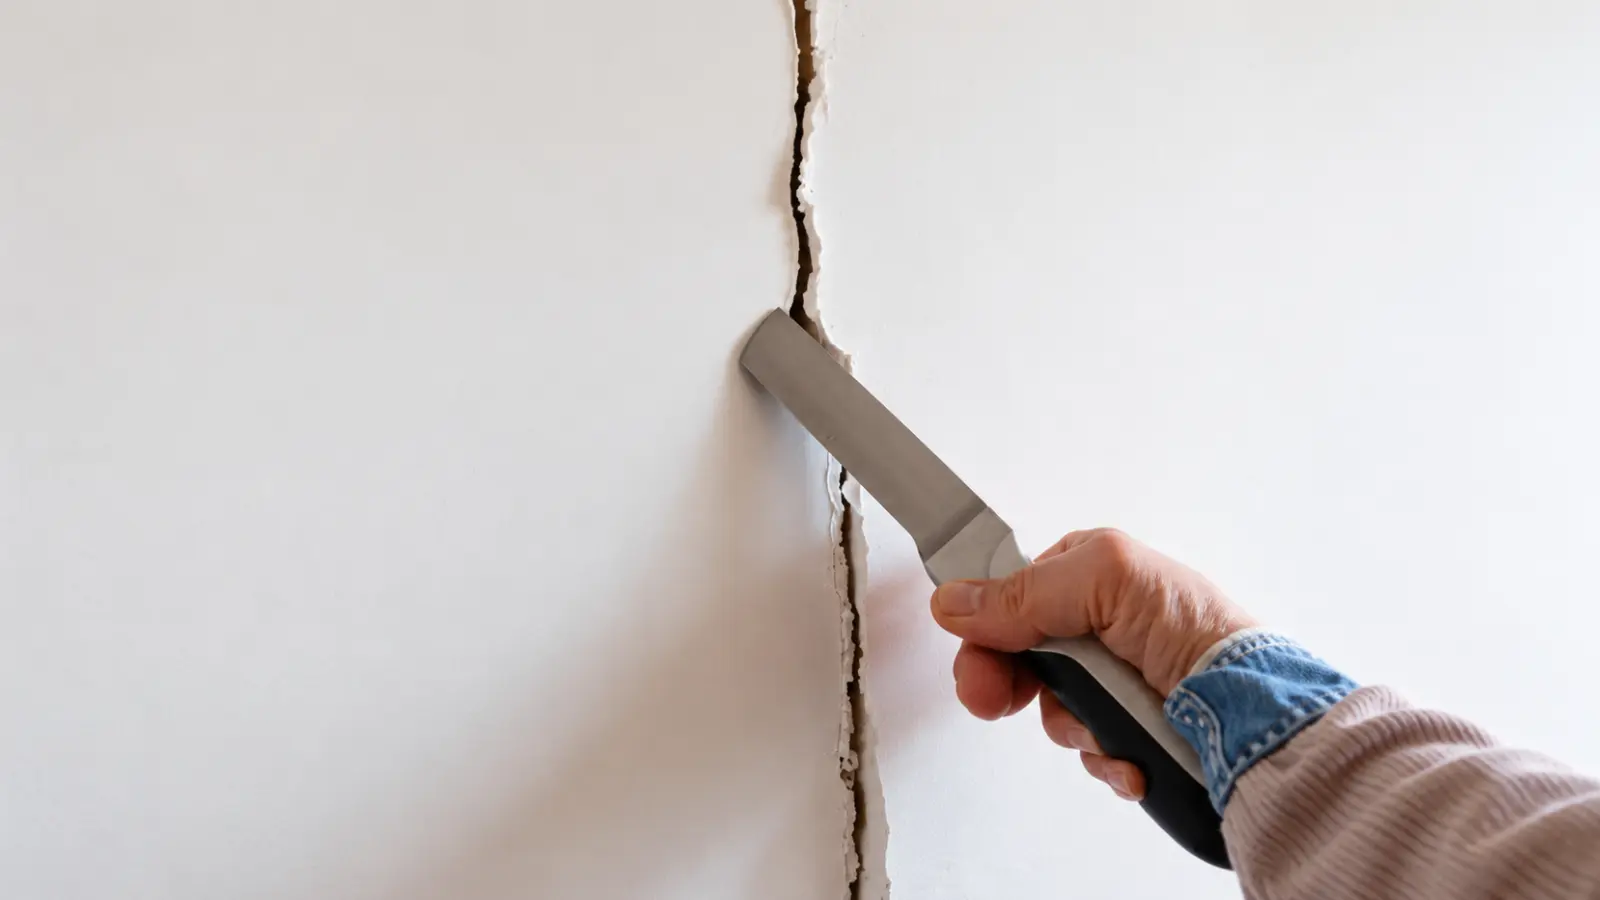
Cracked or ridged joints are often tied to movement. The Gypsum Association links joint cracking and ridging to swings in temperature and humidity, and misaligned framing can contribute. Cracking means panels have pulled apart at the joint, and ridging means they have been pushed together. For a new structure, the association recommends waiting through at least one full heating and cooling cycle before repairing ridges.
A crack that keeps returning, widens, or shows up with other changes in the house, such as sticking doors, should not be treated as cosmetic without a closer look.
Older Homes: Lead and Asbestos Before You Cut or Sand
Warning: In an older home, paint and joint compound can be hazardous to disturb. Do not assume either is safe, and do not judge by appearance. Test or get professional advice before sanding, scraping, or cutting.
Lead paint. The EPA says repair work that disturbs lead-based paint in a pre-1978 home can create dangerous lead dust. It recommends testing by a certified lead inspector or risk assessor, and hiring a lead-safe certified contractor. If you do not know the home’s age, the EPA advises assuming the paint contains lead.
Asbestos. The Consumer Product Safety Commission says asbestos may be present in textured paint and in patching compounds used on wall and ceiling joints, and banned those products in 1977. Material in good condition is usually not a hazard, but scraping or sanding can release fibers. The CPSC says that if you plan changes that might disturb suspect material, repair or removal by a professional is needed.
How a Drywall Repair Goes Together
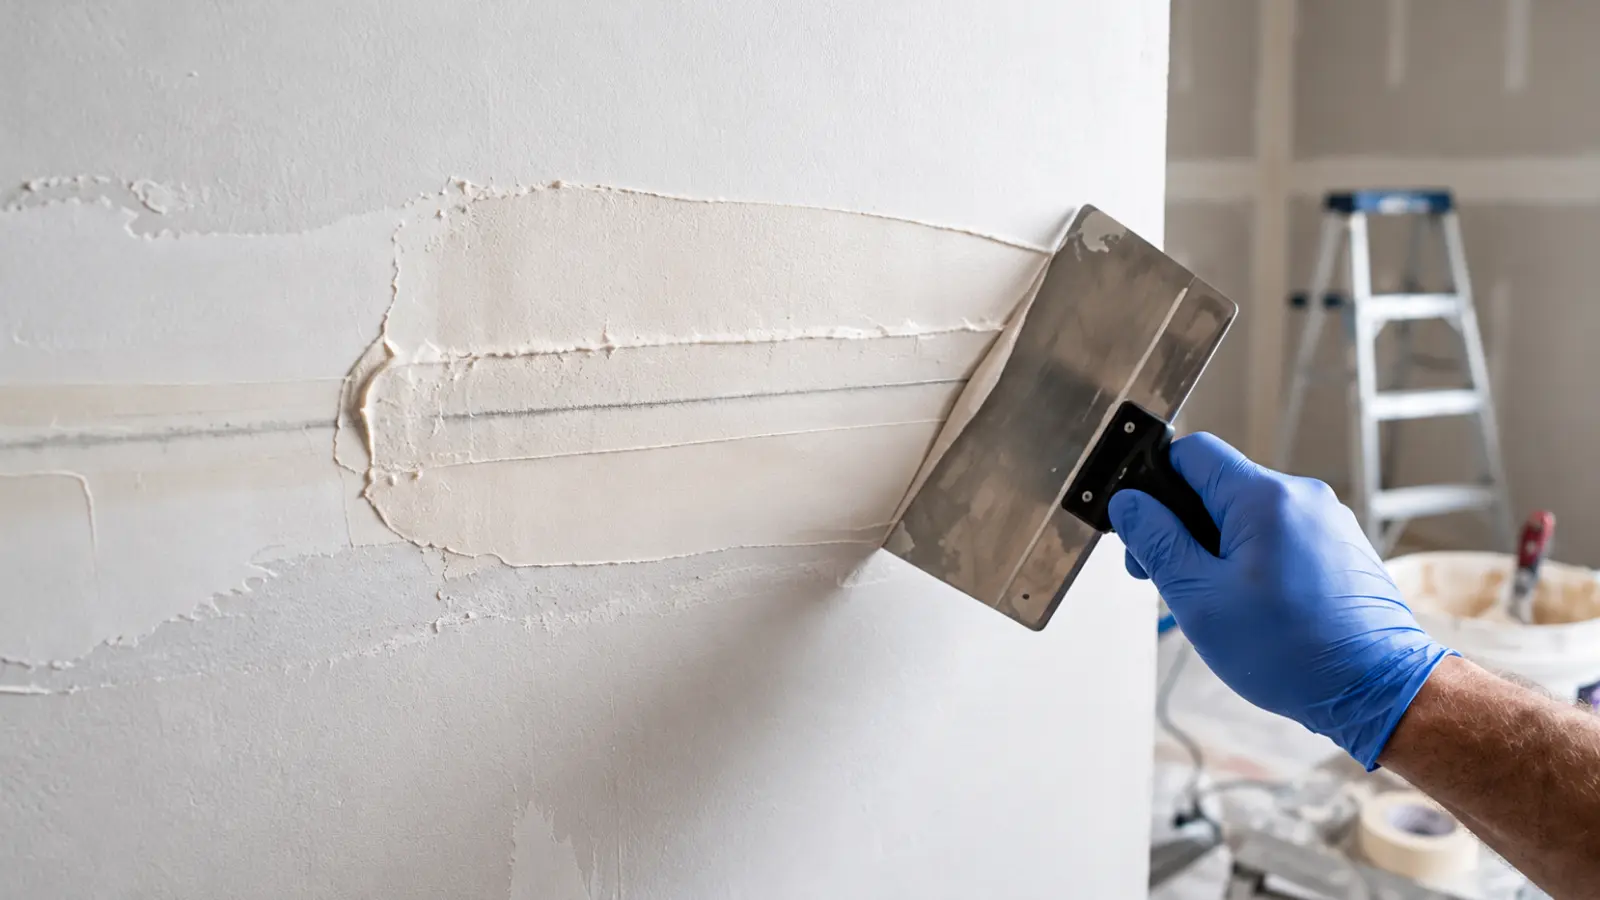
Most repairs follow the same sequence, even when the patch method differs.
- Stabilize. Stop water, remove loose material, and decide whether the remaining board is sound enough to keep.
- Check before you cut. Do not assume what is behind the wall. Wires, pipes, and vents can sit in places you do not expect, especially in remodeled homes. If the damage is near an outlet, switch, plumbing fixture, or an unknown utility path, stop and get the circuit or line identified first.
- Prepare a clean, dry boundary. Manufacturer instructions call for applying compound over dry, clean surfaces, with loose paint and dust removed.
- Restore support or missing material. A hole that has lost board needs a patch method that suits its size and the backing available.
- Build the finish in thin coats. Let each coat dry before the next, and feather the edges outward. Check the compound label for minimum working temperatures, which are product-specific. One USG patching compound calls for at least 55°F, while a USG setting-type repair kit lists 45°F.
- Sand, prime, and paint. USG’s kit instructions suggest sanding with a damp sponge to cut dust. The surface should be dry, dust-free, and not glossy before primer goes on.
Dry to the touch is not the same as ready for the next coat or for sanding. Follow the compound, primer, and paint labels for drying and recoat times.
Choose the Right Repair Guide
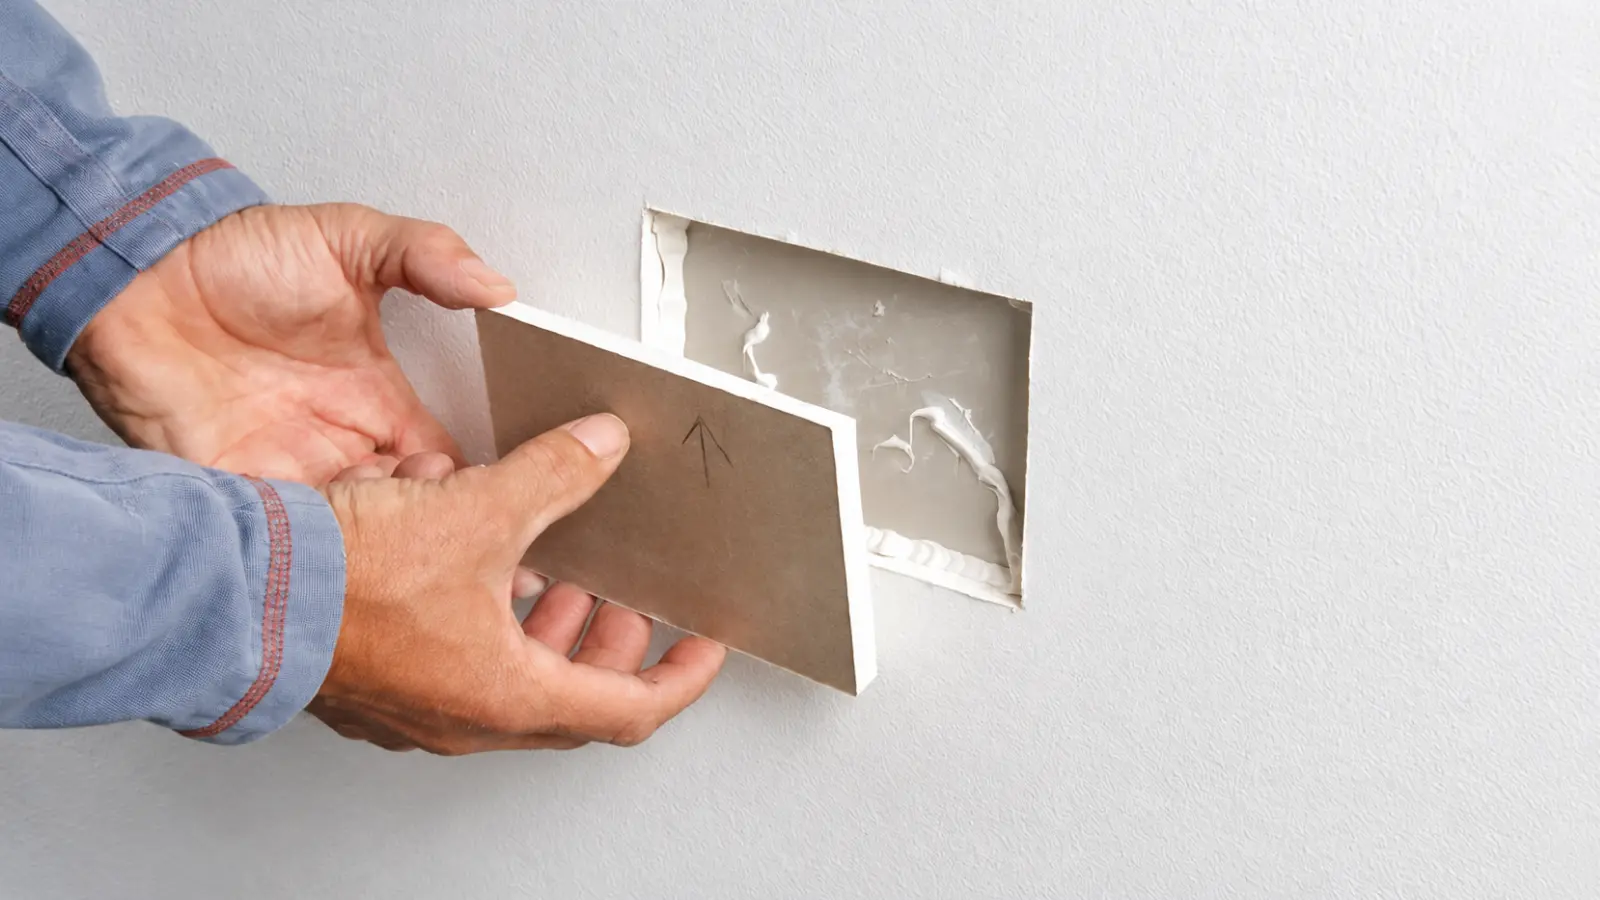
This hub points you to the right job. The step-by-step methods are in the dedicated guides below, and a smaller, more precise repair is usually better than turning a simple defect into a big opening.
Small Holes, Dents, and Nail Holes
Use the small drywall hole repair guide when the damage is contained and the board around it is firm. The decision turns on the condition of the gypsum and paper, not only the size of the mark.
Large Holes and Missing Drywall
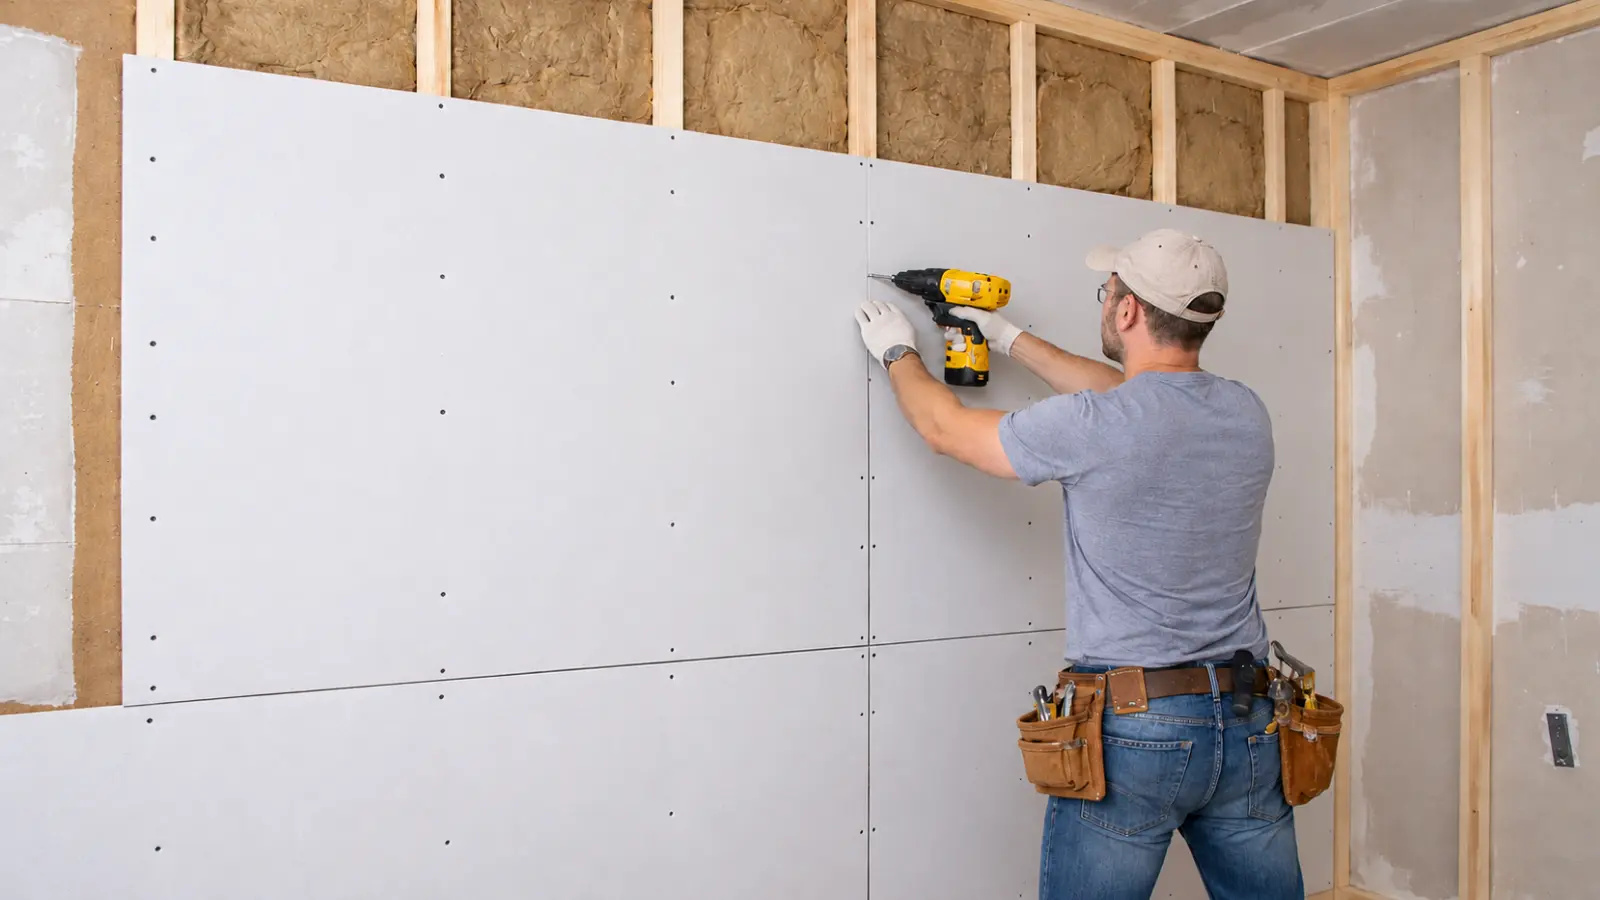
When a hole removes a meaningful part of the panel, the repair needs backing and a replacement piece so the surface is solid before finishing. The large drywall hole repair guide covers that patching decision. If you replace a section, match the existing thickness and panel type. See the drywall sizes and thickness guide and the types of drywall guide.
Cracks, Joint Lines, and Loose Tape
Once the cause is understood and the area is stable, use the drywall crack repair guide. Embedding paper tape in compound is the standard way to bridge a crack.
Torn Paper, Scuffs, and Scraped Surfaces
Remove only what is loose, then skim the area with compound and feather it out before priming. If the board underneath is soft, swollen, or crumbling, move to a replacement decision instead.
Popped Fasteners
A popped fastener means the panel has pulled away from the framing. The Gypsum Association says pops usually come from lumber shrinkage in newer framing, and overly long fasteners can contribute. Re-securing the panel to the framing is essential, and covering the bump with compound alone will not hold. Pops that appear a month or more into the heating season are best repaired at the end of the season.
Fire-Rated Walls and Ceilings
Warning: If the wall or ceiling is part of a fire-rated assembly, such as a garage separation, do not repair it with a generic patch. The Gypsum Association says damaged fire-rated systems must be restored to their original fire-resistive condition. That means following the original framing and fastener spacing, mechanically securing the patch, and finishing joints as the original design requires.
If you cannot tell whether a wall is rated, you usually cannot tell by looking at it. Ask your local building department or check project documents before you repair it.
Tools and Materials at a Glance
The kit changes with the repair, so build it from the job.
- Required for almost any repair: a knife or scraper to remove loose material, joint or patching compound, a flexible finishing knife, sanding supplies, primer, and matching paint
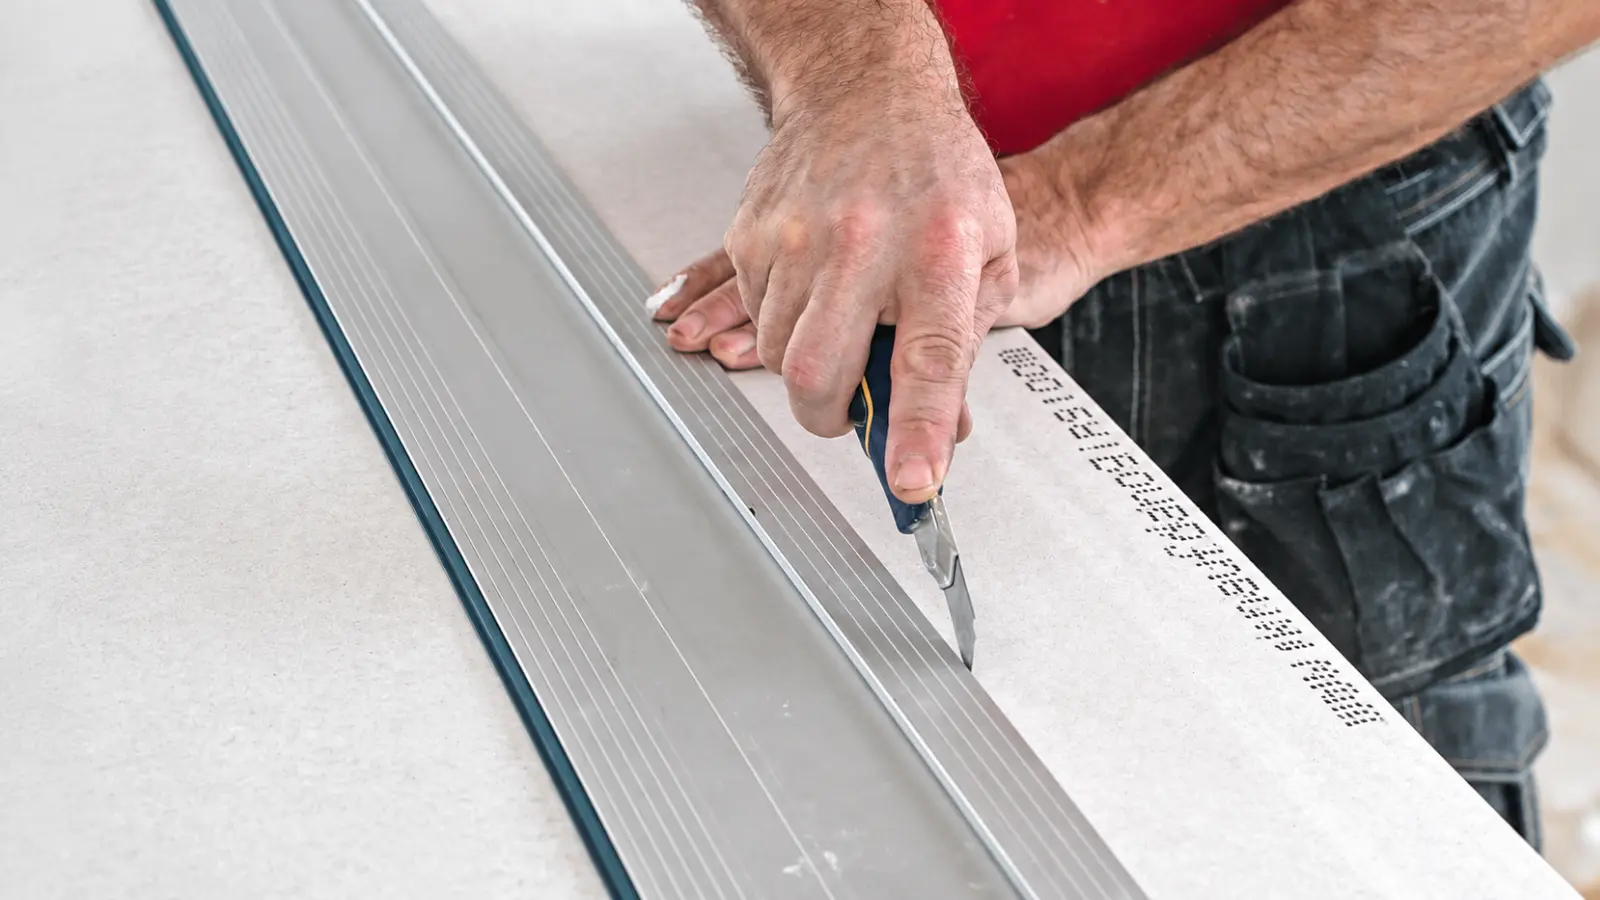
- Only when the repair needs it: paper joint tape, backing or a replacement panel, a hand saw or utility knife for cutting, and fasteners
- Protection: eye protection when cutting or sanding, a way to control dust, and drop cloths for nearby surfaces
Do not pick a material only because it is labeled for drywall. The repair method, panel type, location, and existing coating decide whether it is compatible, and the manufacturer’s instructions come first.
When to Stop and Call a Professional
Drywall is often repairable, but what is behind it is not always cosmetic. Stop the normal repair path and bring in the right help when any of these apply:
- Electrical: water near electrical equipment, or an opening near an outlet, switch, or fixture, needs a licensed electrician
- Water or mold: an active leak, damp board, mold odor, mold over about 10 square feet, materials wet more than 48 hours, or any sewage or contaminated water
- Ceiling: a ceiling that sags, bows, or appears to carry water
- Movement: a crack that widens or returns quickly, with other signs of movement in the house
- Older materials: pre-1978 paint or suspect compound or texture that will be sanded, cut, or scraped
- Fire rating: a possibly rated wall or ceiling where the original assembly is unknown
These are signs, not proof of one hidden cause. They tell you to narrow, inspect, or escalate before a cosmetic patch covers the evidence.
How to Repair Drywall Successfully Starts With the Right Diagnosis
The best drywall repair is one that addresses the actual damage without creating unnecessary work. Small surface defects may need only filling and finishing, while larger holes, failed joints and loose fasteners require different methods. Moisture, recurring movement and damaged materials must be evaluated before the surface is patched or painted.
Before starting, make sure the surrounding drywall is sound, identify anything that could make the work unsafe and choose materials suited to the repair. When the problem is straightforward, follow the appropriate step-by-step guide. When the damage involves water, electrical hazards, structural movement or a fire-rated assembly, get qualified help before covering the evidence.
Frequently Asked Questions
How do you repair damaged drywall?
Start by identifying the damage and checking that the surrounding drywall is dry and stable. Small holes and dents can often be filled with joint compound, while larger openings need a supported patch. Cracks may require joint tape, and popped fasteners need to be secured. Finish with sanding, primer and paint.
When should drywall be replaced instead of repaired?
Drywall should generally be replaced when it is severely water-damaged, swollen, crumbling, mold-contaminated or too weak to support a lasting repair. Small holes, dents and stable cracks can usually be patched if the surrounding board remains sound. Always correct the underlying cause before replacing damaged sections.
Can you repair drywall cracks without replacing the panel?
Yes. Many stable drywall cracks can be repaired by removing loose material, embedding joint tape in compound and applying additional thin coats. However, cracks that repeatedly return, widen or appear alongside other signs of building movement should be investigated before cosmetic repairs begin.
Do you need drywall tape to repair a hole?
Not always. Small nail holes and shallow dents can often be filled with patching compound alone. Medium openings may need reinforcing tape, while larger holes typically require backing or a replacement drywall piece with taped joints. The correct method depends on the opening and the condition of the surrounding board.
Can water-damaged drywall be repaired?
Sometimes, if the moisture source has been corrected and the drywall is completely dry, structurally sound and free of mold. Soft, swollen, extensively damaged or mold-contaminated sections often require replacement. A dry-looking stain does not confirm that hidden moisture has been eliminated, so investigate before patching or painting.
Can you repair drywall without painting the entire wall?
Yes, localized repairs can often be primed and painted without repainting the entire wall. However, the finish may remain visible if the paint color, sheen or texture differs from the surrounding surface. Feathering the repair, applying primer and matching the existing finish improve the result.