
Learning how to repair drywall cracks starts with understanding why they appeared. Some cracks develop from normal seasonal movement or minor joint problems, while others may be related to moisture, shifting framing, or damage that requires more than a cosmetic repair.
Small, stable cracks in dry, firmly attached drywall can often be repaired with joint compound, tape when needed, and careful finishing. However, recurring cracks, widening gaps, sagging ceilings, or signs of water damage should be investigated before anything is patched. Repairing the surface without addressing an active problem can allow the same crack to return.
This guide explains how to repair drywall cracks step by step, from assessing the damage and checking for movement to preparing the surface, applying joint compound, sanding, priming, and painting. You’ll also learn what different crack patterns may indicate, how to recognize warning signs, and when professional evaluation is the safer choice.
How to Read a Drywall Crack Before You Touch It
The look of a crack cannot diagnose a building condition, but it can tell you whether a finish repair is a sensible next step or whether you should pause. Take a dated photo before you do anything, because it becomes your record of whether the crack changes.
| What You See | What It May Mean | First Move |
|---|---|---|
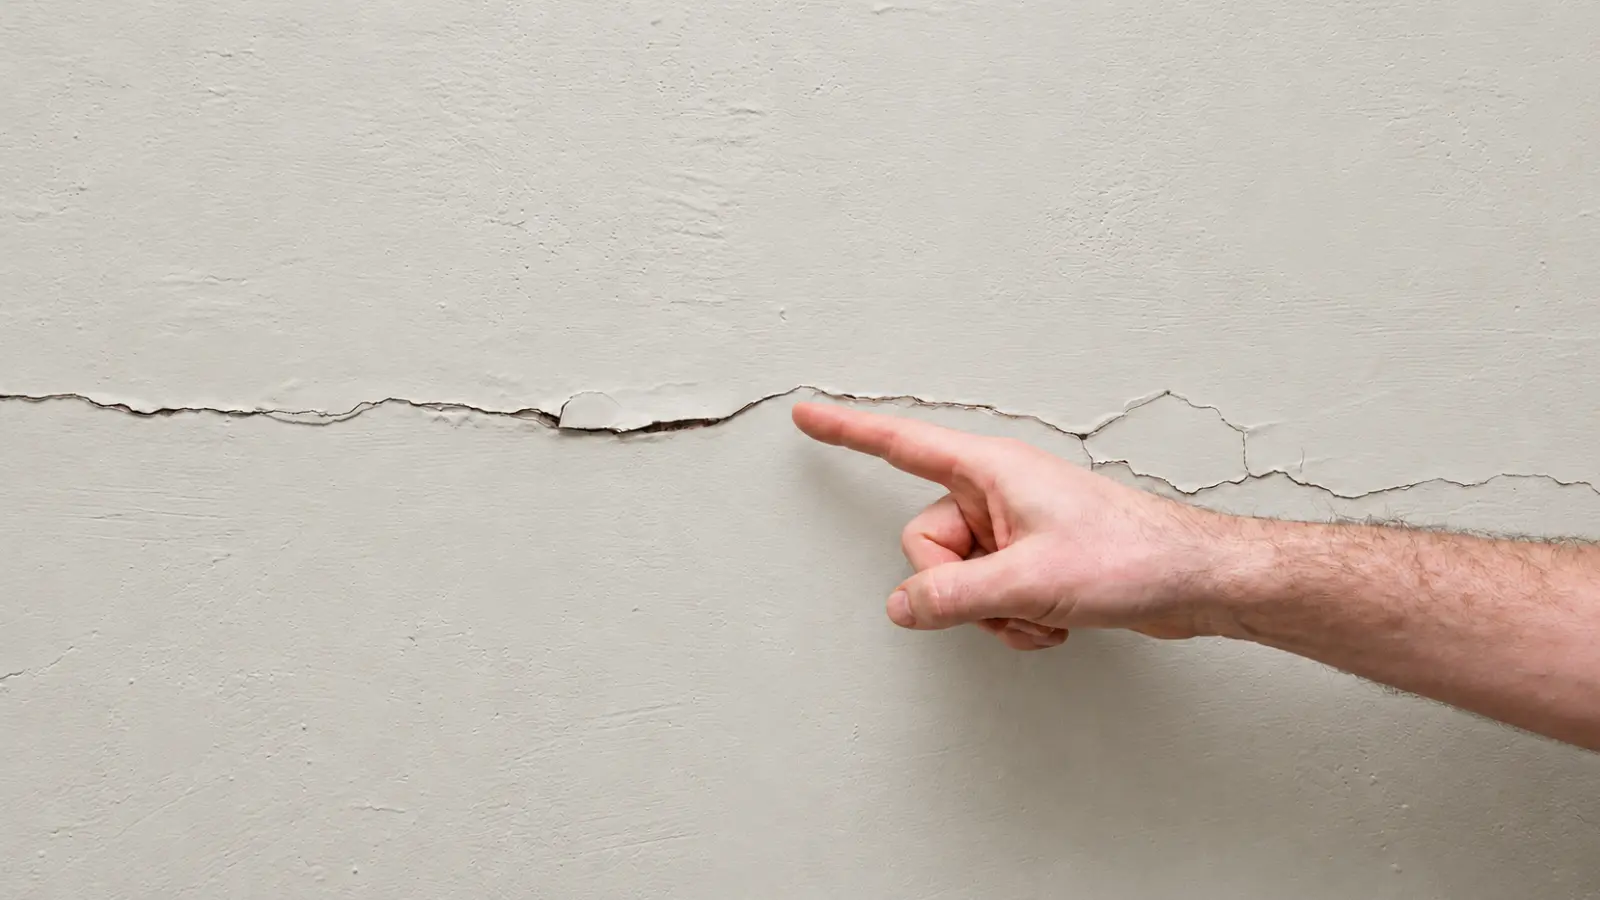
| A fine, dry line in a firm wall surface | A finish crack, possibly seasonal | Photograph and mark it, then watch it before repairing |
| A straight line along a seam, or tape that is lifting or bubbling | The joint has lost its bond or has moved | Remove loose material and reinforce the joint instead of only filling the line |
| A crack in an inside corner or along the wall-ceiling line | Movement at a transition between surfaces | Check your marks over time and repair only if it holds steady |
| A diagonal crack running from a door or window corner | Movement around an opening | Watch for widening or sticking doors and windows; investigate if either appears |
| A bump, ring, or small crack around a screw or nail head | A fastener pop, which is a different repair | Re-secure the fastener before finishing over it |
| Staining, softness, swelling, peeling paint, or a musty smell | Moisture in or behind the drywall | Find and stop the water first; skip the cosmetic repair until then |
| A ceiling crack with sagging, bulging, or loose pieces | A ceiling that may be failing | Stay clear and follow the warning at the top of this page |
How to Tell Whether a Crack Is Still Moving
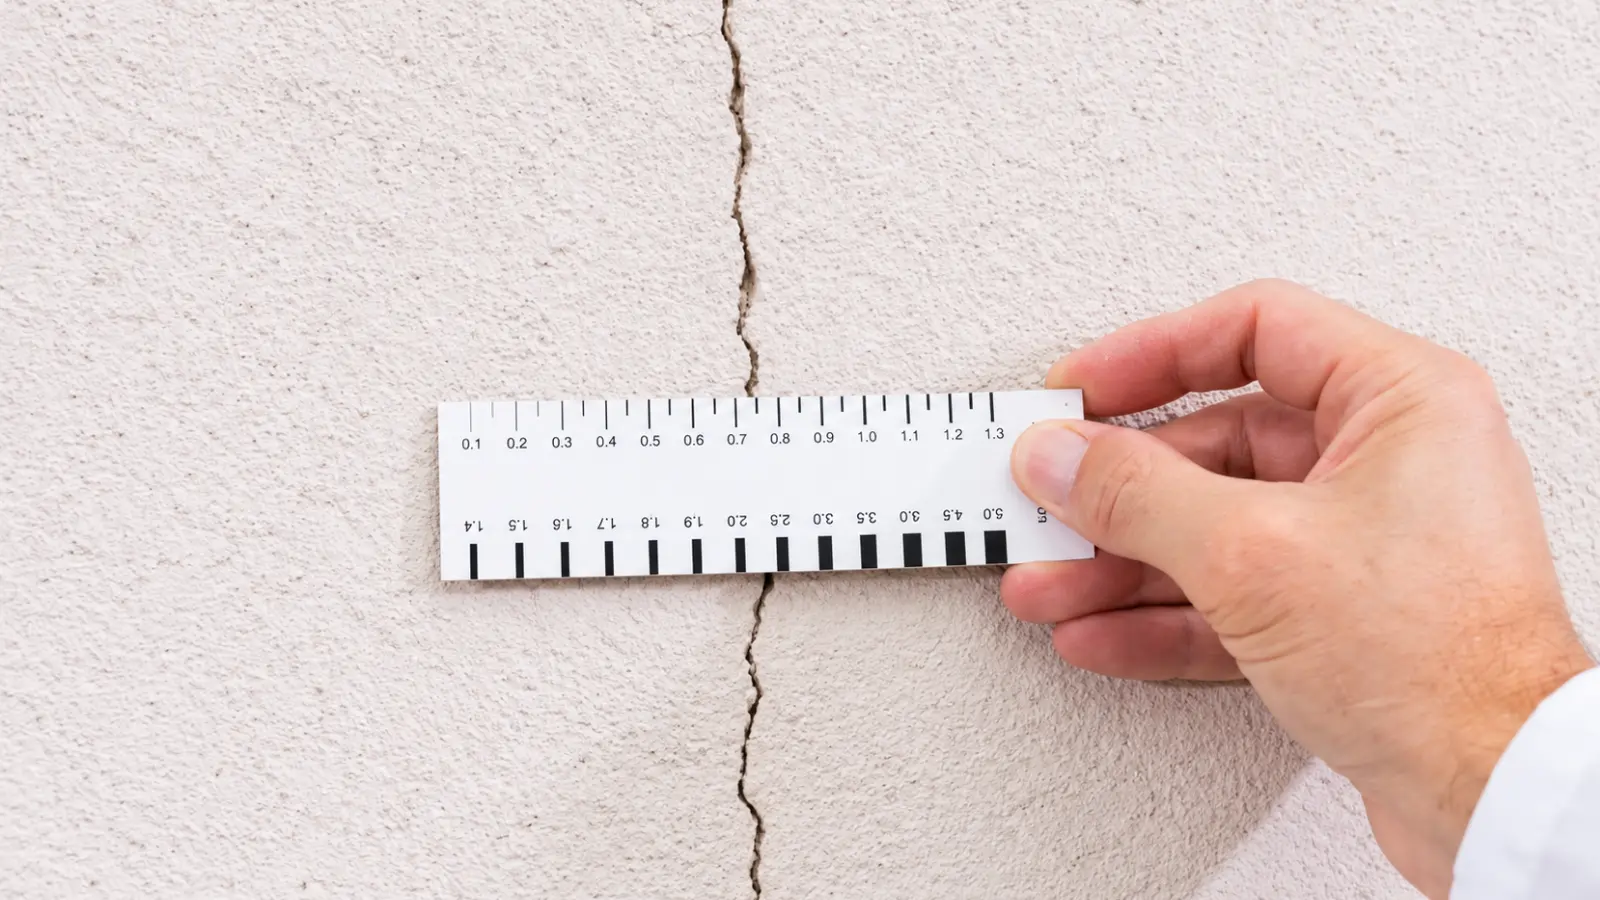
One look cannot show whether a crack is active, but a simple record can. This takes a few minutes and costs nothing.
- Photograph the crack with a tape measure or ruler beside it, in the same light each time.
- Mark each end of the crack with a short pencil line and write the date next to it.
- Check it again every few weeks, and once more after the weather or your heating and cooling pattern changes.
If the crack grows past your marks, widens, or reopens after a repair, treat it as active. If it holds steady through a change of season, a cosmetic repair becomes much more reasonable. Some cracks open and close with the seasons, so a crack that looks settled in one season can return in another. The record shows whether the crack is changing, not why.
Why Drywall Cracks Open and Why Some Come Back
Drywall joints are a rigid finish over wood framing that moves. Gypsum Association guidance, summarized by PABCO Gypsum, says joint cracking occurs when movement pulls adjacent panels apart, and it lists framing, workmanship, building or structural movement, and large swings in temperature as contributors. The clues below help narrow the likely cause, though none of them proves it.
- Seasonal humidity and temperature change: the crack follows a seam or corner, opens and partly closes over the year, and the wall is otherwise dry and firm.
- Joint workmanship: tape is lifting or bubbling, and the crack has followed the same seam since early in the life of the wall.
- Moisture: staining, softness, bubbling or peeling paint, or a musty smell appears with the crack.
- Building movement: the crack is wide or changing, runs diagonally from an opening, or appears with sticking doors and windows.
This is why filling a recurring crack often fails. Compound adds a rigid patch over a joint that may still be moving or wet, so the same line reappears. For joint cracking in new construction, Gypsum Association guidance recommends waiting until seasonal changes moderate, typically a full heating and cooling cycle, before repairing. That advice addresses new construction, but the practical lesson is useful in any house: a repair made at the wrong point in a seasonal cycle may simply reopen.
Before You Start: Dust, Old Finishes, and Tools
Two things come before the first scrape: what the surface may contain, and how much dust you are about to create.
Older Homes: Lead and Asbestos
Lead. Homes built before 1978 are more likely to have lead-based paint, and sanding, cutting, or scraping painted surfaces can create hazardous lead dust. The EPA recommends that owners of pre-1978 homes hire a lead-safe certified contractor for renovation work, and says that if you do it yourself you should use lead-safe work practices.
Asbestos. In older homes, patching and joint compounds and textured coatings are among the products that may contain asbestos, and you cannot identify it by looking. The Consumer Product Safety Commission warns that sanding or scraping such materials can release fibers. If an older wall or ceiling may be disturbed, have it tested or evaluated by a qualified professional before you sand or scrape.
Even in a newer home, drywall dust irritates eyes and lungs, so wear a dust mask and safety glasses. USG’s finishing guide says to sand only when necessary, to use dust collection with a HEPA filter if you power sand, and to consider wet sanding with a sponge when only light sanding is needed.
Required: a utility knife or putty knife; a 5-inch finishing knife; joint compound; joint tape if the crack is wider than 1/8 inch or follows an opened seam; fine-grit sandpaper or a sanding sponge; a damp sponge or cloth; drywall primer; paint that matches the existing sheen; a dust mask and safety glasses.
Optional: setting-type compound for deeper cracks or faster turnaround; a wet-sanding sponge; a HEPA vacuum; a flashlight for checking flatness.
Tip: Ceiling Work
Use a stable stepladder, keep your weight centered, and do not overreach. If the area you need to reach is beyond a stepladder, or the ceiling surface feels loose, leave it to a professional.
How to Repair a Stable Drywall Crack
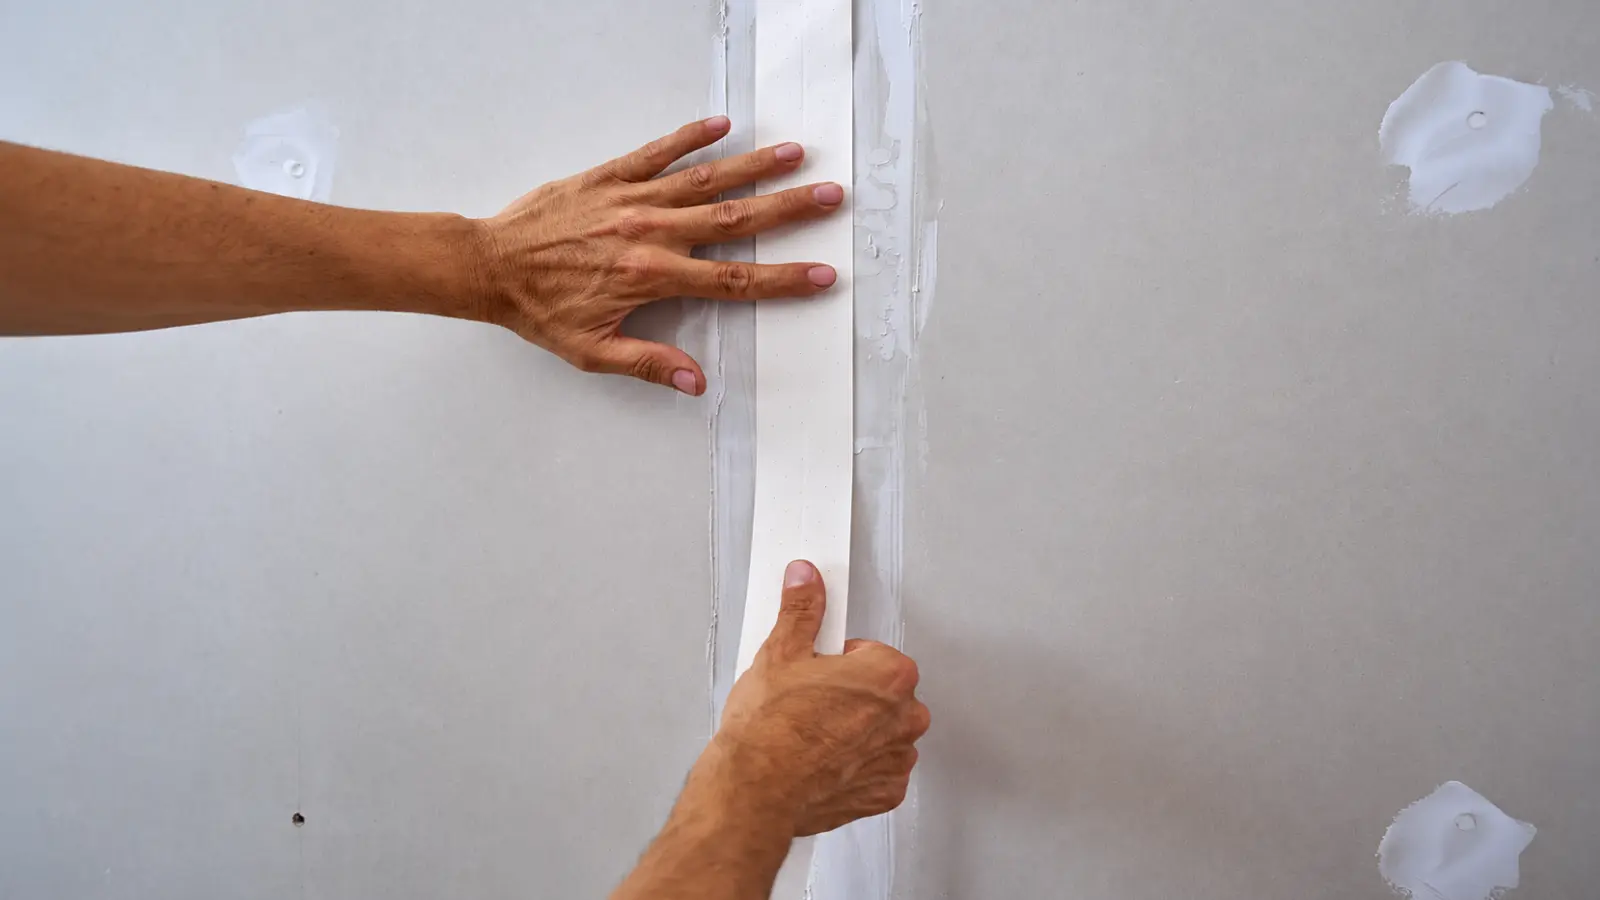
This method is for a dry, stable crack in an interior wall or ceiling surface that shows none of the warning signs above. Product instructions control the details, because compounds and tapes differ in drying, hardening, and recoating. The steps below follow USG’s published crack-repair method.
1. Confirm the Crack Is Stable and the Wall Is Dry and Firm
Check your pencil marks and photos first. Then press gently on both sides of the crack. The surface should feel firm and dry. If the drywall is soft, crumbly, or swollen, or the area is stained or smells musty, stop and go to the investigation section below. A repair over wet or damaged board will not last.
2. Remove Loose Material
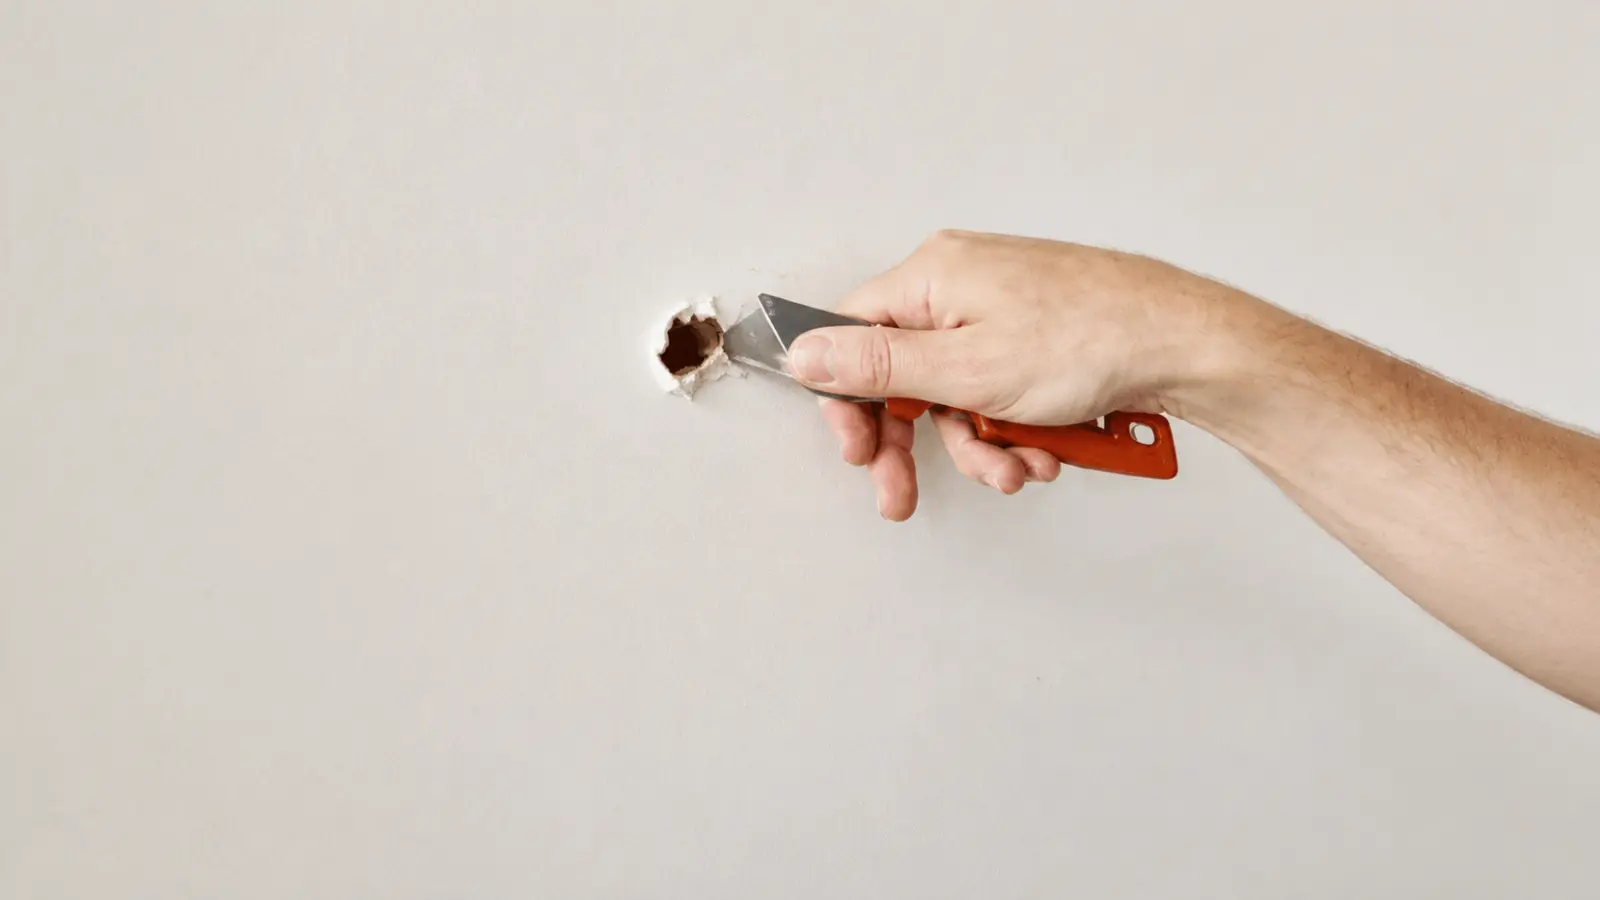
Run a knife lightly along the crack to remove loose compound, lifted tape, and flaking paint, then wipe away the dust. Do not dig out sound drywall or widen the crack, because a bigger groove only needs more compound. You have the right result when the edges feel firm and nothing crumbles as you touch it.
3. Choose Fill or Tape
For a small crack, USG’s method is to fill it with joint compound using a putty knife, let it harden, and add a second coat if needed. For a crack wider than 1/8 inch, it embeds joint tape in compound to bridge the crack, presses the tape firmly with a knife, lets it harden, then coats over it. If the crack follows a seam and the original tape has lifted, cut away the loose tape and re-tape the joint, because a surface skim alone does not restore a failed seam. The tape should lie flat with no air bubbles, and there should be enough compound under it to keep it from blistering.
4. Build the Finish in Thin Coats
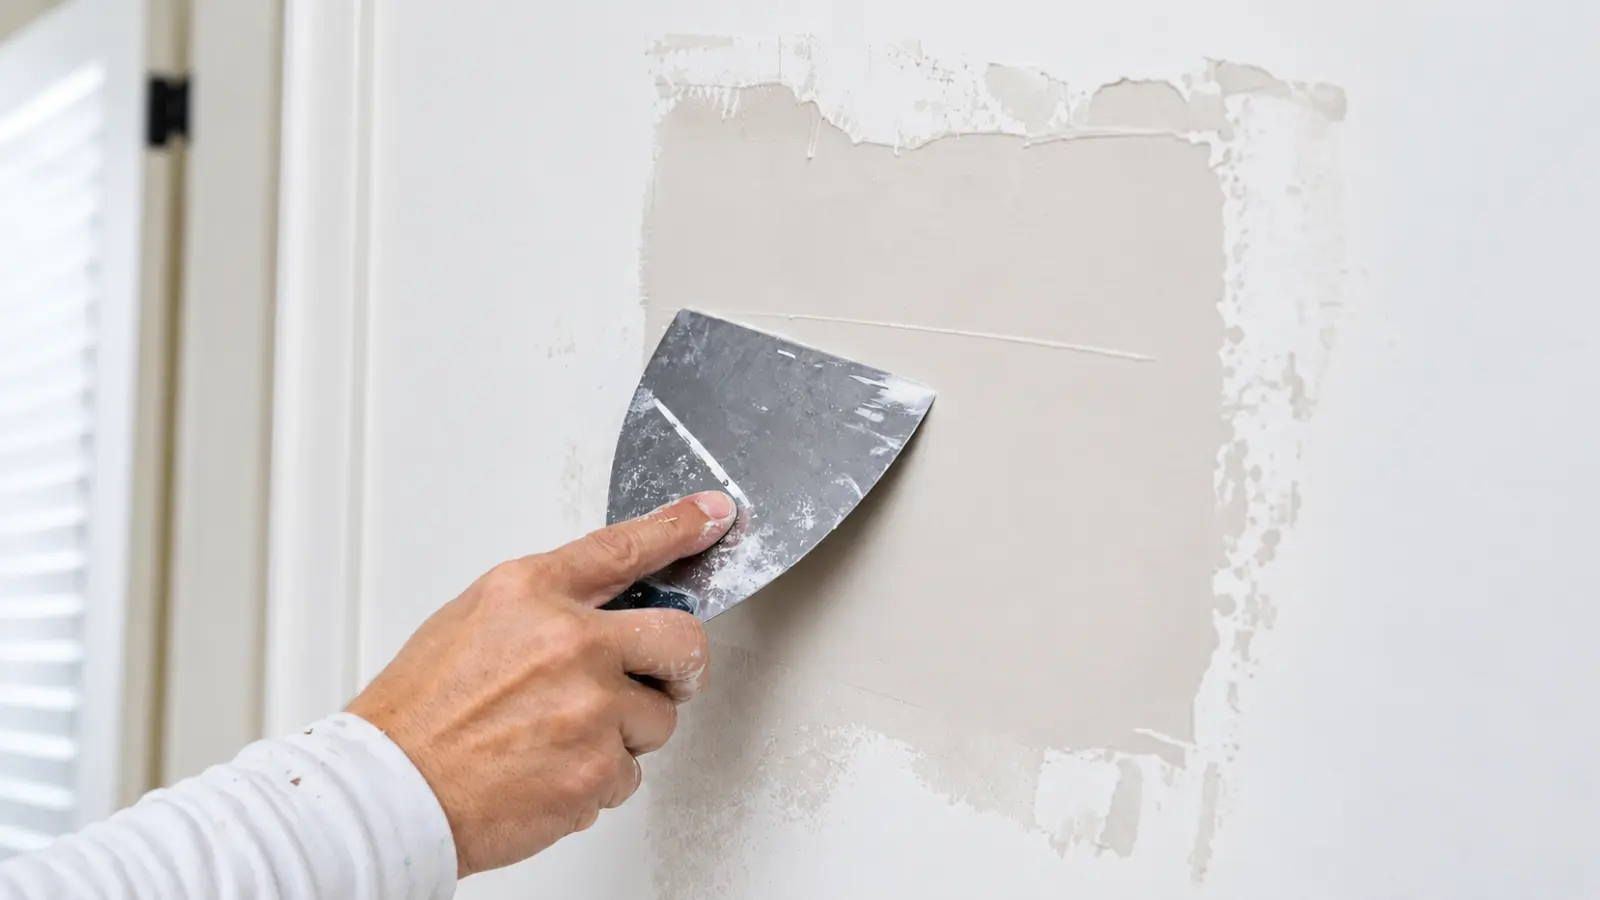
Use thin coats and extend each one slightly past the edge of the last, so the repair blends into the wall. Ready-mixed compound dries by evaporation, and USG’s guide allows overnight between coats while noting that drying time varies with temperature, humidity, and conditions. Setting-type compound hardens by a chemical reaction on a timer printed on the bag, so follow its label. A coat is ready for the next when it is uniform in color with no dark, damp patches. One thick application takes longer to dry and is harder to blend.
5. Sand Only as Much as Needed
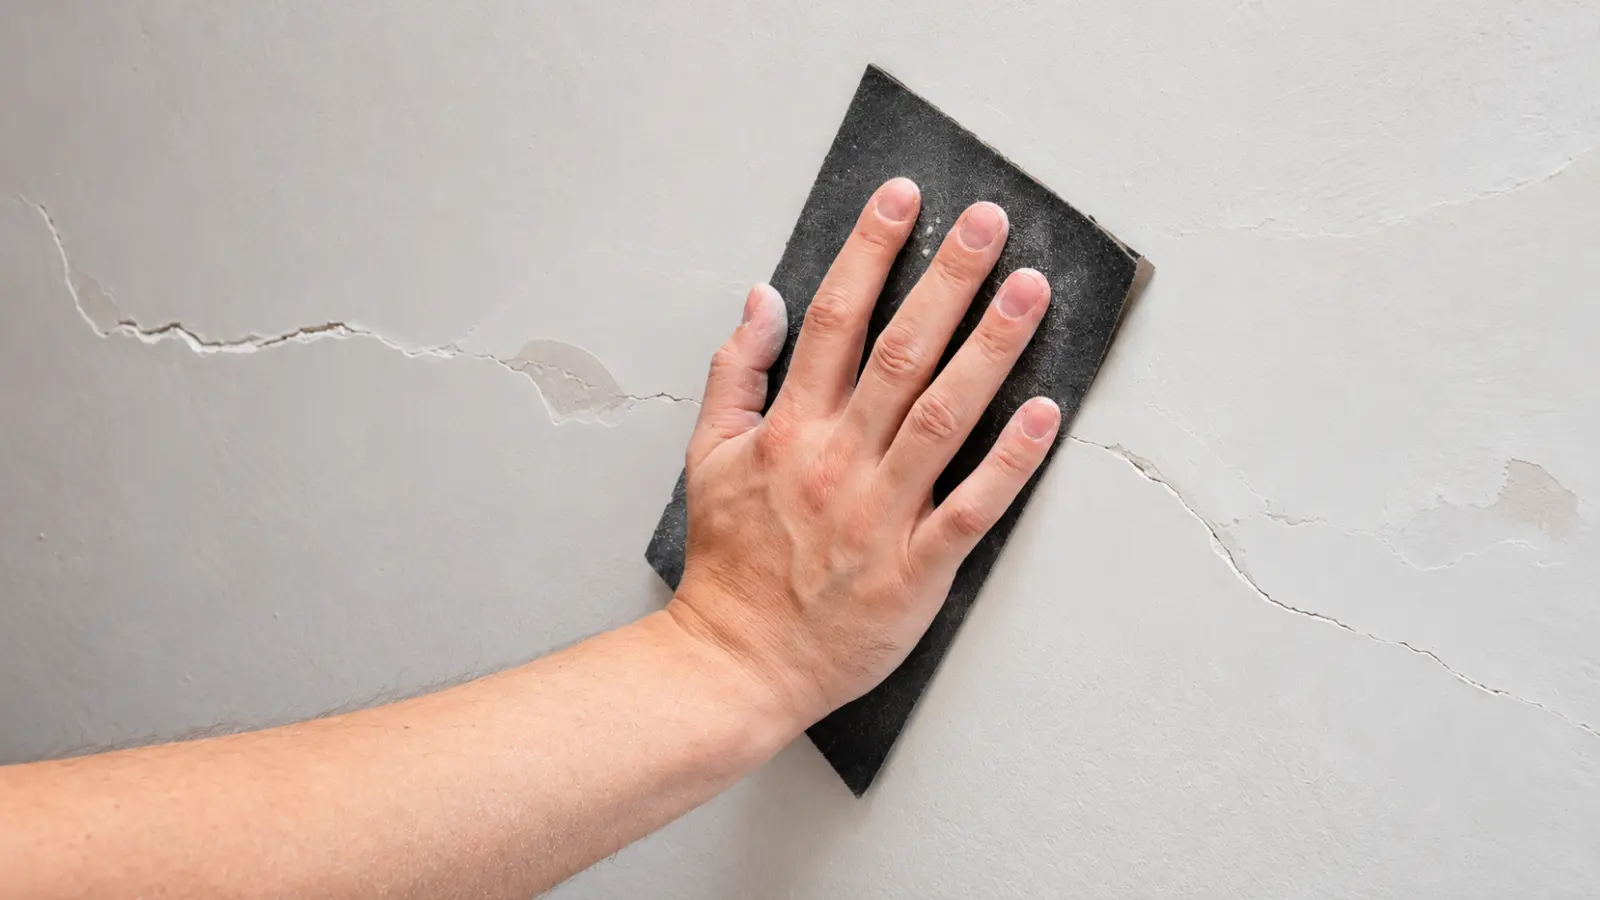
Once the compound is fully dry or hardened, sand lightly to remove ridges and soften the edge. Avoid scuffing the surrounding paper. To check flatness, hold a flashlight flat against the wall and look across the repair. Shadows or ridges mean it needs a little more feathering. Run a damp sponge over the area to remove dust before priming.
6. Prime, Then Paint
Fresh compound absorbs differently than painted drywall, and USG notes that a drywall primer equalizes those differences. Without it, the repair can show through the paint as a dull or shiny patch. Let the primer dry according to its label, then paint with the same sheen as the surrounding wall. “Dry to the touch” is not the same as ready to recoat, so follow the primer and paint labels for recoat times. If the wall has a texture, matching it is a separate step with its own guide.
When to Investigate or Call a Pro
Pause the DIY repair when any of the situations below applies. These signs do not prove one specific cause, but they mean the cause now matters more than the finish.
| If You Find | Start With |
|---|---|
| Staining, dripping, swelling, or soft drywall | Finding the water source. A ceiling stain does not always mean a roof leak; plumbing, roofing, or HVAC condensation can each be the cause, so call the trade that matches the source. Drywall that stayed wet may need replacing, not patching. |
| Mold-like growth or a persistent musty smell | Fixing the moisture, which the EPA calls the key to mold control. Do not try to identify mold by color. If the area is large or you cannot find the source, get a professional assessment. |
| A sagging or bulging ceiling, or loose pieces | A qualified contractor’s assessment before anyone works under it |
| A diagonal or widening crack, sticking doors or windows, or floors that feel out of level | A licensed structural engineer or qualified contractor |
| A crack that returned after a careful repair | Stopping the re-patching and having a drywall pro or contractor evaluate the joint and framing |
| A wall or ceiling that may have fire-resistance requirements, such as one between a garage and living space or between dwelling units | Your local building department or a pro, because a generic patch cannot be confirmed to maintain the rating and requirements vary locally |
| An older home where you would need to sand or scrape | Testing for asbestos and lead first, and certified contractors if either is present |
If you cannot tell what created the crack, that is reason enough to ask for help. Moisture should be controlled and affected material assessed before you cover anything, and a potentially unstable ceiling should not be worked beneath until someone has judged it safe.
How to Repair Drywall Cracks Without Overlooking the Cause
Knowing how to repair drywall cracks involves more than hiding the visible line. When the surrounding drywall is dry, firm, and stable, careful preparation, appropriate joint tape, thin coats of compound, and proper priming can restore a smooth finish. But cracks caused by ongoing movement or moisture may return unless the underlying problem is addressed.
Keep a record of the crack’s condition, especially if it has appeared before. If it widens, reopens, or develops alongside water stains, sagging, or other changes in the home, investigate before repeating the repair. A successful drywall repair starts with understanding what caused the damage and knowing when a cosmetic fix is enough.
Frequently Asked Questions
Are drywall cracks a sign of structural damage?
Not necessarily. Many drywall cracks result from seasonal movement, temperature changes or problems with joint finishing. However, cracks that widen, reappear frequently or occur alongside sticking doors, uneven floors or bowing walls may indicate more serious movement. These warning signs warrant professional evaluation.
Can you repair drywall cracks without using tape?
Yes. Small, stable hairline cracks can often be filled with joint compound alone. Wider cracks or separated seams generally require reinforcing tape. USG recommends tape for cracks wider than approximately 1/8 inch, although the appropriate repair also depends on the condition of the joint and whether movement has stopped.
Why do drywall cracks keep coming back?
Recurring drywall cracks often result from ongoing framing movement, seasonal temperature and humidity changes, failed joint tape or moisture problems. Adding more compound will not resolve an active underlying cause. Monitor the crack over time and investigate persistent movement before repairing the finish again.
Should you repair drywall cracks immediately or wait?
Stable, dry cracks can usually be repaired once movement has stopped. If a crack changes with the seasons, monitoring it through a heating and cooling cycle may help prevent repeated repairs. Rapidly widening cracks, moisture damage or sagging ceilings require prompt investigation rather than cosmetic patching.
What is the best compound for repairing drywall cracks?
Joint compound is generally suitable for repairing stable drywall cracks. Ready-mixed compound is convenient for routine repairs, while setting-type compound hardens more quickly and can shorten the time between coats. Use reinforcing tape where necessary, apply thin layers and follow the manufacturer’s drying and application instructions.
Can you repair cracks where the wall meets the ceiling?
Yes, provided the surfaces are dry, secure and no longer moving. Remove loose material, reinforce a separated joint with suitable drywall tape and apply thin coats of joint compound. If the crack repeatedly reopens, investigate movement between the wall and ceiling before attempting another repair.