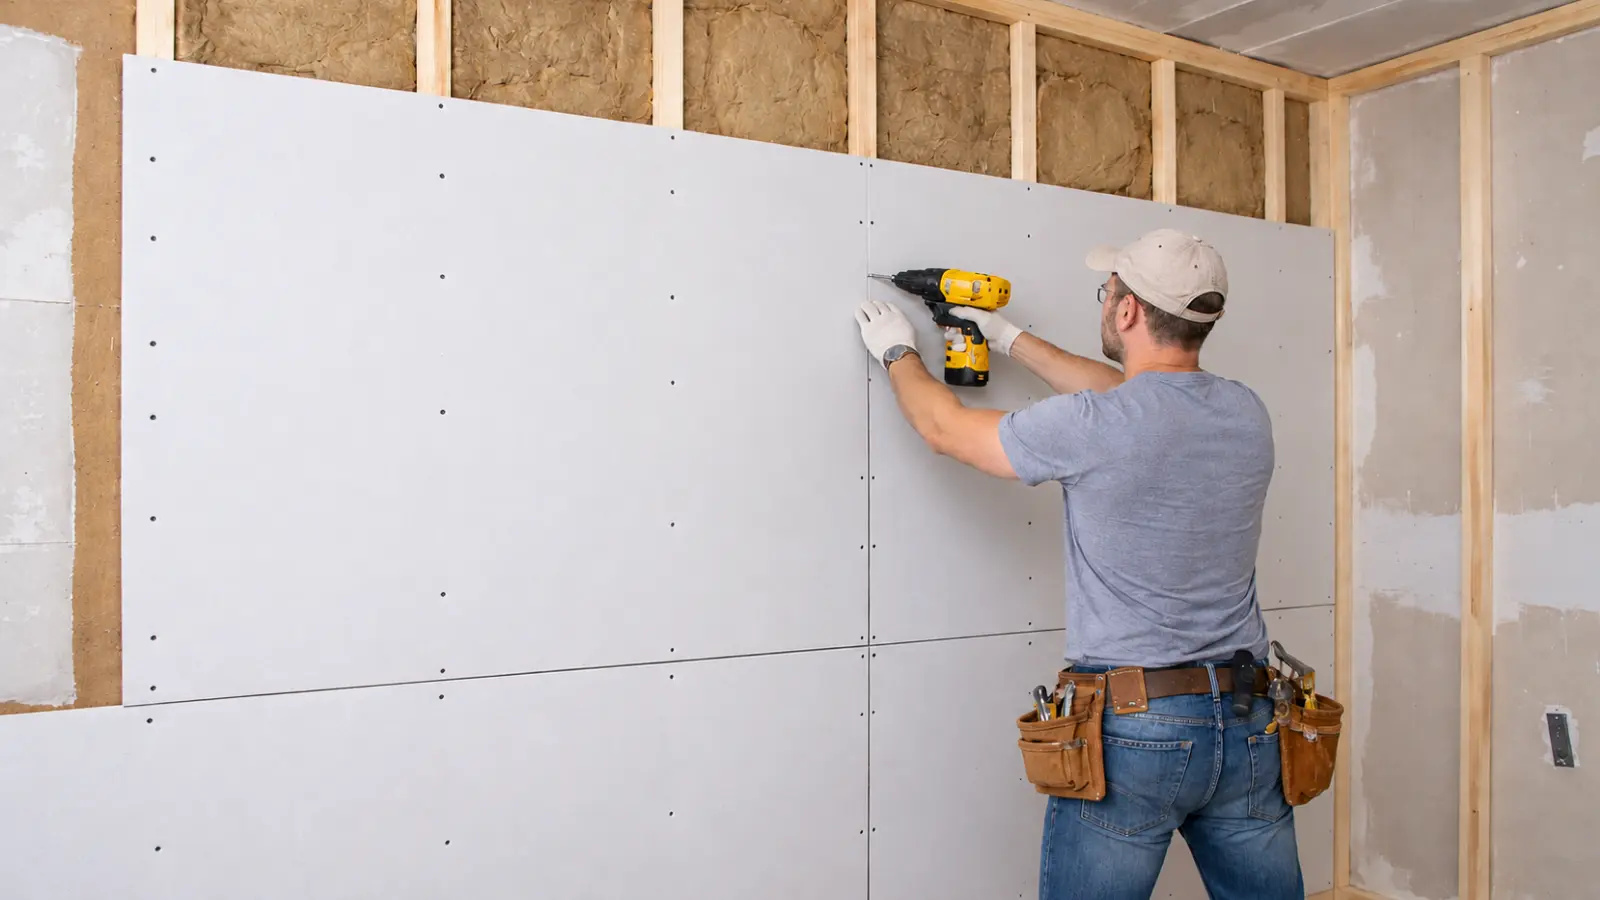

Learning how to cut drywall starts with the right technique and proper support for the panel. Most straight cuts can be made with a sharp utility knife using the score-and-snap method, which produces clean edges with far less dust than sawing through the entire sheet.
Cutting openings for outlets, switches, and pipes requires more careful measuring and different tools. Working on an existing wall or ceiling adds another concern: hidden wiring, plumbing, and other materials that may be damaged or create serious safety hazards if you cut without checking first.
This guide explains how to cut drywall step by step, from measuring and marking a new sheet to scoring, snapping, cutting outlet openings, and smoothing rough edges. It also covers common cutting mistakes, essential safety precautions, and what to consider before cutting into drywall that is already installed.
Which Cutting Method Fits the Job
Match the method to the cut. A straight cut across a sheet, an opening inside a sheet, and a cut into a finished wall are three different jobs.
| Cut You Need | Method | What Matters Most |
|---|---|---|
| Straight cut across a new sheet | Score and snap with a utility knife and straightedge | A clear pencil line, a firm guide, support on both sides of the line |
| Outlet, switch, or pipe opening in a new sheet | Trace, score, then cut out with a keyhole saw, jab saw, or rotary cutout tool | Measuring from the actual box or pipe, not from memory |
| Ragged or slightly tight edge | Drywall rasp, or sandpaper wrapped around a block | Removing only what the fit requires |
| Opening in an installed wall or ceiling | Assess the cavity first (see the section below) | Hidden wiring, plumbing, ducts, moisture, and older-home materials |
Scoring removes almost no material, so it makes far less dust than sawing or sanding. That is one more reason to use it whenever the cut is straight.
Support and Mark the Sheet Before You Cut
Put the panel on a stable surface that supports it on both sides of the planned line. USG notes that gypsum panels are heavy and may bend or snap under their own weight, so support comes before scoring. The same goes for the offcut: if it hangs unsupported, it can tear the face paper or break past your line.
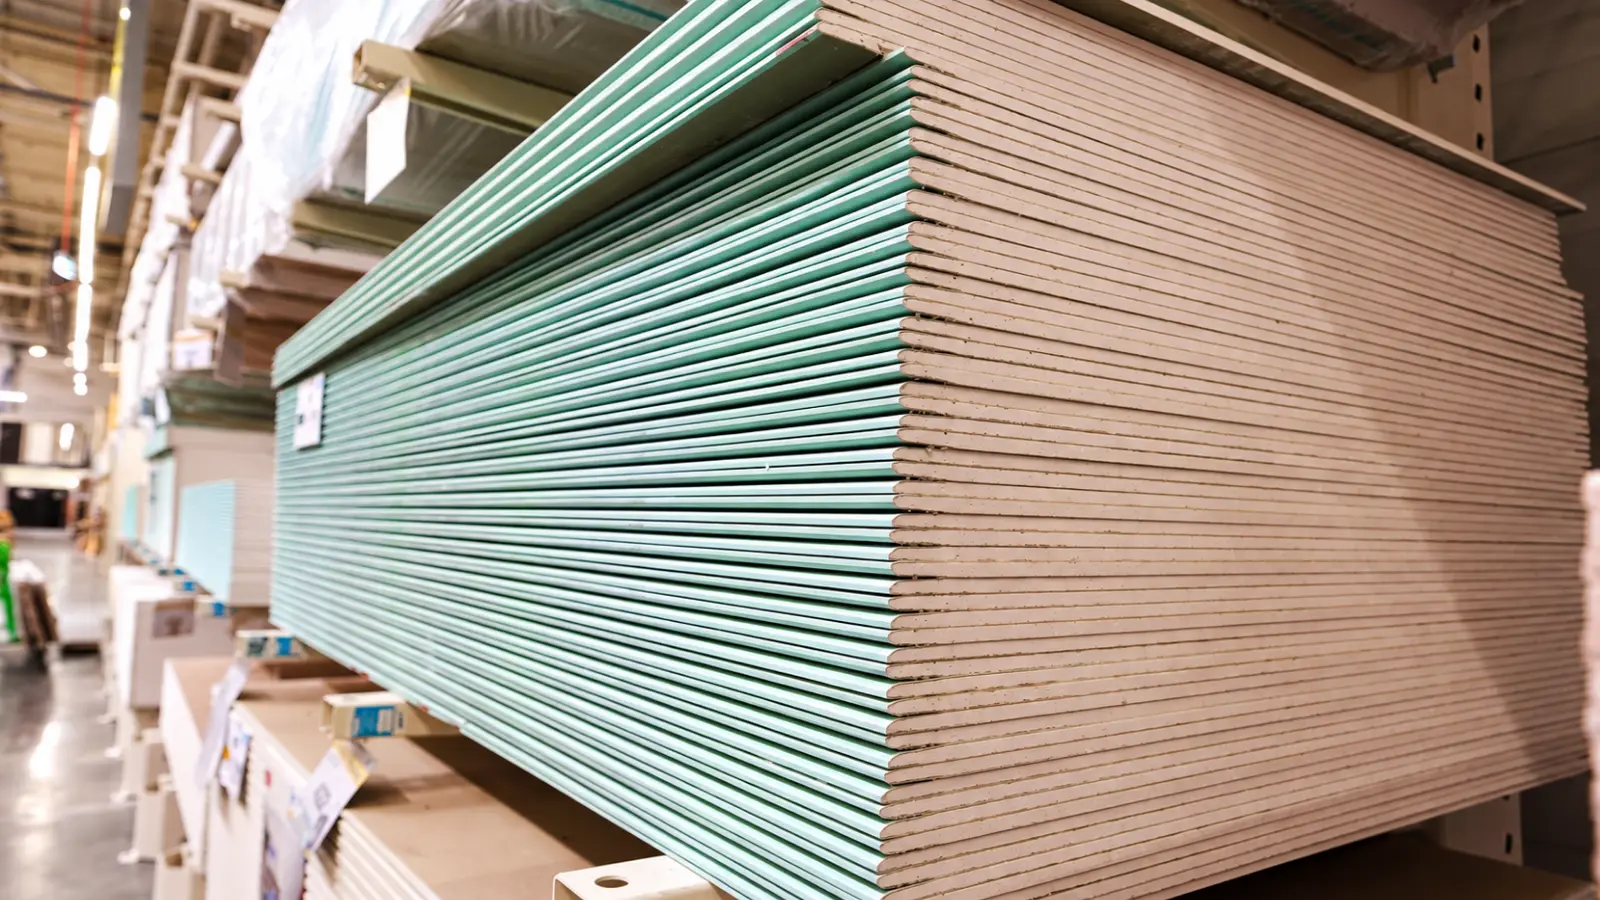
Measure from one reference edge, mark with a pencil, and use a 4-foot straightedge or a drywall T-square for long lines. Check which side is the face before you mark. On standard USG panels the face is the light-colored paper, and the tapered long edges sit on the face side.
If you are cutting a replacement piece, measure the opening itself rather than the damaged piece. Old drywall, framing, and earlier repairs may not be square.
Warning
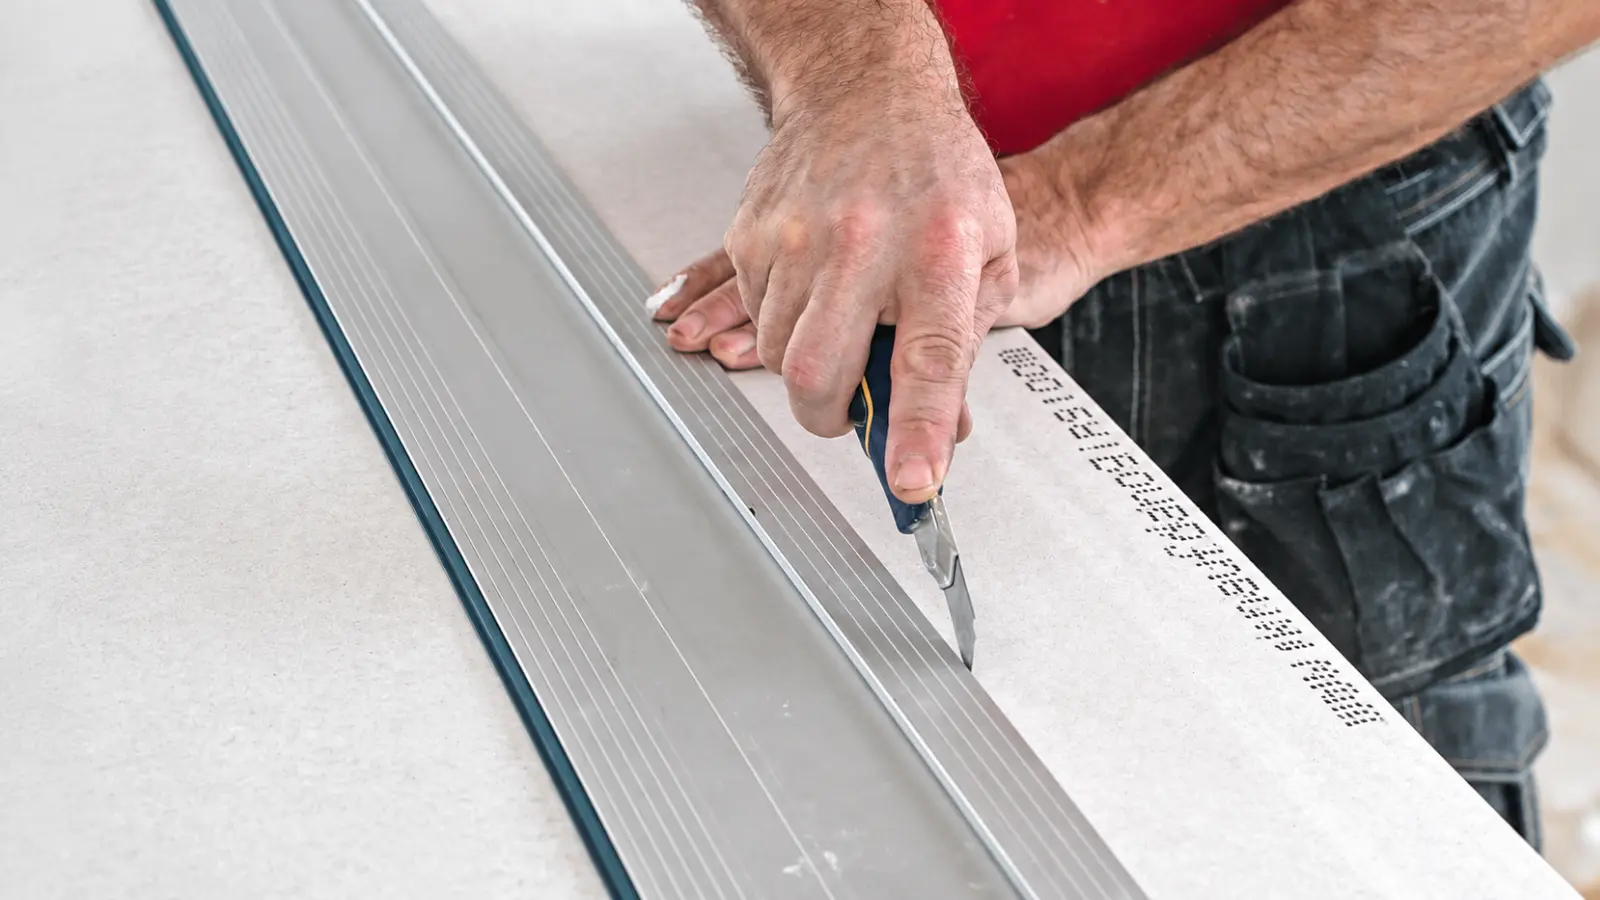
Protect your hands and eyes before the first pass. USG’s guide calls for a glove on the hand that holds the straightedge, and its tool list includes cut-protection gloves and safety glasses. Keep your holding hand out of the knife’s path, and replace a dull blade instead of pressing harder.
How to Score and Snap a Straight Cut
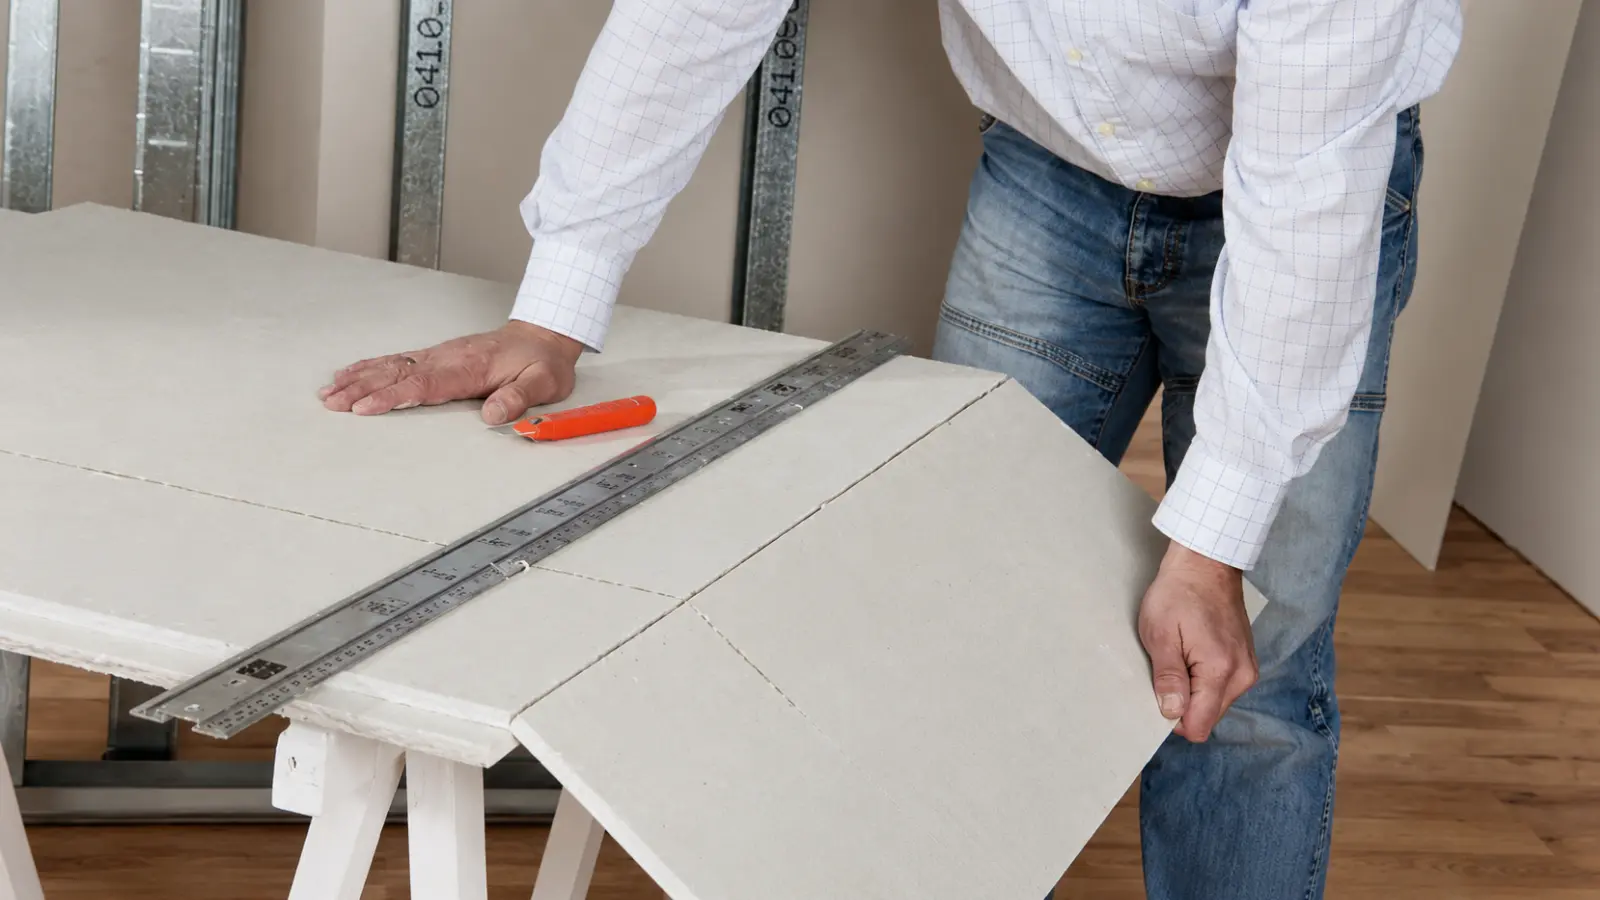
1. Score the Face Paper Along the Guide
Hold the straightedge firmly on the pencil line and draw the knife along it. Cut through the paper and lightly into the core. If the knife drifts off the guide, stop and re-score along the straightedge instead of correcting freehand. You should see one continuous, clean groove for the full length of the cut.
2. Snap the Core
Grip the panel on both sides of the score and snap it with a quick, firm movement so the scored face opens along the line. Keep the offcut supported as it breaks. The core should part along the score, with the two pieces still joined only by the back paper.
3. Cut the Back Paper
Run the knife through the back paper along the break for the length of the cut, then fold the panel back toward the face to finish the separation. Set the offcut aside before you move the main piece.
If the Panel Breaks Off the Line
A cut that wanders usually traces back to one of three things: the face paper was not cleanly cut, the knife slid off the guide, or the panel flexed because it was not supported on both sides. Re-score along the guide and fix the support. Forcing the snap on a poor score tends to tear the paper and crumble the core past the line.
How to Cut Outlet and Pipe Openings in a New Sheet
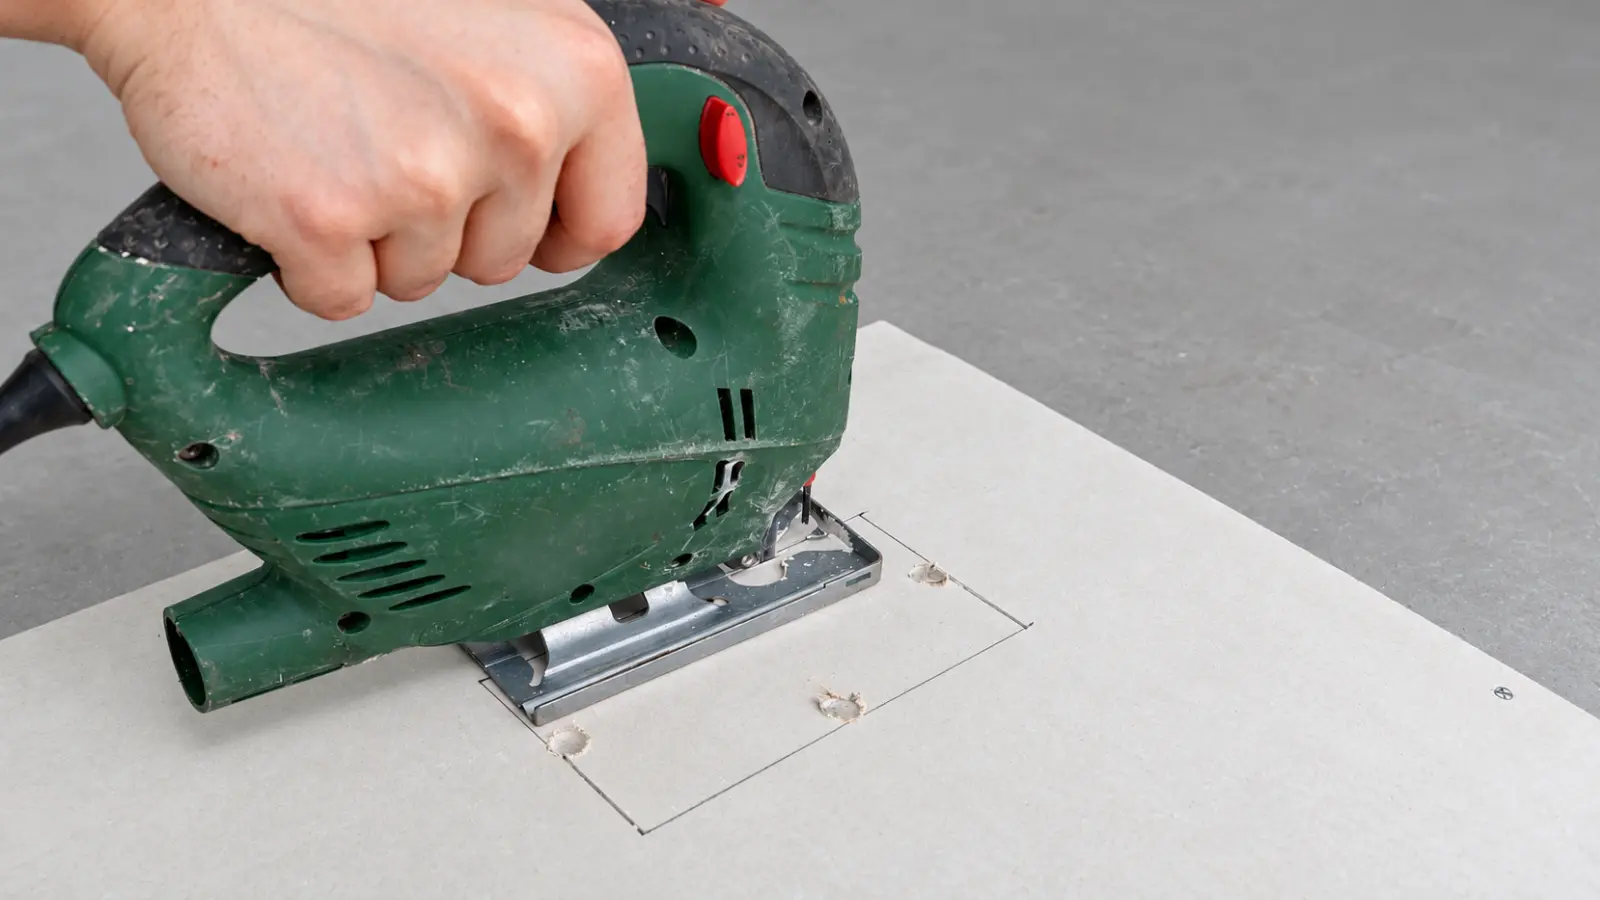
The cleanest way to cut an outlet or pipe opening is on the flat sheet before it goes up, using measurements from a box or pipe that is already in place. That avoids a blind cut into a cavity and keeps the whole panel supported while you work.
- Measure from the panel’s edges to the box. Measure from where a side edge of the panel will rest to the near and far sides of the box, then from where the top or bottom edge will fall to the top and bottom of the box. This is the method USG describes. Do not cut a trial hole and adjust it.
- Trace the box outline. Transfer the outline to the panel at those positions.
- Score the outline on the face and the back. The Gypsum Association recommends scoring holes for pipes, fixtures, and other penetrations on both sides before the cutout is sawn out.
- Cut it out. USG lists a keyhole saw, jab saw, or rotary cutout tool. Keep the opening neat and close to the size of the item passing through it.
Before you fasten the panel, offer it up to the wall and check that the opening lines up. If it needs trimming, take off small amounts.
Powered cutout tools throw more dust than a hand saw. USG advises a dust mask when cutting produces excessive dust and the area cannot be ventilated.
Note
In a fire-rated or sound-rated assembly, openings and the gaps around them can carry specific requirements. The Gypsum Association points to model-code sealing requirements for the space around penetrations, and local adoption varies. Check the assembly’s documentation and your local building department before cutting.
Before You Cut an Existing Wall or Ceiling
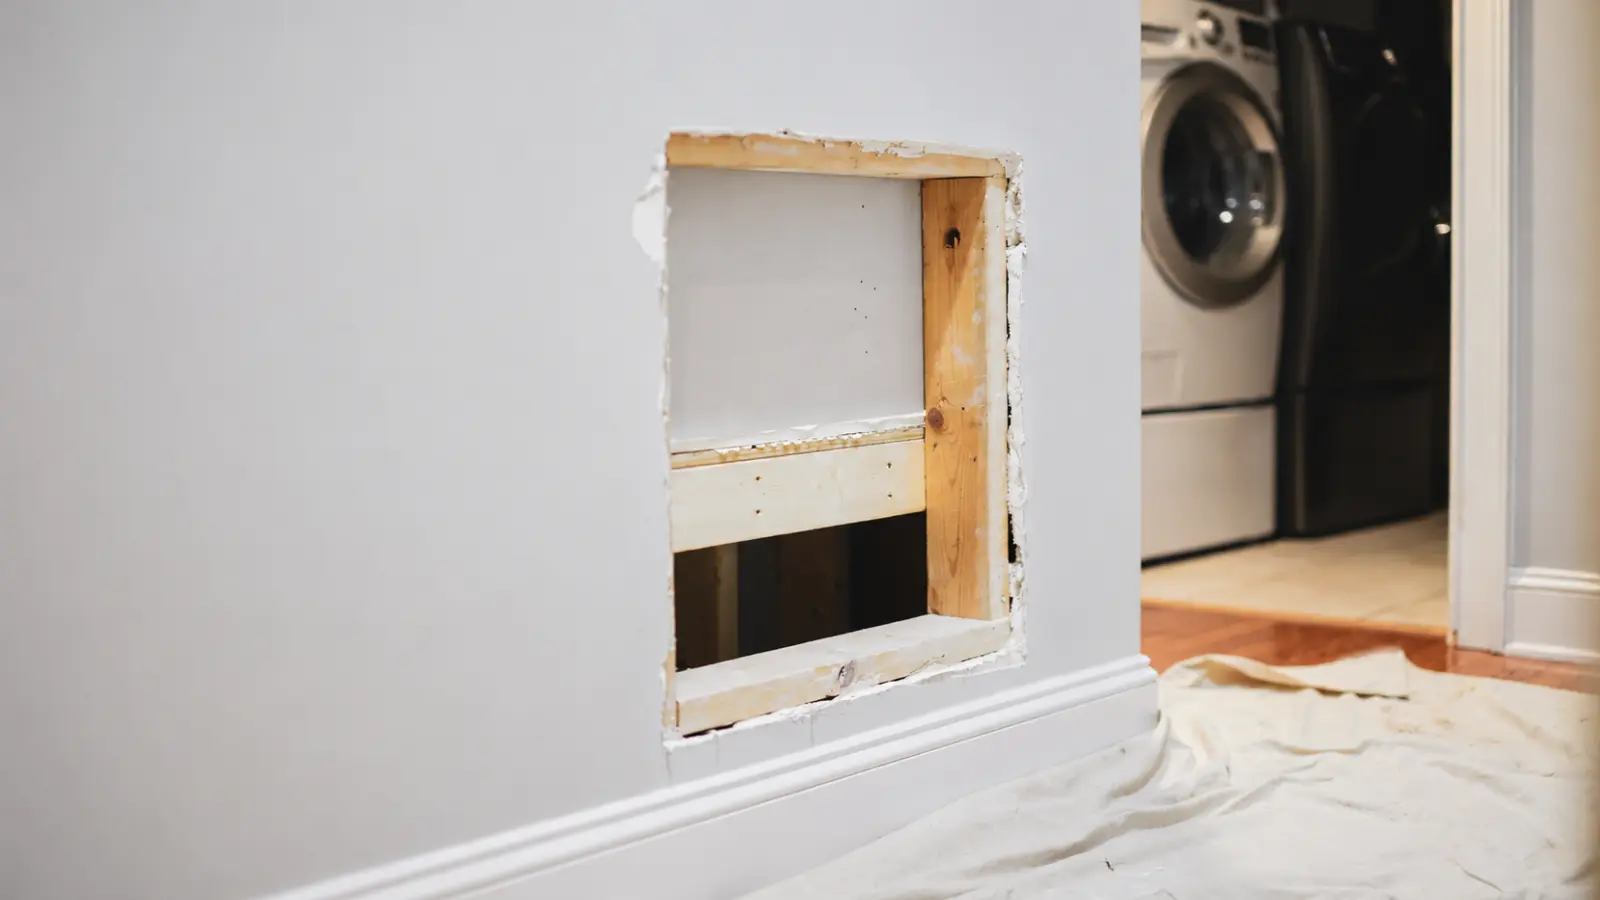
An opening in an installed wall or ceiling is a different job from trimming a sheet, because the cut reaches into a cavity you cannot see. Wiring, pipes, ducts, and framing may be inside, and in a house that has been remodeled they may not be where standard construction would put them.
Warning
Do not make a blind cut. If you cannot rule out wiring, plumbing, or other hidden elements in the cut path, stop before using a knife, saw, or cutout tool.
These clues should make you slow down. None of them proves what is in the wall, and a lack of clues does not prove the cavity is empty.
| What You See | What It May Mean | Safer Move |
|---|---|---|
| Outlets or switches on the wall, or directly above or below the cut | Wiring may run through the cavity | Treat the cut path as unconfirmed and follow the steps below |
| A bathroom, kitchen, or laundry on either side of the wall | Supply or drain pipes may be inside | Locate the water shutoff before opening; treat the path as unconfirmed |
| Registers, recessed lights, or an attic or room above a ceiling | Ducts and light wiring may sit just above the drywall | Treat the path as unconfirmed; do not saw deep |
| Stained, soft, bowed, or sagging drywall | A moisture or fastener problem behind the surface | Find and fix the source before cutting or patching |
| Original finishes in an older home | Lead or asbestos may be involved | Read the older-homes section below before disturbing anything |
If You Still Need to Open It
Turn off power to every circuit that could pass through the area. A switched-off breaker is not proof that a wire is dead, so confirm with a tester you know works. If you cannot identify the circuits, or anything reads live, stop and call an electrician.
Then open the wall in the smallest, shallowest way that lets you look inside, and check with a flashlight before making any larger cut.
A ceiling adds gravity to the problem. Do not cut into a ceiling that is wet, bowed, or sagging, and plan how any piece you remove will be supported as it comes free.
Danger: If You Hit Something
- Sparks, a burning smell, or exposed wire: stop and stay clear. If you see smoke or fire, leave and call 911. Do not resume until an electrician has checked it.
- Water from a pipe: shut off the water at the fixture valve or main shutoff. If water is near outlets, wiring, or a ceiling light, stay away and cut power at the panel only if you can reach it without standing in water.
- Gas odor: leave the building immediately and call the gas utility or 911 from outside. Do not use switches or appliances on the way out.
Clean Up the Edge Without Changing the Fit
USG recommends smoothing a cut edge with a drywall rasp or sandpaper wrapped around a block, keeping the edge as square as possible. Treat it as a fitting step, not a way to fix a measuring error. Remove small amounts, test the piece in place, and stop when the edge is straight and supported.
A panel should go into place without being forced, and a piece cut too small leaves a gap that becomes a finishing problem. Do not rasp hard enough to roughen the paper or crumble the core.
Dust, Lead, and Asbestos in Older Homes
Cutting and sanding drywall make dust. NIOSH lists cutting drywall and sanding joints among the construction tasks that expose workers to dust, and USG’s guide says to wear a dust mask when sanding or when cutting makes excessive dust in a space that cannot be ventilated. Open a window, keep the work area clear, and clean up with a damp sponge or HEPA vacuum instead of dry sweeping.
Warning: Older Homes Change the Plan
Lead. If the home was built before 1978, painted surfaces may contain lead-based paint. EPA says renovation work in these homes can create dangerous lead dust, and that if you cannot determine the home’s age it is safest to assume lead is present. Its DIY practices include misting the surface before cutting and using a HEPA vacuum. The federal RRP rule generally does not apply to owners working on their own home, but it does apply to contractors and to rentals, and EPA recommends hiring a lead-safe certified contractor.
Asbestos. EPA says there is no way to know whether drywall contains asbestos without testing, and it recommends consulting an accredited asbestos inspection firm when a renovation will disturb the material. In an older home, do not judge the wall by how it looks. Decide whether to test before you cut or sand original walls.
How to Cut Drywall for Clean, Accurate Results
Knowing how to cut drywall correctly comes down to careful measurements, steady support, and choosing the right method for each opening. A sharp utility knife and straightedge handle most straight cuts, while a drywall saw or suitable cutout tool helps create openings for outlets, switches, and pipes in new panels. Smoothing rough edges and checking the fit before installation can prevent unnecessary gaps and finishing work.
Take extra care when the drywall is already installed. Hidden wiring, plumbing, moisture damage, and older wall materials can make a seemingly simple cut unsafe. When you cannot establish what is behind the surface, stop and get qualified help rather than cutting blindly. A good drywall cut should fit the project without compromising the wall or the people working on it.
Frequently Asked Questions
What is the easiest way to cut drywall?
For straight cuts, the easiest method is to score and snap the drywall. Place the sheet face up on a stable surface, score along a straightedge with a sharp utility knife, snap the gypsum core and cut the backing paper. This method creates less dust than sawing and generally produces a clean edge.
What is the best tool for cutting drywall?
A sharp utility knife and drywall T-square are ideal for straight cuts. A jab saw or keyhole saw works better for outlet boxes, pipes and irregular openings, while a rotary cutout tool can speed up repeated cutouts. A drywall rasp helps smooth rough edges before installation.
Which side of drywall should you cut first?
Score the front, or face-paper side, of standard drywall first. This is usually the lighter-colored side intended to face the room after installation. Cut through the paper and lightly into the gypsum core, snap the panel along the score, then cut the backing paper to separate the pieces.
How do you cut drywall without breaking it?
Support the panel on both sides of the cutting line and use a sharp knife against a firm straightedge. Make one clean, continuous score through the face paper before snapping the core. Keep the offcut supported to prevent premature breakage, and avoid forcing the panel if the score is incomplete.
How do you cut holes in drywall for outlets and pipes?
Measure the opening from the panel’s reference edges, then transfer its position onto the drywall. Score the outline on both faces and use a jab saw, keyhole saw or suitable cutout tool to remove the material. Check the fit before installation and follow applicable requirements for electrical boxes and penetrations.
Can you cut drywall that is already installed?
Yes, but cutting installed drywall requires additional precautions because electrical wiring, plumbing and ducts may be hidden behind it. Never cut blindly. Identify possible utilities, safely isolate and verify electrical circuits, and inspect the cavity before enlarging an opening. Seek qualified help if the cutting path cannot be confirmed safe.