
Drywall is the gypsum-based panel used to finish most interior walls and ceilings in U.S. homes. Also called gypsum board or wallboard, it creates the smooth surfaces you see after seams are taped, joint compound is applied, and the walls are primed and painted.
Although drywall is common, choosing, installing or repairing it is not always straightforward. Panel types and thicknesses serve different purposes, while damage caused by holes, cracks, moisture or movement may require anything from a simple surface repair to replacing an entire section.
This guide explains what drywall is, how its types and sizes differ, what goes into installation and finishing, and how to recognize when damaged drywall can be repaired or should be replaced. It also covers important safety considerations and directs you to more detailed guides for specific projects.
What Drywall Is, and What Sheetrock and Wallboard Mean
Drywall is a manufactured panel used to finish interior walls and ceilings. In everyday U.S. conversation, drywall, gypsum board and wallboard usually mean the same general kind of panel. Sheetrock® is a USG brand name that people also use informally for drywall in general.
The name matters less than the specification. The right panel depends on where it goes, its thickness and size, the performance it needs, and the rest of the wall or ceiling system. That is most true in bathrooms, on ceilings, in sound-control projects and in any assembly with a required fire rating.
What Drywall Is Made Of
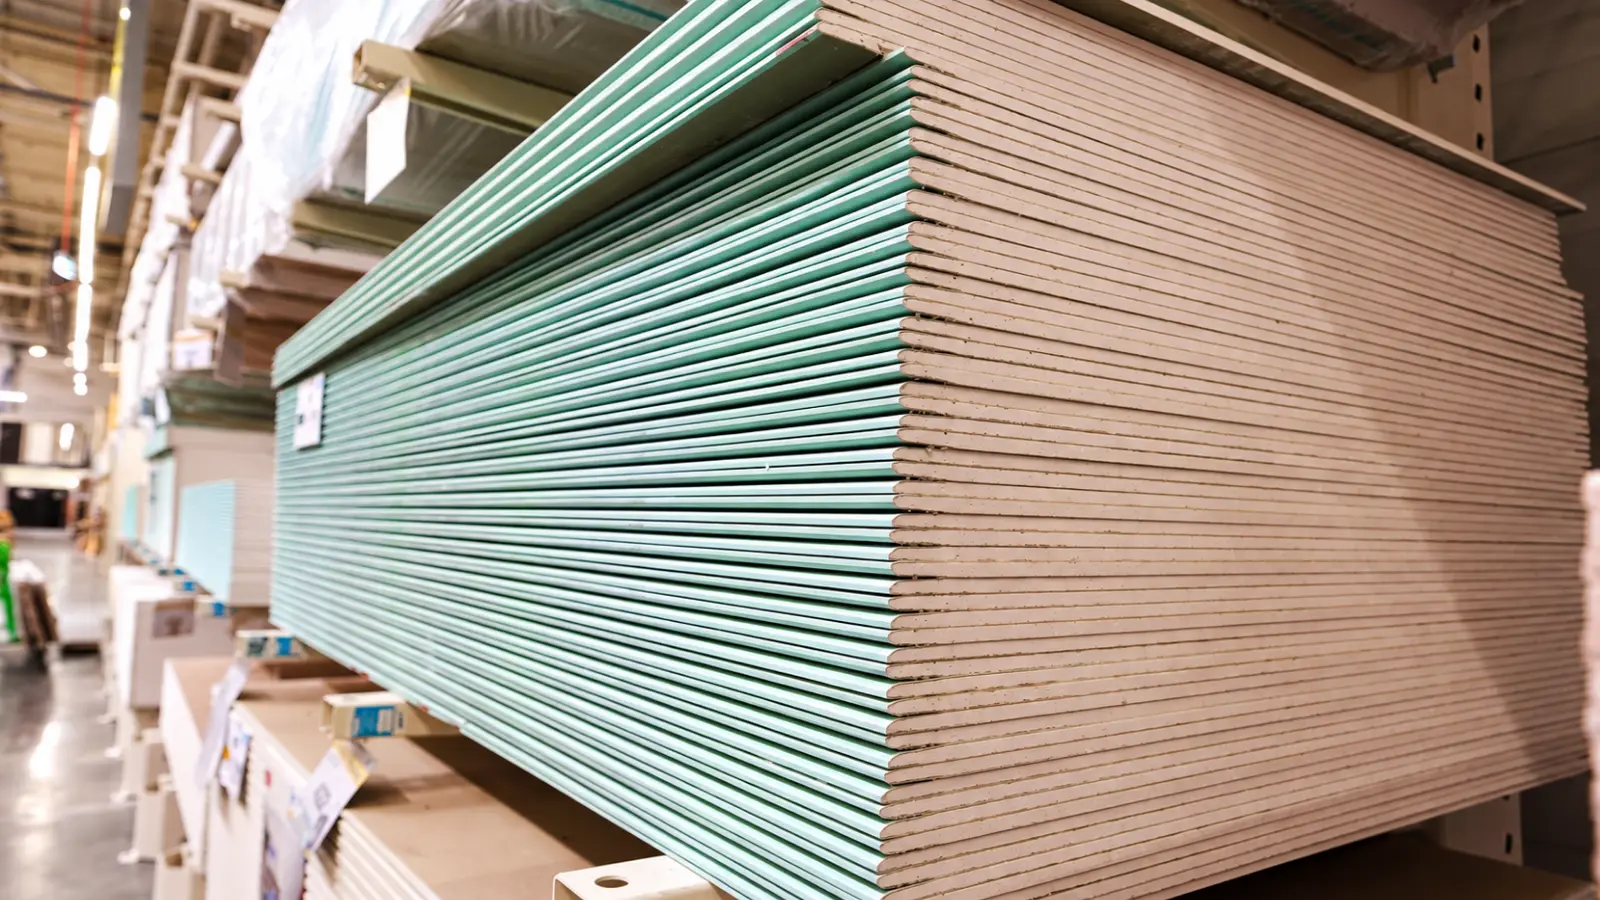
Standard drywall has a gypsum core with paper facing on the front and back. The long edges are tapered, so tape and joint compound can bridge a seam without leaving a visible ridge.
That construction explains both its strengths and its limits. Drywall cuts easily and takes a smooth, paintable finish. It does not solve ongoing water exposure, hidden moisture, unstable framing or an incomplete wall system.
Related: Drywall vs. Sheetrock: Is There a Difference?
The Parts of a Drywall Project
A defect you see in the paint may begin at a seam, a fastener, a panel edge, the framing behind it or a water source. Knowing the parts makes it easier to choose the right repair instead of treating every flaw with more filler.
| Part | What It Does | Why It Matters |
|---|---|---|
| Drywall panel | Covers a wall or ceiling area | Panel type, thickness and condition must fit the location |
| Framing or backing | Supports the panel | Movement or damage here can make a finish repair fail again |
| Fasteners | Hold the panel in place | Loose or incorrect fastening can create visible defects |
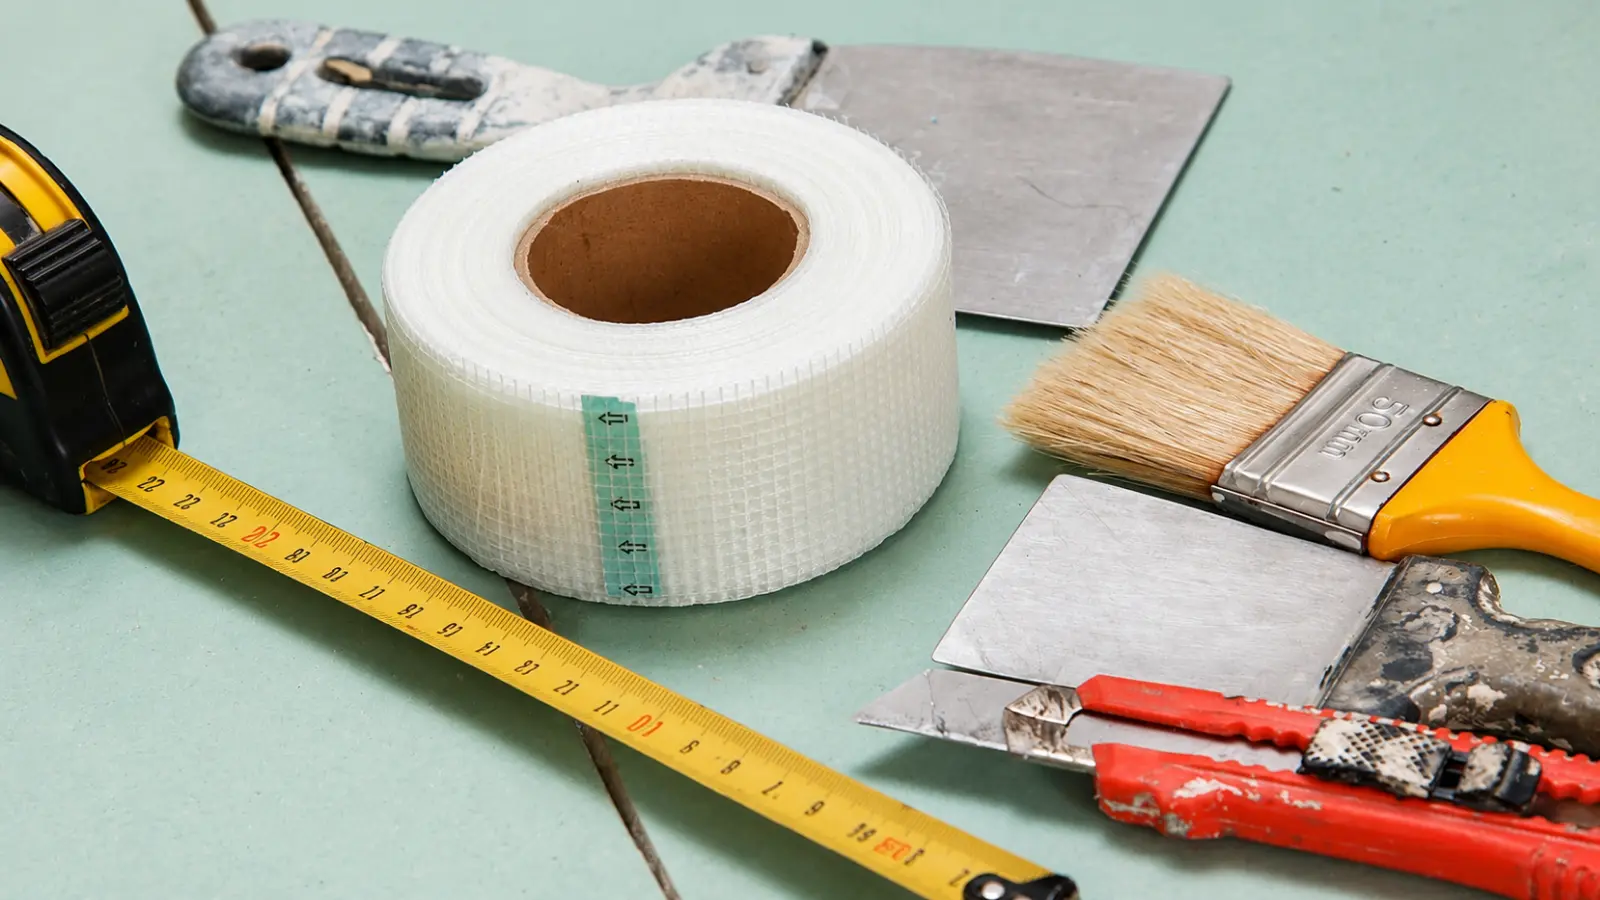
| Tape | Reinforces seams and inside corners | Helps the finished joint stay smooth |
| Joint compound | Blends seams, fasteners and repairs | A finish material, not a fix for unstable or wet board |
| Corner bead | Protects and shapes many outside corners | A crushed corner may need more than surface filler |
| Primer and paint | Create the final appearance | They belong after the repair is dry, smooth and sound |
Related: How to Tape and Mud Drywall
Drywall Types, Sizes and Thicknesses
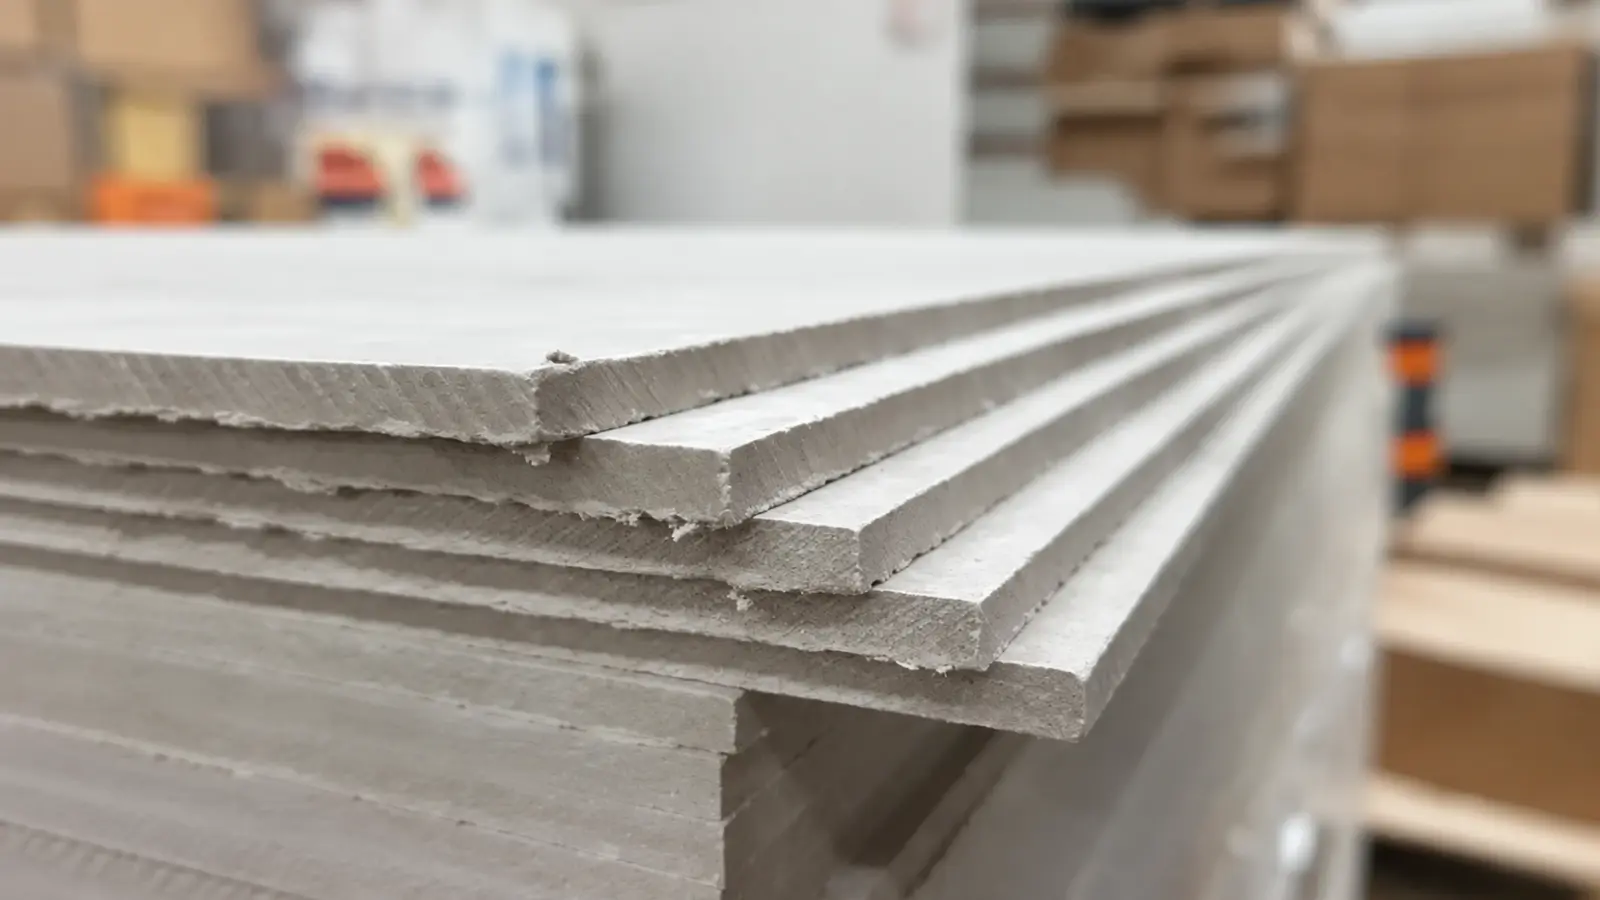
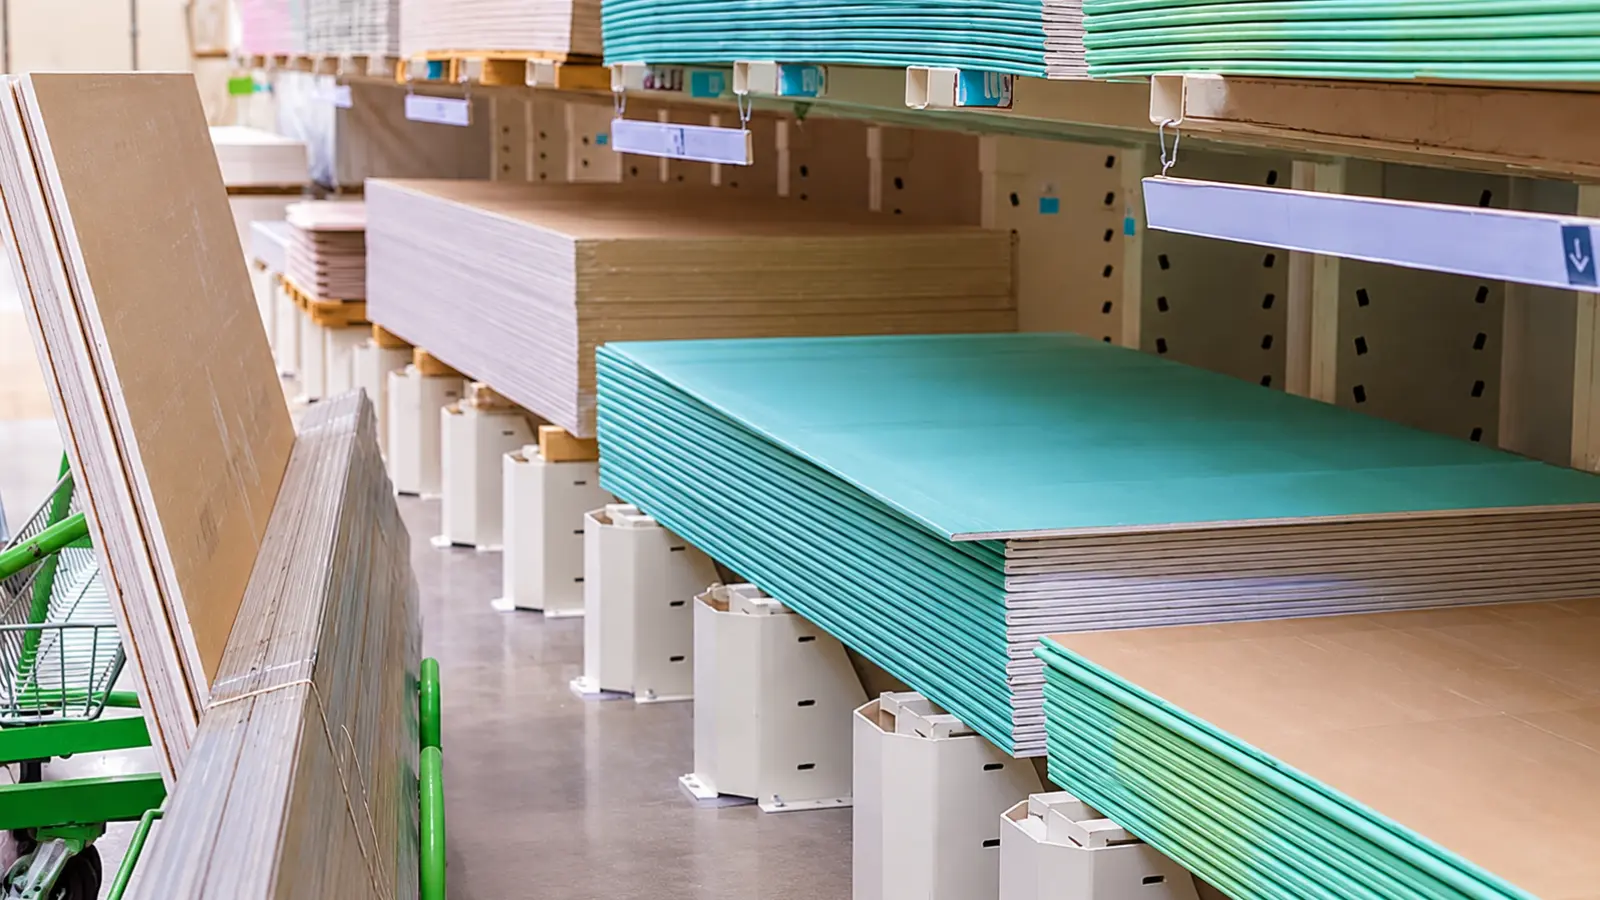
There is no single best drywall for every room. Standard panels are common in ordinary dry interior areas, while specialty panels address particular conditions or performance goals. Product names vary by manufacturer, so rely on current product documentation rather than color or a casual label.
| Panel Category | Why It May Be Considered | Important Limit |
|---|---|---|
| Standard gypsum panel | General dry interior walls and ceilings | Does not solve a moisture problem |
| Moisture- or mold-resistant panel | Some damp-prone interior areas | Not automatically a waterproof shower-wall system |
| Type X or other fire-resistance panel | A specified rated design or required application | The panel alone does not create a fire-rated assembly |
| Sound-control panel or system | A wall designed to reduce sound transmission | Framing, insulation, gaps, doors and installation details also matter |
| Abuse-resistant panel | Areas more likely to take impact or wear | Still needs correct installation and finishing |
Most residential panels are 4 feet wide and come in lengths from about 8 to 16 feet. Some manufacturers also offer 54-inch-wide panels, which suit taller walls such as 9-foot ceilings. Two thicknesses come up most in home projects: 1/2 inch for general non-rated walls and ceilings, and 5/8 inch, the thickness of common Type X panels. Other thicknesses exist, and the right one depends on the assembly and framing spacing.
Bigger is not automatically better. A longer or thicker panel covers more area per sheet but is harder to carry, lift and align, which matters when one person is doing the work. Keep panels dry before and after installation, because manufacturers such as USG say they must be protected from excessive or continuous moisture.
Warning
A fire-resistant panel is not a stand-alone fire rating. A rated wall or ceiling depends on a tested assembly, including its components and installation details. Verify the approved design, local requirements and manufacturer instructions before changing a rated assembly.
Related: Drywall Sizes and Thickness for the size decision, and Types of Drywall before you buy a specialty panel
Repair or Replace? Start With the Cause
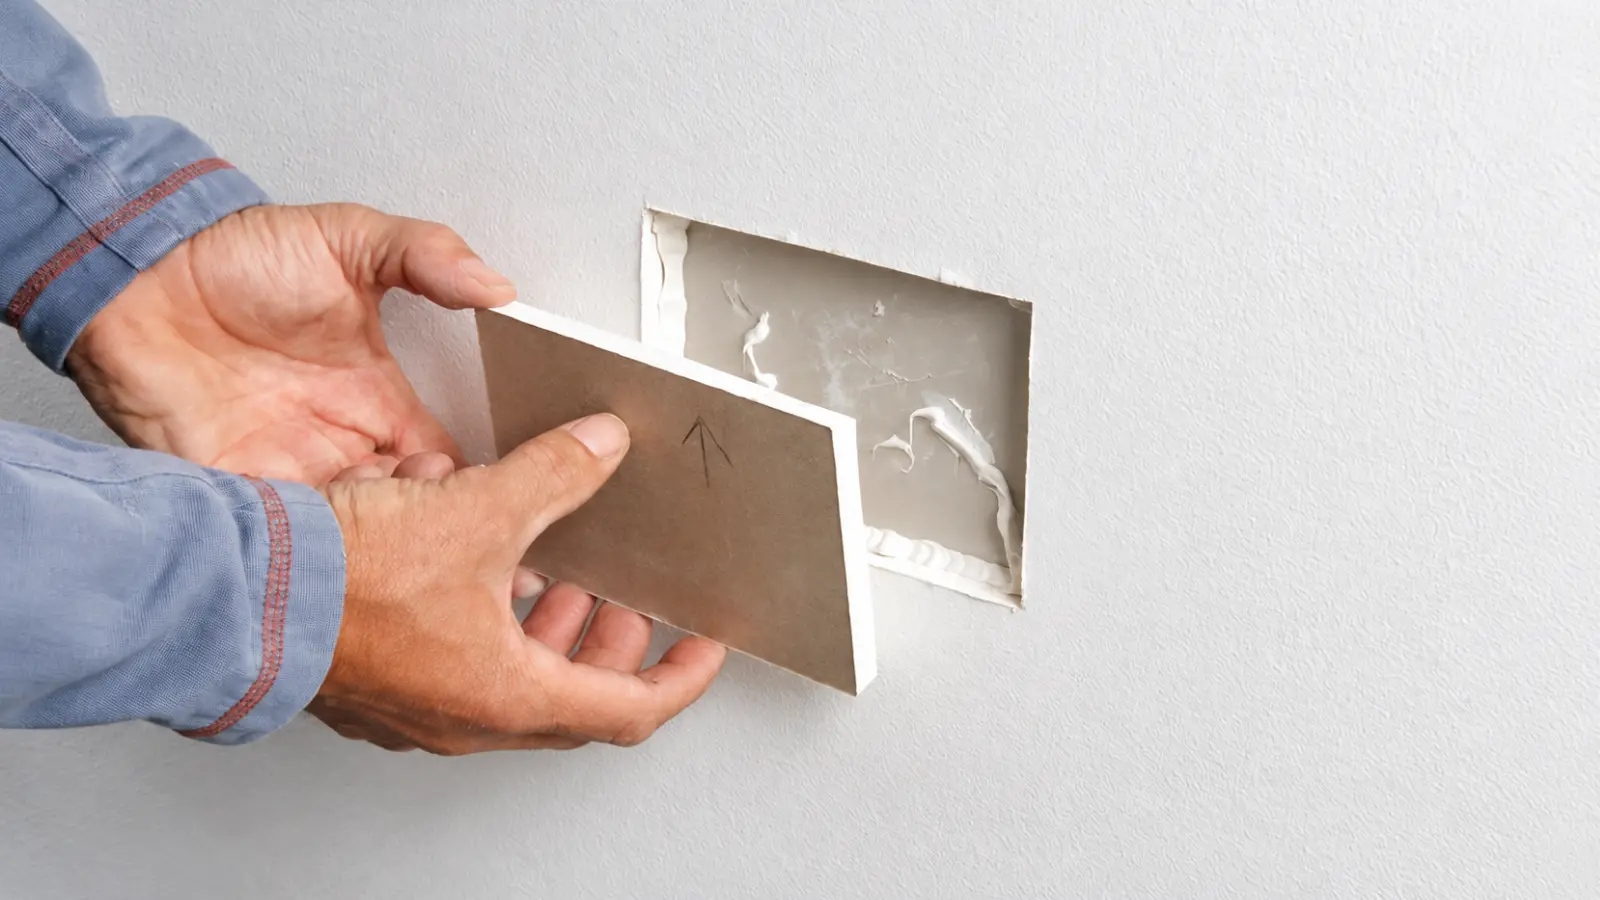
Drywall can often be repaired when the damage is localized and the surrounding board is dry, stable and well attached. Replacement becomes more likely when the material has lost integrity, the damage is extensive or the source of the problem has not been corrected.
| What You See | First Decision | Likely Next Path |
|---|---|---|
| Nail, screw or small anchor mark | Are the surrounding paper and board sound? | Localized filling and finish repair |
| Dent or torn paper face | Is the gypsum core intact and dry? | Surface repair, then primer and paint |
| Larger hole | Could a pipe, wire or other utility be behind it? | Controlled patch with backing and replacement board |
| Crack or separated seam | Is it stable, or recurring and widening? | Diagnose before repairing the finish |
| Loose tape | Is movement, poor adhesion or moisture involved? | Repair the joint after the cause is addressed |
| Stain, soft spot, swelling or visible mold | Has the water or moisture source been corrected? | Investigate moisture, then evaluate removal or replacement |
A patch should never be a way to hide an active leak, persistent humidity, a failing ceiling or a movement problem. If the same defect keeps returning, the finish is telling you something: the cause below or behind it still needs attention.
Related: start with the Drywall Repair Hub, then go to small-hole repair, large-hole repair or crack repair
When Drywall Is Not a Simple Patch
Some drywall problems turn a finish repair into a moisture, safety or construction question. Start with the urgent ones.
Danger: Make the Area Safe First
Stop work and clear the area if a ceiling is sagging, bulging or dripping, if water is reaching light fixtures, outlets or other electrical equipment, or if you see sparks or smoke or smell burning.
- Keep people and pets out from under a sagging or bulging ceiling. Wet drywall can fail suddenly.
- Do not touch fixtures, switches or outlets that are wet or near water, and do not stand in water near electrical equipment.
- Switch off power to the area at the breaker panel only if you can reach it without crossing a wet floor. If you cannot, call your utility or an electrician. For sparks, smoke or a burning smell, leave and call 911.
- Do not treat wiring as de-energized just because a breaker is off. Have a qualified electrician verify it.
- Sewage or other contaminated water calls for a professional experienced in that kind of cleanup.
Water, Stains and Mold
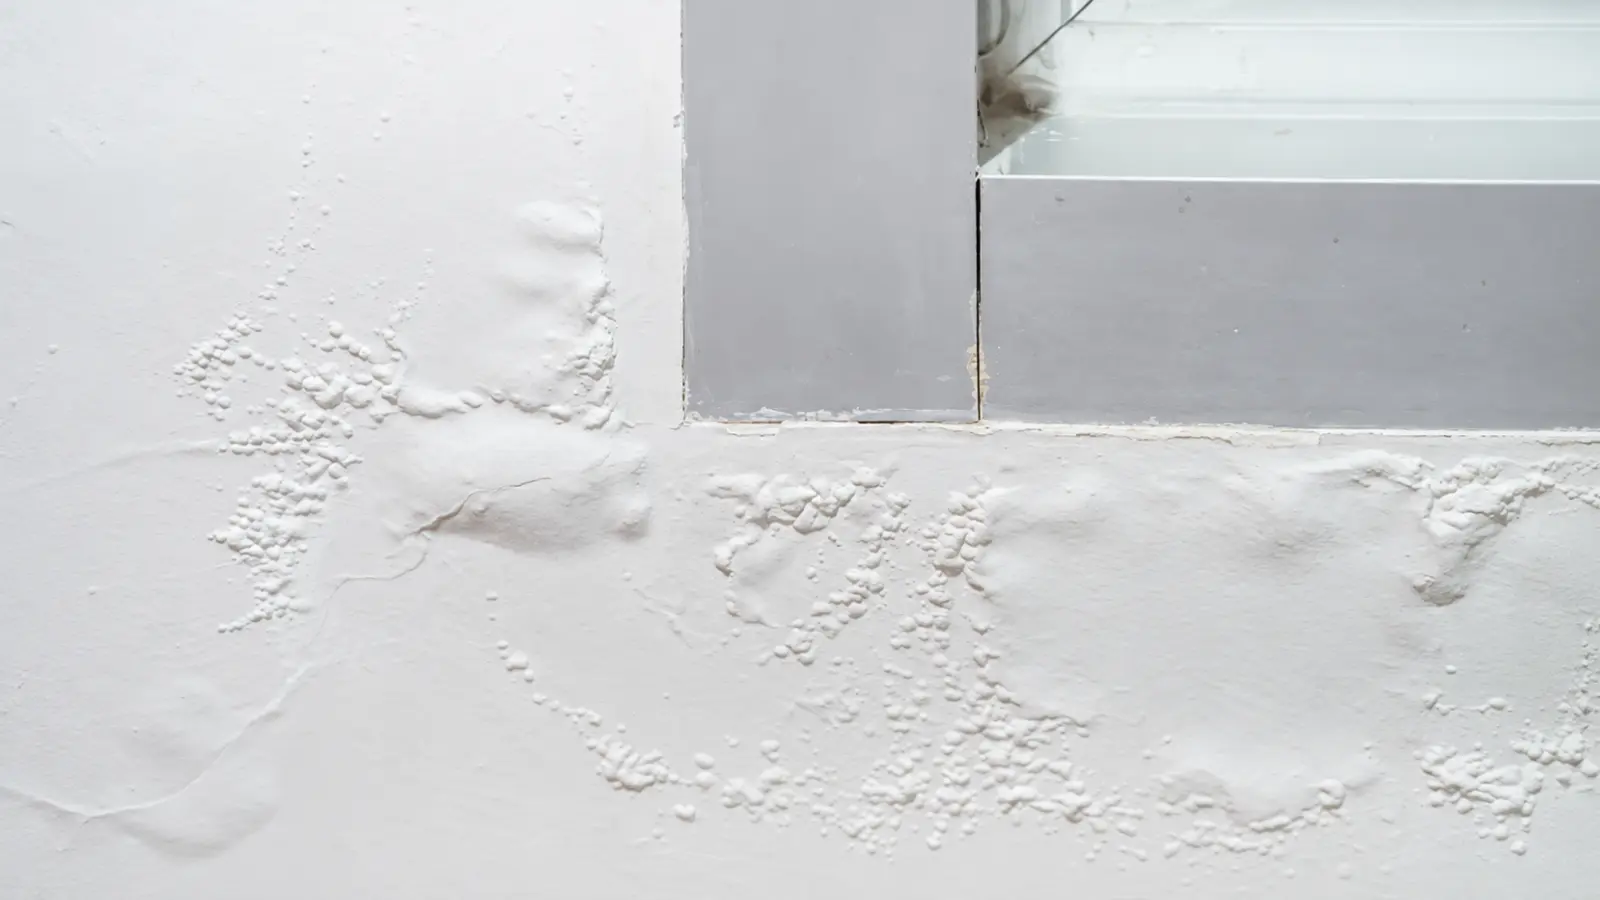
Water staining, softness, swelling or a musty odor should lead to a source check before any joint compound or paint. A roof leak, plumbing leak, condensation problem or other moisture source can damage a panel from the back and make the visible finish unreliable.
EPA guidance puts moisture control first. If water-damaged areas and items are dried within 24 to 48 hours, mold usually does not grow. If mold is already present, cleaning it up lasts only when the water problem is fixed too. Drywall’s paper face and gypsum core are absorbent, so a wet or moldy panel is often a replacement question rather than a cleaning one.
Scope matters. EPA says homeowners can often handle an area smaller than about 10 square feet (roughly 3 feet by 3 feet) using its cleanup guidelines. Extensive water damage or larger growth calls for the more detailed guidance EPA points to, or a professional with mold experience. If you clean a small area yourself, EPA suggests gloves, goggles without ventilation holes and a properly fitted N-95 respirator.
Two limits are worth knowing. Color does not tell you what kind of mold you have, and EPA says sampling is usually unnecessary when mold is visible. And if you smell mold but see no source, or know water got into a wall, the problem may be behind the drywall. Opening it can release spores, so consider an experienced professional.
Do not paint or caulk over visible mold. EPA notes that paint applied over a moldy surface is likely to peel. Correct the moisture problem, clean or remove the affected material, and let the area dry before rebuilding the finish.
Ceiling Damage
A ceiling combines overhead work with possible water, framing, electrical fixtures and a large, heavy panel above your head. Do not treat a sagging, wet or cracked ceiling as an ordinary wall patch. Find the cause first, and do not work beneath material that may be unstable.
For a planned project on a sound ceiling: How to Install Drywall on a Ceiling
Fire-Rated Walls and Ceilings
If a wall or ceiling is part of a fire-resistance design, do not swap panel types, fasteners or repair methods based on a generic tip, and do not add penetrations casually. The rating belongs to a tested assembly, not merely to a board marketed as fire-resistant. Check the approved design and ask your local building department when a repair touches a rated assembly.
Hidden Utilities and Older Homes
Drywall can conceal wiring, plumbing, ducts, blocking and previous repairs, and a stud finder does not tell you which. Never cut blindly into a wall or ceiling. Before opening one, shut off circuits that could run through the area, confirm they are off with a tester, and cut only as deep as the panel requires.
Older homes add two material questions.
- Lead paint. In a home built before 1978, cutting, sanding or demolishing painted drywall can create lead dust if the paint contains lead. EPA recommends that owners of pre-1978 homes hire a lead-safe certified contractor and have a certified lead inspector or risk assessor test the surfaces to be disturbed. If you cannot determine the home’s age, EPA says it is safest to assume lead-based paint is present. If you do the work yourself, follow EPA’s lead-safe work practices.
- Asbestos. EPA says you cannot tell by looking whether a material contains asbestos. In older homes, materials such as joint compound and textured finishes are among those that may, and a build year alone does not settle it. Before cutting, sanding, scraping or demolishing a suspect surface, have it identified by an accredited professional, and check state and local rules.
Signs the Job Needs a Professional
Bring in a qualified professional when any of these apply:
- Mold covers more than about 10 square feet, or water damage is extensive
- The water was sewage or otherwise contaminated
- A ceiling is sagging, or you cannot find the moisture source
- The wall or ceiling is part of a fire-rated assembly
- The work would disturb paint or joint compound that may contain lead or asbestos
- You cannot tell what is behind the surface, or a crack keeps widening
How Drywall Becomes a Finished Wall
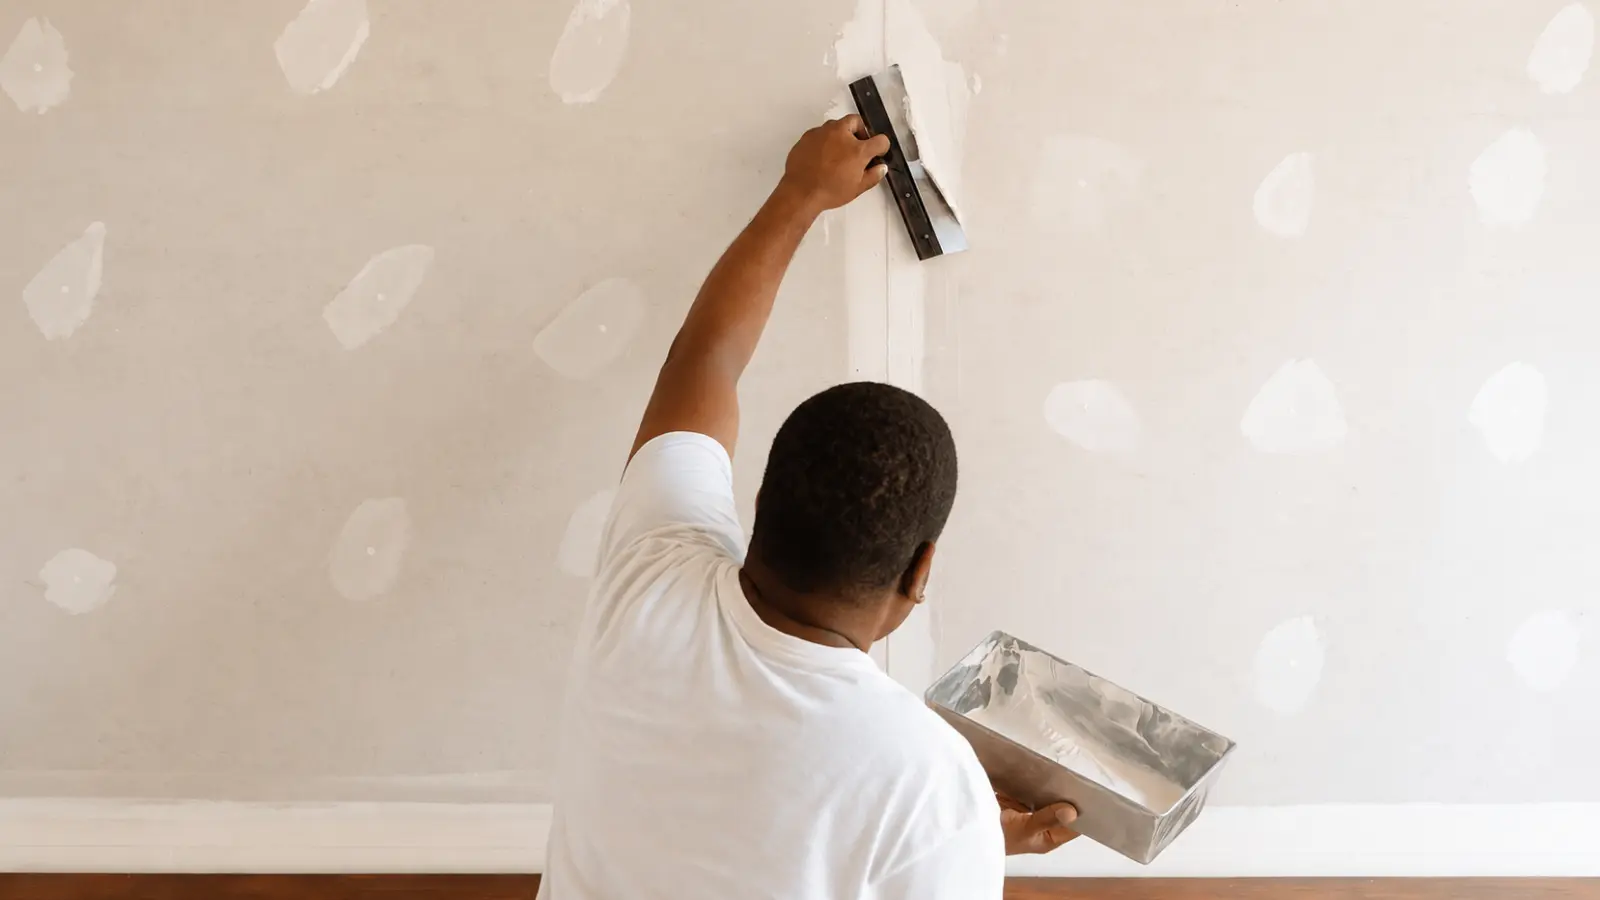
New drywall is not paint-ready the moment it is hung. The finish is built in stages:
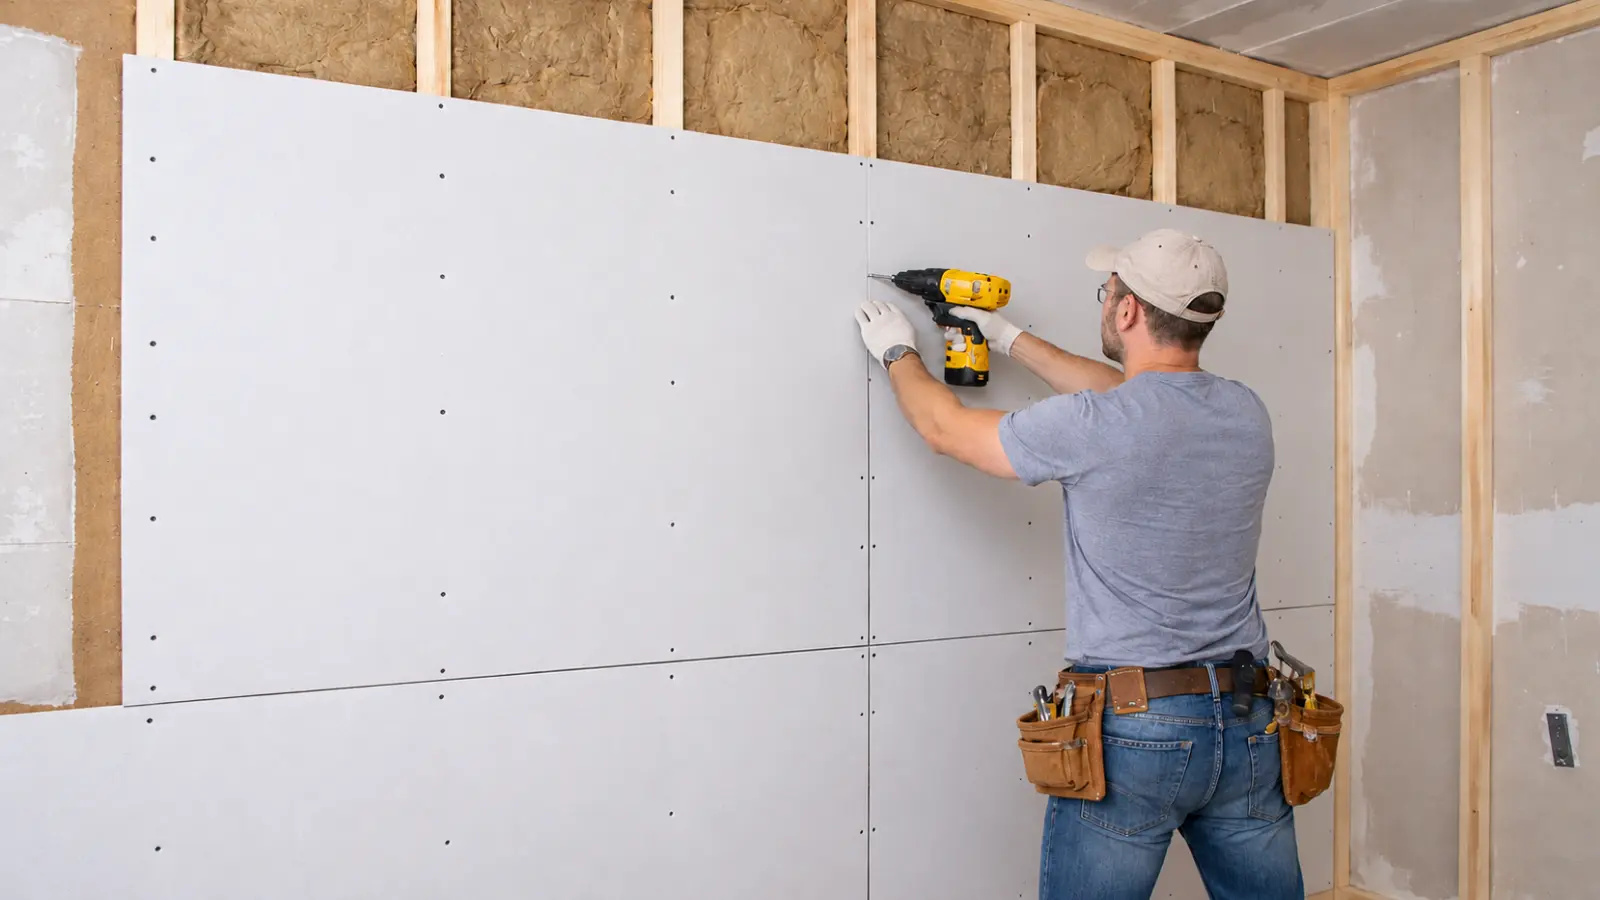
- Panels are installed and fastened so seams, openings and edges are ready for treatment.
- Tape and joint compound are applied to seams, corners and fasteners to create one continuous plane. This usually takes more than one thin coat.
- The compound dries and is sanded so the transition disappears without tearing the paper face or tape.
- Primer and paint go on once the surface is dry, smooth and dust-free.
Drying time depends on the product, how thick the coat is, and the temperature and humidity in the room, so follow the product label rather than a fixed schedule. Rushing a coat is a common reason for cracks, shrinkage and visible ridges.
Sanding joint compound makes fine dust that irritates the nose, throat and eyes. Wear eye protection and a well-fitted respirator suited to fine dust, ventilate the room, and check the product’s safety data sheet. On older surfaces, read the lead and asbestos notes above before you sand anything.
This sequence is also why a good patch can still show through paint. If the repair was not feathered into the surrounding wall, or the compound and paper face were not primed so they absorb paint evenly, the patch can look different from the wall around it. High-sheen paint and strong side lighting make those differences easier to see.
Related: Drywall Finish Levels Explained for finish-quality expectations
Understanding Drywall Starts With the Right Decisions
Drywall may look like a simple interior surface, but the right panel, installation method and repair approach depend on the location, the condition of the material and the wall or ceiling system behind it. A small cosmetic defect may need only a straightforward patch, while moisture, recurring cracks, hidden utilities or fire-rated construction require a more careful assessment.
Start by identifying what you are working with and what the project actually needs. Whether you are choosing new panels, planning installation or evaluating damage, understanding the basics will help you select the appropriate materials, recognize when professional help is necessary and move confidently to the next step.
Frequently Asked Questions
Is drywall the same as Sheetrock?
Drywall is the general name for gypsum panels used to finish interior walls and ceilings, while Sheetrock® is a drywall brand manufactured by USG. The terms are often used interchangeably, but panels should be selected by their thickness, performance specifications and intended application rather than the brand name alone.
What are the different types of drywall?
Common types include standard drywall for dry interior areas, moisture- and mold-resistant panels for certain damp-prone locations, Type X panels for specified fire-resistant assemblies, sound-control panels and abuse-resistant products. Each serves a different purpose, and specialty drywall must be installed as part of an appropriate wall or ceiling system.
What thickness of drywall should I use?
Half-inch drywall is common for residential walls and many ceilings, while 5/8-inch panels are frequently used where greater stiffness or a specified fire-resistant assembly is required. The correct thickness depends on framing spacing, ceiling conditions, manufacturer instructions and applicable building requirements.
Can drywall be used in a bathroom?
Yes, but the appropriate panel depends on moisture exposure. Standard drywall may be suitable for dry bathroom areas, while moisture-resistant products can be appropriate in certain damp locations. Shower and tub surrounds generally require a compatible backer and waterproofing system rather than ordinary drywall alone.
Should damaged drywall be repaired or replaced?
Small holes, dents and stable cracks can often be repaired when the surrounding drywall is dry, sound and securely attached. Replacement may be necessary for extensively damaged, softened, moldy or deteriorated panels. Always correct leaks, structural movement or other underlying problems before repairing the visible surface.
Does old drywall contain asbestos?
Some older drywall assemblies may contain asbestos in joint compounds or textured finishes, although asbestos cannot be identified by appearance alone. Before sanding, cutting or demolishing suspected materials, consult an accredited asbestos professional about appropriate testing and safe handling. Intact materials that remain undisturbed generally present less exposure risk.