
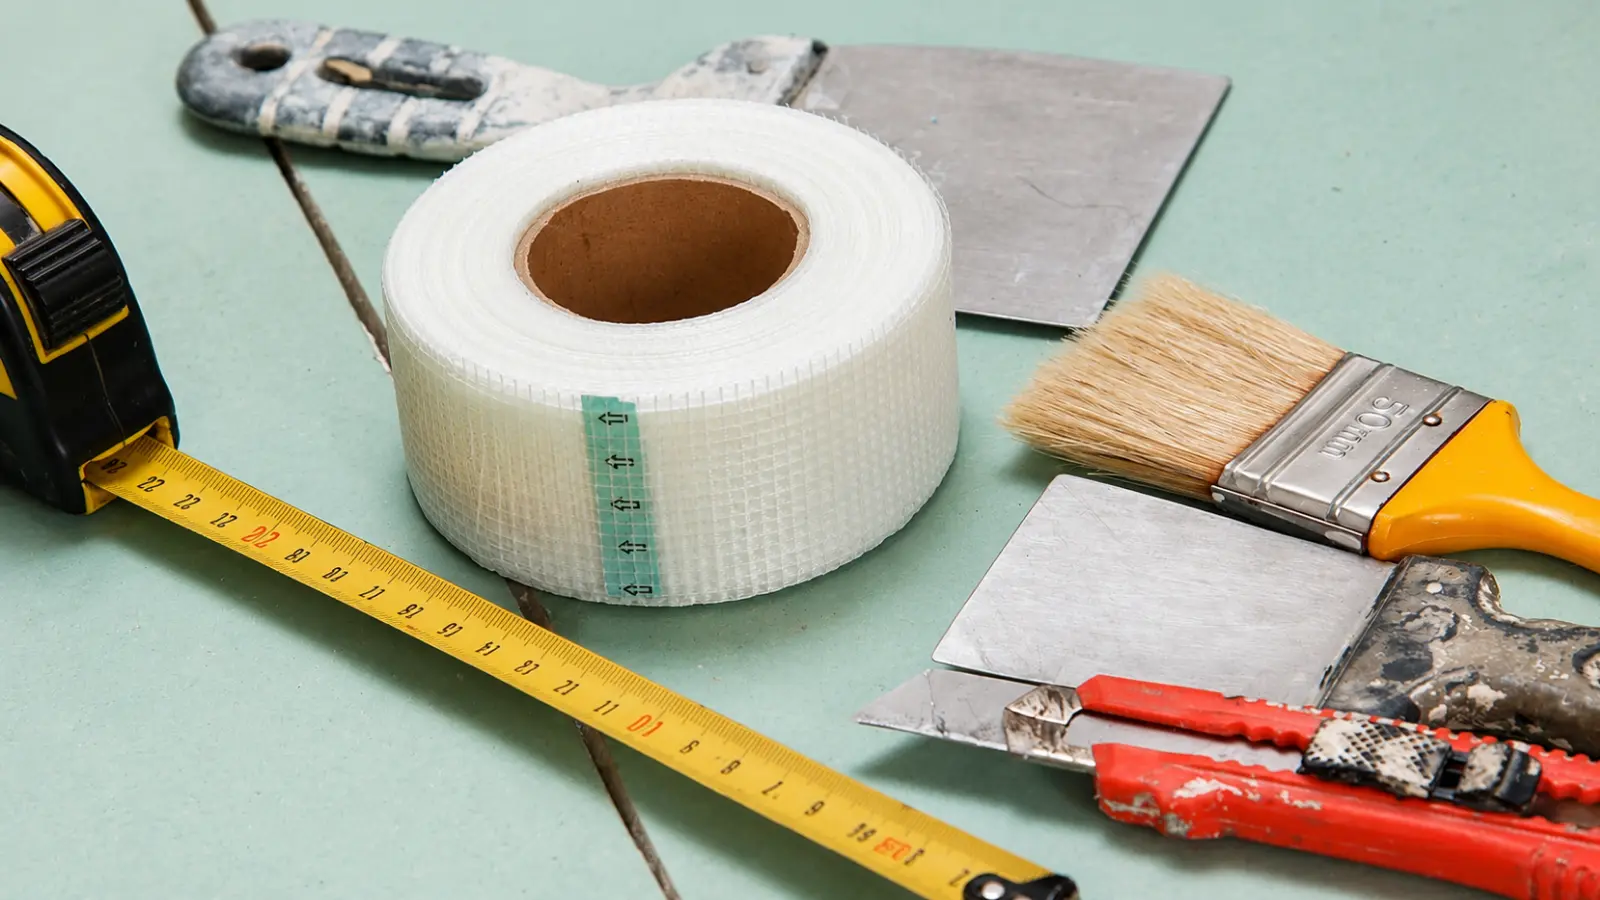
Choosing the right drywall tools makes cutting, hanging, repairing, and finishing drywall easier and more manageable. However, the equipment you need depends on the project. Filling a nail hole requires only a few basic hand tools, while installing full drywall sheets involves measuring, cutting, fastening, and safely handling heavy panels.
For most home projects, a utility knife, tape measure, drywall finishing knives, and sanding supplies form the foundation of a practical toolkit. Larger installations may also require a drywall T-square, jab saw, screw gun, and panel-lifting equipment. Knowing which tools are essential, optional, or worth renting can help you avoid unnecessary purchases.
This guide explains the drywall tools used for measuring, cutting, hanging, taping, and finishing, with recommendations based on project size. You’ll also learn how to choose finishing knives and sanding equipment, reduce drywall dust, handle heavy sheets, and plan safer ceiling work.
Older Homes: Check Before You Sand, Scrape, or Cut
Lead. Sanding, cutting, or scraping painted drywall in a pre-1978 home can create lead-contaminated dust if lead-based paint is present. The EPA recommends lead-safe work practices for do-it-yourself renovation in these homes, and ordinary drywall-dust cleanup is not a substitute.
Asbestos. Patching and joint compounds and textured coatings in older homes are among the products that may contain asbestos, and you cannot tell by looking. The Consumer Product Safety Commission warns that sanding or scraping them can release fibers. Do not sand or scrape a potentially asbestos-containing surface until it has been assessed by a qualified professional.
Drywall Tools by Project Size
Match your kit to the job. The list below follows the tools USG’s installation guide names for hanging and finishing, trimmed to what each project actually needs.
| Tool | Small Repair | Patch Piece | Wall or Room | Ceiling |
|---|---|---|---|---|
| Tape measure and pencil | Yes | Yes | Yes | Yes |
| Utility knife with spare blades | Yes | Yes | Yes | Yes |
| Safety glasses, dust mask, cut-resistant gloves | Yes | Yes | Yes | Yes |
| Drop cloths and a damp sponge | Yes | Yes | Yes | Yes |
| 5-inch finishing knife | Yes | Yes | Yes | Yes |
| 8-inch and 10-inch finishing knives | Optional | Optional | Yes | Yes |
| Mud pan | Yes | Yes | Yes | Yes |
| Sanding sponge or sanding block | Yes | Yes | Yes | Yes |
| 4-foot straightedge or drywall T-square | No | Yes | Yes | Yes |
| Jab saw or keyhole saw | No | If needed | If needed | If needed |
| Screw gun or drill with depth-setting head | No | Yes | Yes | Yes |
| Stepladder | If needed | If needed | If needed | Yes |
| Panel lifter or capable helper | No | No | Helper or lifter | Lifter, helpers, or both |
| Mud mixer | No | No | If mixing powder | If mixing powder |
| Pole sander with dust collection | No | No | Optional | Optional |
Two extras sit outside the table because they depend on the wall: a stud finder and a non-contact voltage tester. Both are optional additions for cutting into an existing wall, and the next section explains why neither is proof of what is behind the surface.
Measuring, Marking, and Cutting Tools
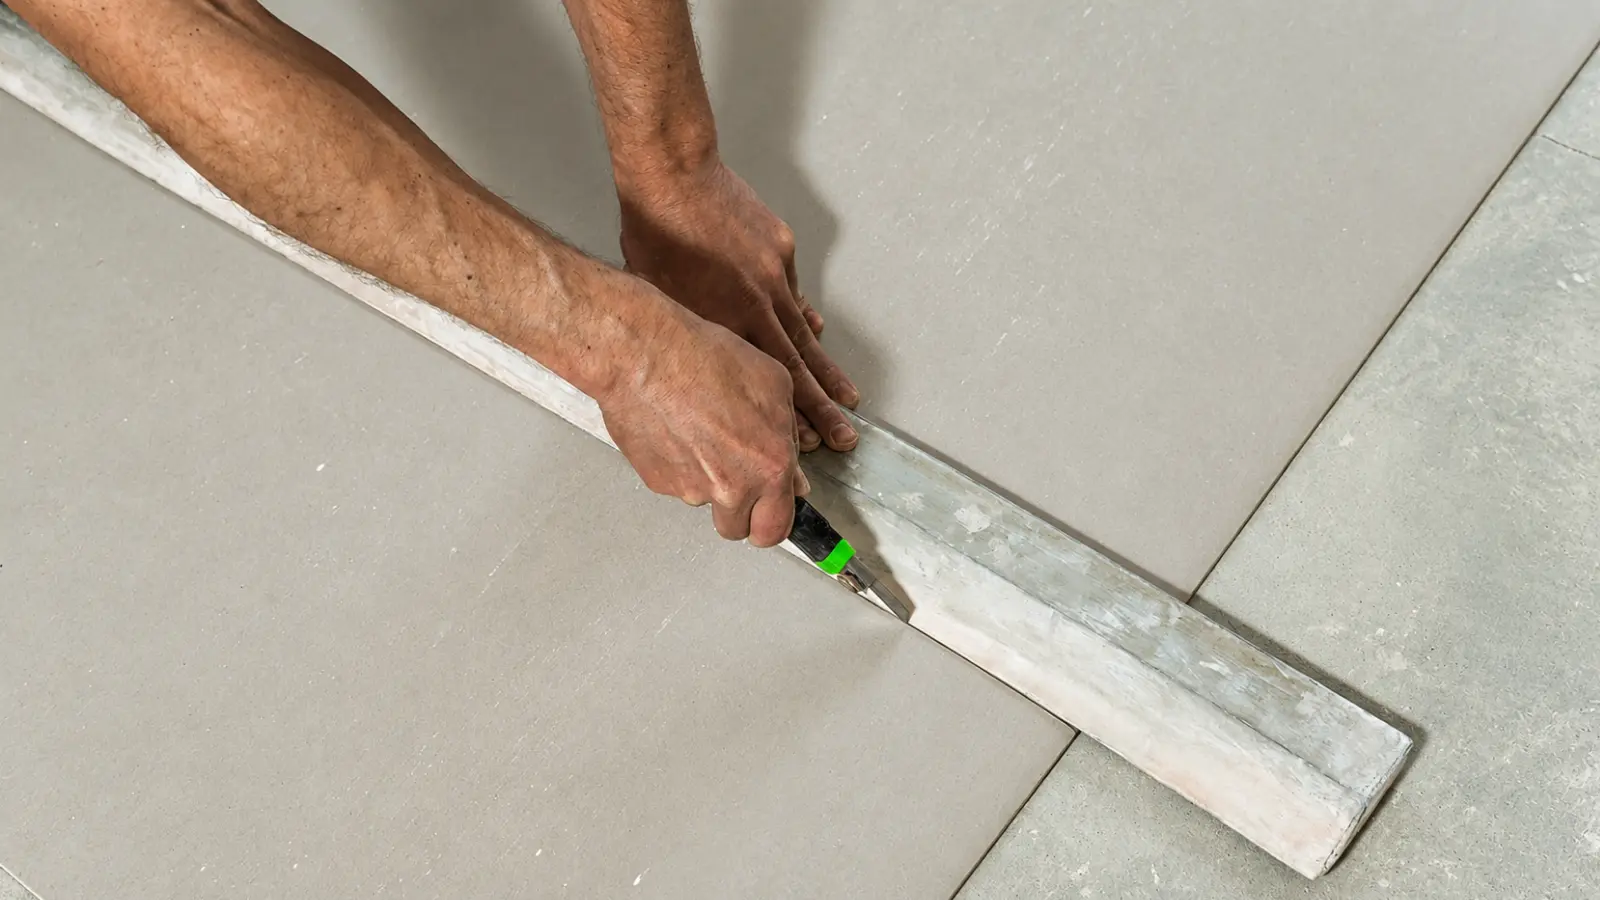
Accurate layout matters more than a faster saw. Each tool below has one job in the cut.
- Metal tape measure and pencil: transfer panel, opening, and cut-line measurements.
- 4-foot straightedge or drywall T-square: keeps the score line straight across the sheet. Hold it firmly against the panel while you score.
- Utility knife: scores through the face paper and lightly into the core. You then snap the board along the line and cut through the back paper to finish. A fresh blade cuts more predictably than a dull one.
- Drywall rasp, or sandpaper wrapped around a block: smooths the cut edge and keeps it square.
- Jab saw or keyhole saw: cuts openings that cannot be reached from an edge, such as an outlet or switch box.
- Rotary cutout tool (optional): USG’s guide lists it as another way to cut electrical-box openings. Wear a dust mask if it kicks up dust, as USG advises.
Wear a glove on the hand that holds the panel while you score. Panels are heavy enough to bend or snap under their own weight, so support the sheet before you score it.
Before Cutting Into an Existing Wall
Do not assume the cavity behind the drywall is empty. Wires, pipes, ducts, and blocking can sit just behind the surface, and older or remodeled homes may not follow standard layouts. Before cutting near a switch, outlet, or fixture, turn off the circuit and confirm it is dead with a tester; a breaker label is not proof. If you cannot identify the circuit, or you find damaged or unfamiliar wiring, stop and call a licensed electrician. A stud finder can locate framing, but treat its reading as a clue, not proof of what is behind the wall.
Fastening Tools: Screw Gun or Drill
For fastening panels, USG’s guide calls for an electric screw gun with an adjustable depth-control head and a Phillips bit. The head stops each screw just below the panel surface, which is the goal: the screw sits slightly recessed and the face paper stays intact. A regular drill can do the job if you are careful not to overdrive the screws, but it has no built-in stop.
The fastener matters as much as the tool. For single-layer panels on wood framing, USG specifies 1-1/4-inch Type W bugle-head screws, spaced no more than 12 inches apart on ceilings and 16 inches on walls, and says they hold better and pop less than wallboard nails. Metal framing, double layers, and fire-rated or sound-control assemblies have their own requirements, and a generic fastening pattern cannot confirm that one of those assemblies has been preserved.
After fastening, a quick check catches problems before finishing: draw a clean knife over each screw head. If the knife rings against the metal, the screw sits proud and needs to be driven slightly below the surface, taking care not to tear the paper.
Handling and Lifting Tools
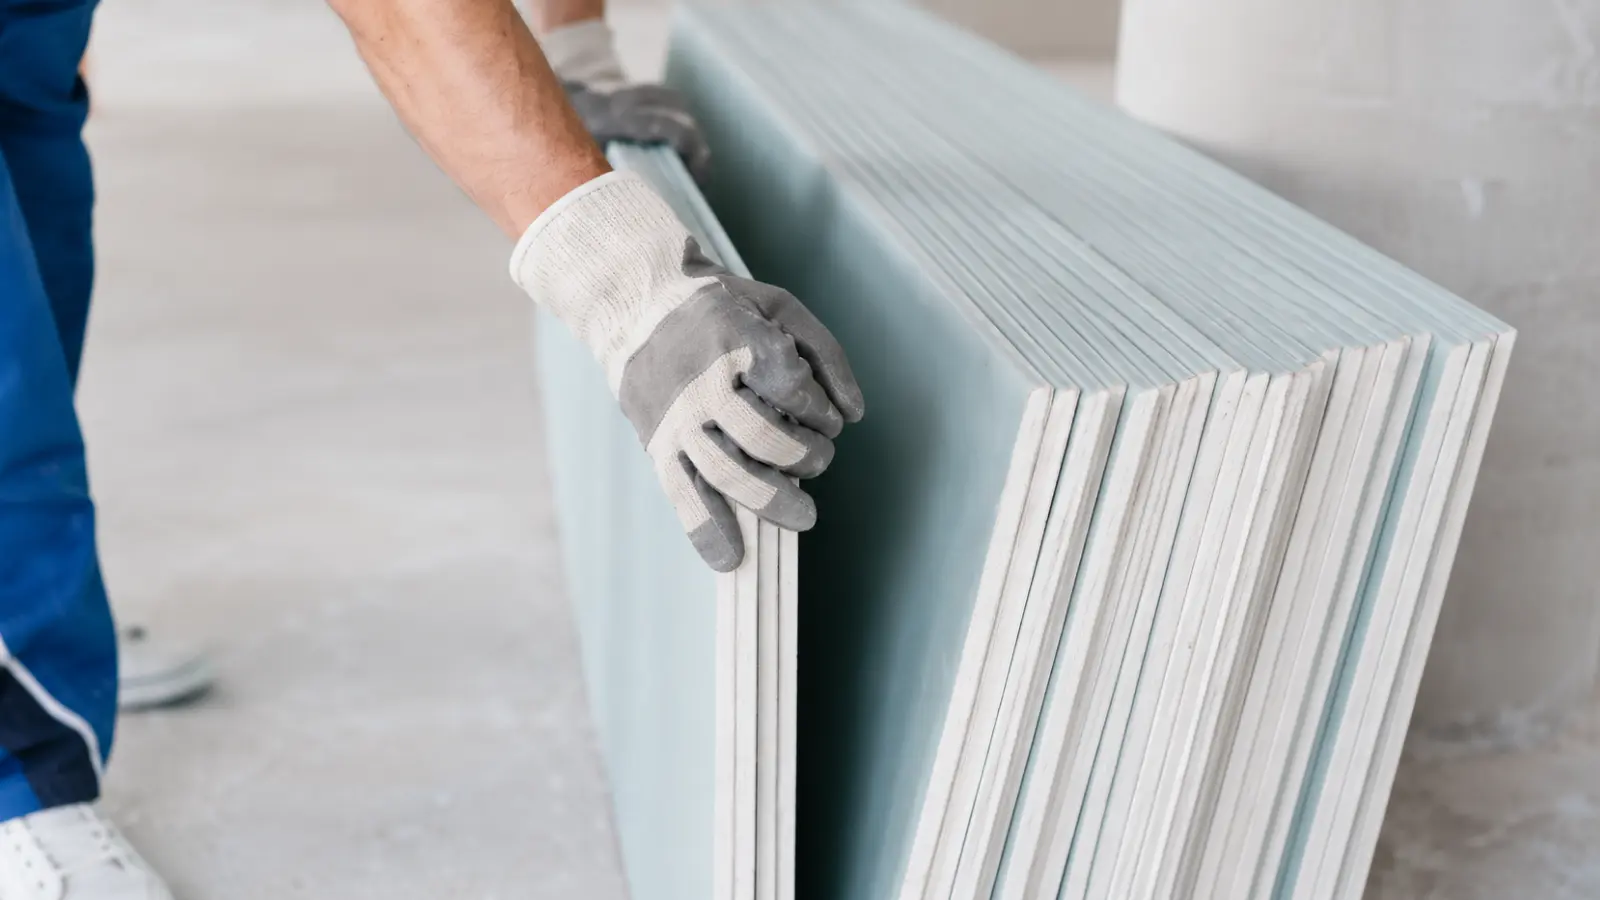
Full sheets are awkward and heavy. The Gypsum Association’s handling and storage guide notes that stacks of panels are very heavy and can become unstable, and that people handling them should follow industry work and safety rules. Plan the carry route and the number of people before you pick up a sheet.
For walls, a panel lifter helps place the bottom row of panels, and USG’s guide notes lifters are available at many building-material rental outlets. For a patch, a smaller replacement piece and drywall repair clips, which USG describes in its repair instructions, can eliminate the need to maneuver a full sheet at all. Some manufacturers also sell small patch panels made for repairs.
Finishing Tools
Finishing tools apply, feather, and remove compound so a seam, patch, or fastener head becomes flat and paint-ready. The tool that matters most is the finishing knife, and size is the main decision.
- 5-inch knife: USG uses it to embed tape, cover fastener heads, and apply first coats. It is the one knife a small repair truly needs.
- 8-inch knife: for second coats on flat joints, because a wider blade feathers the compound farther from the joint.
- 10-inch knife: for the thin final coat on flat joints, so the repair blends into the surrounding wall.
- Mud pan: holds the compound. Keep the pan and blade clean, and discard any compound with dried bits in it, because those scratch the wet surface.
- Mud mixer: only if you are mixing powdered compound or thinning ready-mixed compound. Thinning is product-specific; USG’s guide adds water in small increments, so follow your label.
- Small-celled sponge: wipes sanding dust and doubles as a wet-sanding tool.
- Tin snips: cut metal corner bead to length. Wear gloves.
USG’s tool line also includes quick-change taping knives, corner bead hoppers, and outside corner rollers. They speed up repeated work and are aimed at professionals, so they are not needed for most home projects.
Whatever you choose, use tape and compound that are meant to work together, and follow their instructions for mixing, application, drying, and recoating. They are not interchangeable.
Sanding Tools and Dust Control
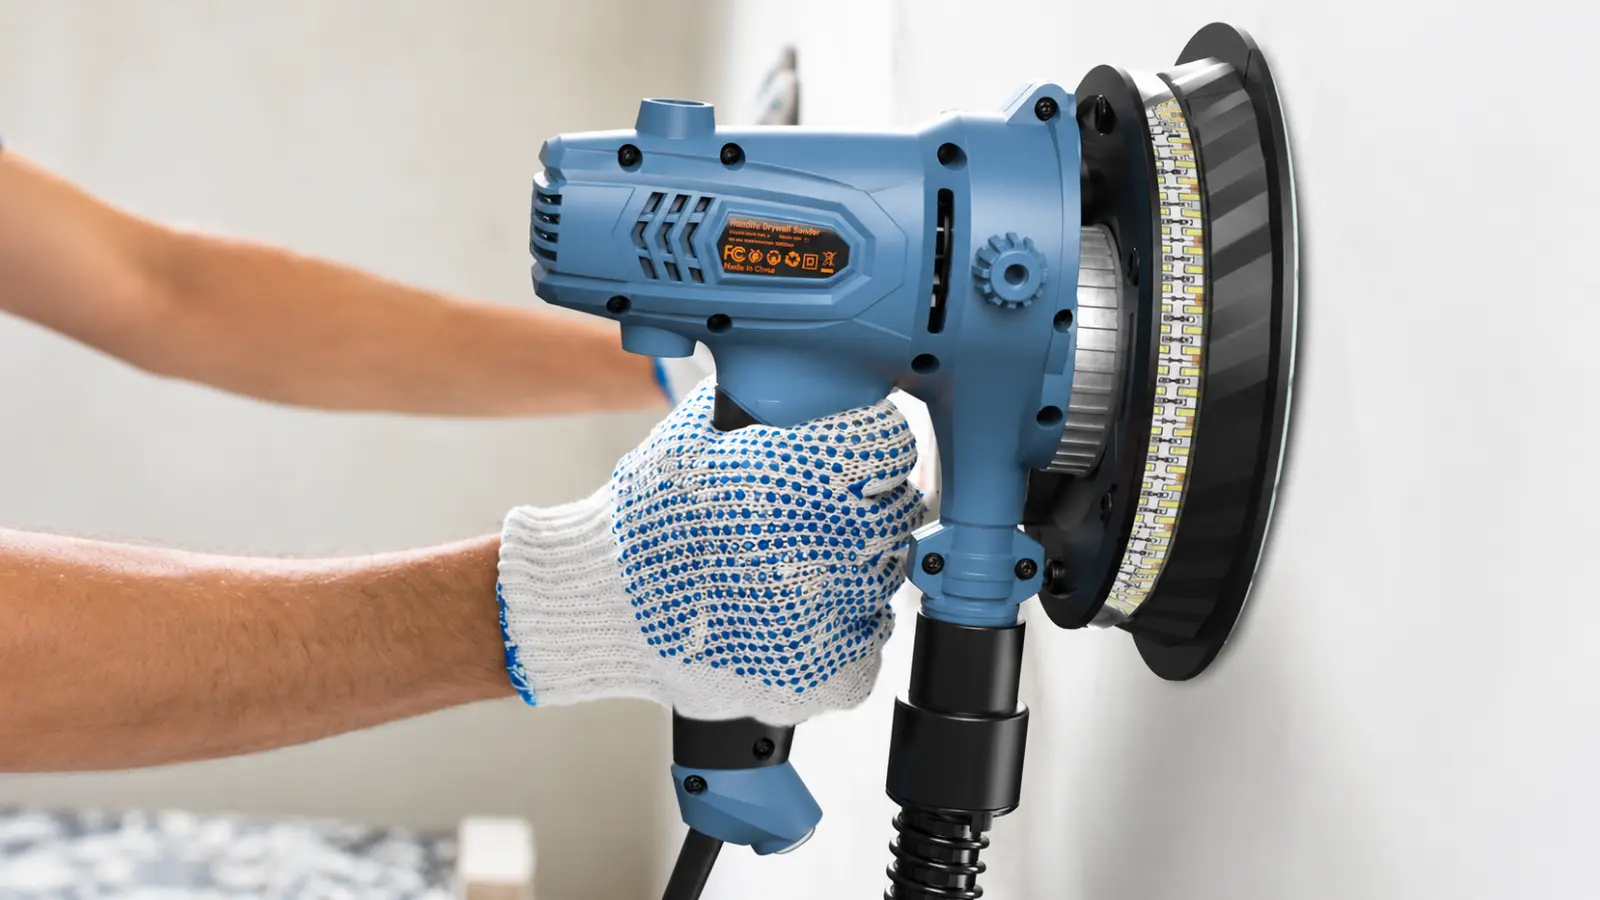
USG’s guide says to sand only when it is necessary, using fine-grit paper (150 or 220 grit) or a sanding sponge. Wrapping sandpaper around a block keeps you from digging into the compound. Beyond that, the sanding method is mostly a dust decision.
NIOSH has studied drywall sanding exposures in workers, so its numbers are context, not a promise for your room. In a 1994 study of five vacuum sanding systems, exposures fell by 80% to 97% compared with sanding without ventilation. NIOSH has not tested newer systems but expects them to perform well, and it suggests that switching from hand sanding to pole sanding might reduce exposure as well. Here is how the options compare:
- Wet sanding with a damp sponge: USG says it eliminates dust and does not scuff the surface paper when only minimal sanding is needed, and a NIOSH health hazard evaluation of drywall finishing, summarized by eLCOSH, recommended wet-finishing techniques.
- Sanding tool with vacuum or dust collection: USG recommends HEPA-filtered dust collection with power sanding. It reduces the dust cloud but does not remove the need to protect the room.
- Pole sander: helps on broad or high areas, and NIOSH suggests it may reduce exposure compared with hand sanding.
- Plain dry hand sanding: the simplest option, and the one that controls dust least. It is reasonable for a small spot repair when you wear a mask and glasses.
Dust control comes first, and a mask is the backup. NIOSH’s construction respirator guidance, written for workers, says to use NIOSH-certified respirators designed for the application, and the same sense applies at home: look for NIOSH certification, and make sure the mask fits. Wear safety glasses, close off the room, lay drop cloths, and wipe sanding dust with a damp sponge afterward.
Ceiling Work: Why Support Is a Safety Decision
Ceiling panels have to be held overhead, aligned, and fastened while gravity works against you. USG’s guide calls panels difficult to maneuver overhead and says to have a helper or two. It names a panel lifter as the preferred method and describes site-built T-braces, which are 1-by-4 boards nailed to 2-by-4 uprights cut slightly longer than the floor-to-ceiling height, as a way to support a panel while driving fasteners.
Do not plan around balancing a full sheet with one hand while fastening with the other. If you cannot raise, position, and secure the panel with stable access and controlled support, change the plan: rent a lift, bring capable help, use smaller pieces where appropriate, or hire a professional. Use a stable stepladder, keep your weight centered, and do not overreach.
Stop Before Installing Under a Compromised Ceiling
If the existing ceiling has water damage, sagging, loose pieces, or uncertain framing, do not start hanging panels. Do not work beneath a ceiling that may be unstable until a qualified professional has assessed it. The same applies if the ceiling is part of a fire- or sound-rated assembly: no tool choice resolves an unknown or compromised condition, and requirements vary locally.
Choose Drywall Tools That Match the Work
The best drywall tools are the ones that help you complete your specific project safely and efficiently. Small repairs rarely require more than basic measuring, filling, and finishing equipment, while larger installations benefit from accurate cutting tools, controlled fastening, wider finishing knives, and proper panel support. Buying every specialized tool is rarely necessary for occasional home repairs.
Before starting, consider the size of the job, the condition of the wall or ceiling, and how you’ll manage dust, access, and heavy materials. Invest in versatile tools you’ll use again, and consider renting equipment such as a drywall lift for occasional projects. When hidden utilities, hazardous finishes, or unstable surfaces are involved, resolve those risks before reaching for a tool.
Frequently Asked Questions
What tools do you need for drywall installation?
Basic drywall installation tools include a tape measure, pencil, utility knife, drywall T-square, jab saw and screw gun with depth control. Finishing requires taping knives, a mud pan and sanding supplies. Larger projects may also need a panel lifter, wider finishing knives and dust-collection equipment.
What tools do you need for a small drywall repair?
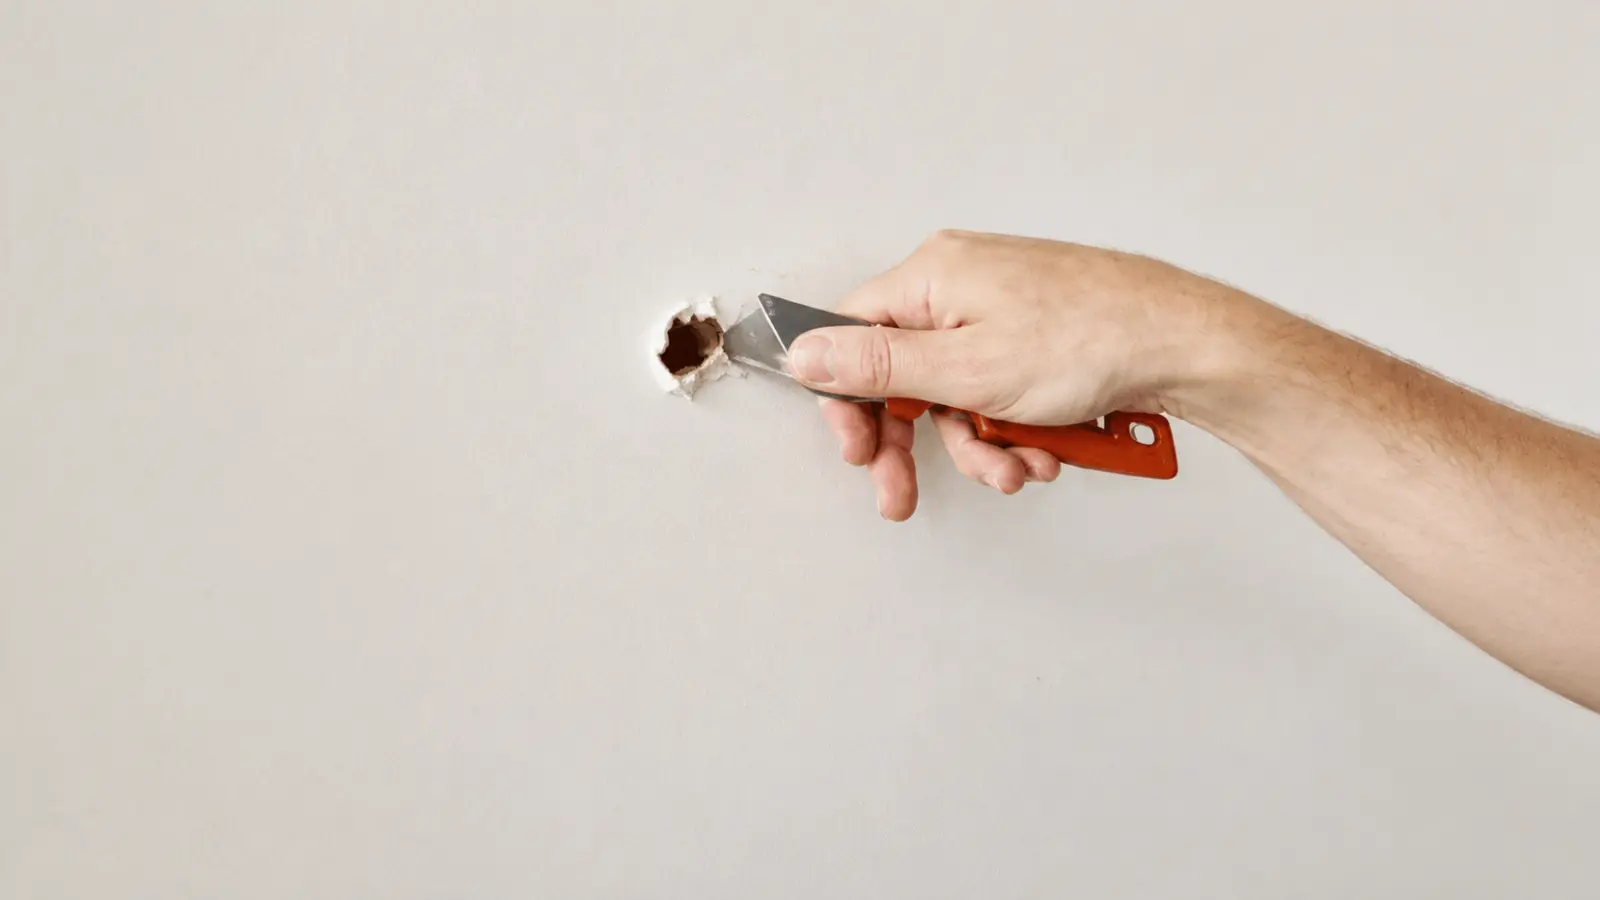
Most small drywall repairs require a putty or finishing knife, patching compound, fine-grit sanding sponge, damp cloth and painting supplies. A utility knife helps remove loose material, while larger patches may need a saw, replacement drywall and fasteners. Choose tools according to the damage rather than buying a complete installation kit.
What size drywall knives do you need?
A 5-inch drywall knife handles small patches, tape embedding and initial coats. An 8-inch knife helps feather wider joints, while a 10-inch knife produces smoother transitions on final coats. Small repairs rarely require all three sizes, but larger finishing projects benefit from wider blades.
Can you use a regular drill instead of a drywall screw gun?
Yes. A regular drill with a drywall depth-setting bit can fasten panels, although a dedicated screw gun provides more consistent depth control. Screw heads should sit slightly below the surface without tearing the drywall paper. Avoid overdriving fasteners, which can weaken their hold.
What is the best tool for sanding drywall without making dust?
A vacuum-assisted drywall sander with suitable dust collection is effective for larger areas, while a damp sanding sponge helps minimize airborne dust during light finishing. Neither approach eliminates every exposure risk. Use appropriate respiratory protection and check older surfaces for possible lead or asbestos before disturbing them.
Do you need a drywall lift to install ceiling drywall?
A drywall lift is not always required, but it provides controlled support when positioning heavy sheets overhead. Capable helpers and properly designed temporary supports are alternatives. Never attempt to balance a full panel while fastening it alone. Renting a lift is often practical for a one-time ceiling project.