
Learning how to patch a small hole in drywall is a straightforward home repair when the surrounding wall is dry, firm, and in good condition. Nail holes, screw holes, and minor anchor marks can often be filled with spackling compound, smoothed, and painted without cutting out or replacing any drywall.
The key is knowing when filler is enough. A shallow hole with solid edges usually needs only a simple surface repair, while crumbling drywall, missing backing, moisture damage, or a loose fastener may require a different approach. Choosing the right material and allowing it to dry properly also helps prevent shrinkage, visible ridges, and patches that show through paint.
This guide explains how to patch a small hole in drywall step by step, from preparing the surface and applying filler to sanding, priming, and touching up the paint. You’ll also learn how to handle common variations, including nail pops, torn paper, dents, and drywall anchor holes, and when a larger repair is necessary.
Is It Really a Small Hole?
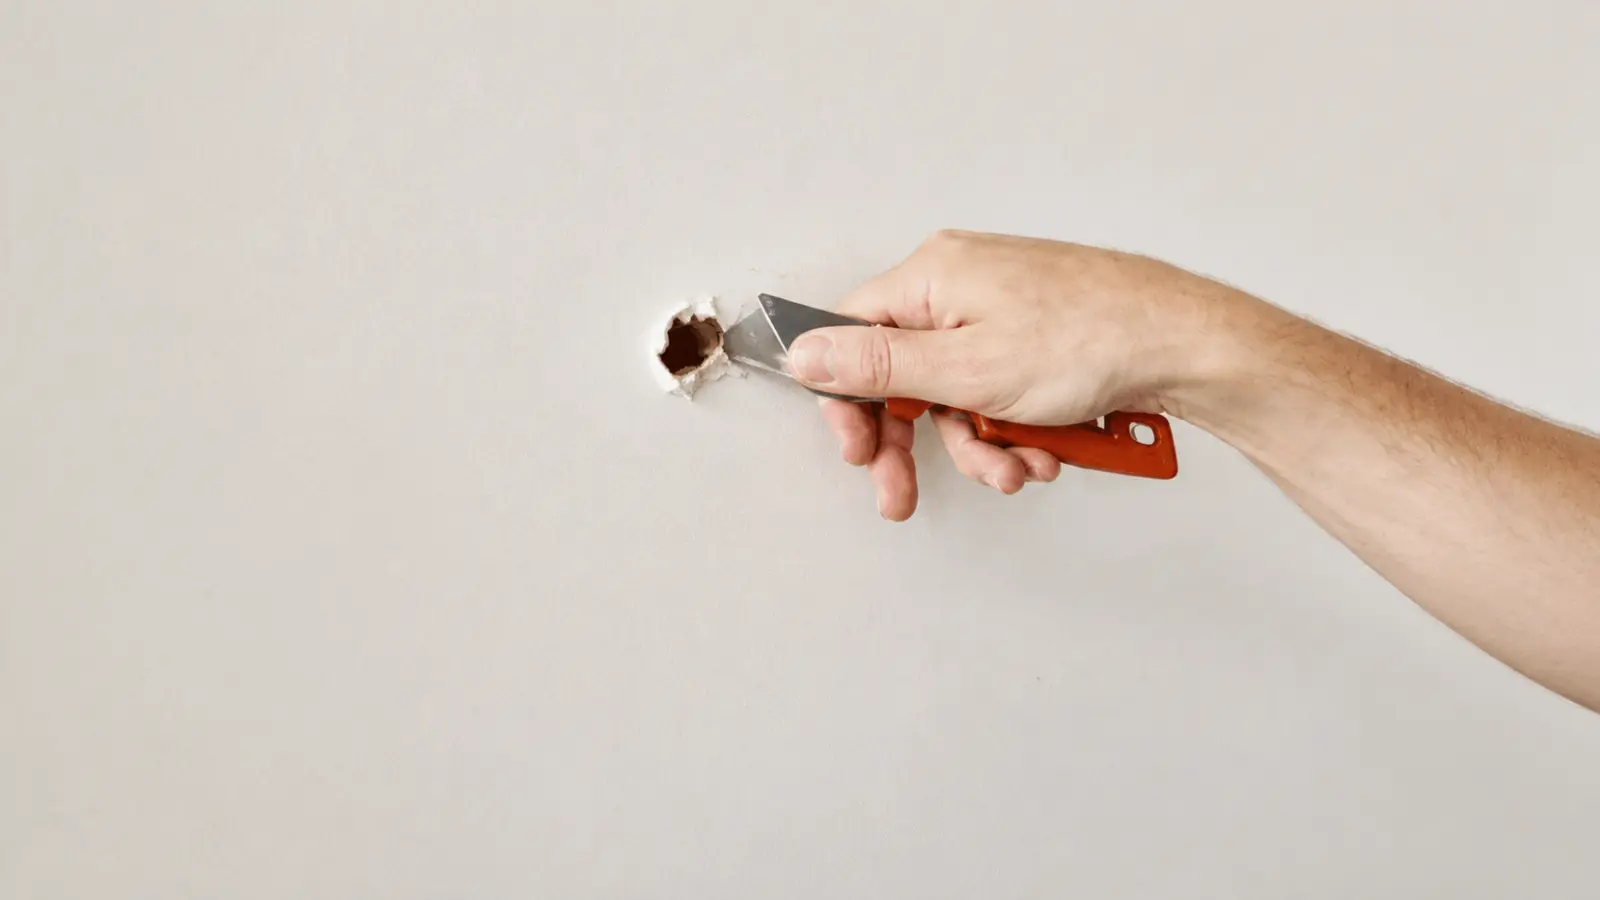
It is a small-hole repair when the compound has solid drywall to grip on every side and the surface can be made flat without rebuilding missing board. No single diameter separates small from large, because depth, edge condition, and the product you use all matter. Patch kits list their own size ranges on the package.
A quick test: press a putty knife lightly across the opening. If the edges hold and there is a back to fill against, filler will work. If the knife would push compound into an empty wall cavity, or the edges flake away, the hole needs backing or a patch.
| Damage | Is Filler Enough? | What Changes the Decision |
|---|---|---|
| Nail or screw hole | Yes, if the paper and gypsum around it are firm | A bump, ridge, or crack over the fastener usually means a popped fastener (see below) |
| Anchor hole | Usually, once the anchor is out or sits below the surface | Crushed gypsum around the hole, or plans to hang something heavy in the same spot |
| Shallow dent or scrape | Usually | Torn or lifted face paper must be removed and skim-coated |
| Small puncture (doorknob, furniture corner) | Sometimes | Broken edges, or a visible cavity behind the hole, call for a patch or backing |
| Stain, soft spot, swelling, or a crack that keeps returning | Not yet | Find and fix the cause first, because moisture or movement will bring the damage back |
A hole made by a doorknob is simple damage. A soft spot, brown stain, bubbling paint, or a crack that reopens is a symptom, and filling it does not stop whatever is behind it. One symptom can have several causes, and you can’t tell which from the surface alone.
Choose the Right Filler or Patch
Use the lightest method that fully restores a flat surface. Products in this category differ in strength, depth limits, and drying behavior, and the label controls the details.
| Option | Best For | Watch For |
|---|---|---|
| Lightweight spackling | Nail holes, screw holes, small dings | Shallow fills only. Check the label for maximum depth per coat |
| Heavier spackling or ready-mixed patching compound | Deeper fills that need more body and sanding | Usually applied in layers, and many instructions call for primer afterward |
| All-purpose joint compound | Skim coats over torn paper and wider, shallow areas you need to feather out | Plan on sanding and priming |
| Setting-type compound (powder you mix) | Deeper repairs that need to harden rather than just dry | Mix only what you can apply before it sets, and follow the bag |
| Self-adhesive mesh patch | Holes with missing board, within the size range on the package | Creates a wider area to finish, and is unnecessary for a nail hole |
Depth is the limit most people miss. As one example, DAP lists about 1/8 inch as the depth for one application of its DryDex spackling and tells you to build deeper repairs in layers, letting each dry. Other products allow more or less, which is why the label matters. A patch that sits proud of the wall also needs a wider feathered finish than a simple filled hole.
Before You Start
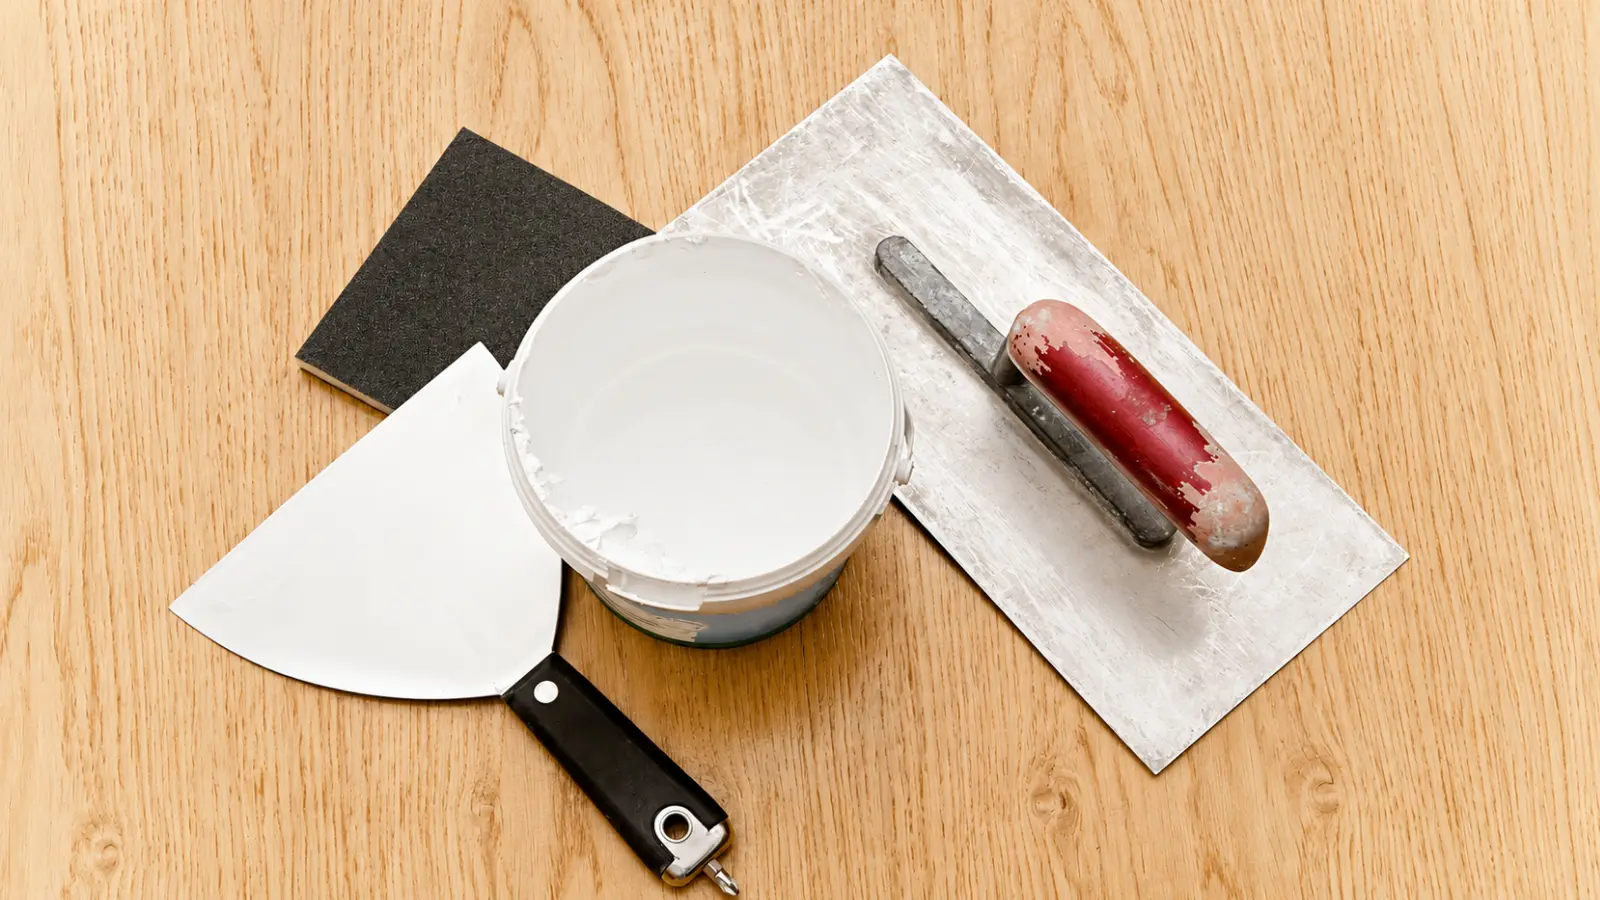
Gather what the repair needs and nothing more.
- Required: a clean putty knife or small drywall knife, patching compound or spackle rated for interior drywall, fine sandpaper or a sanding sponge, a damp cloth, matching paint, and primer if your product calls for one.
- Optional: a flashlight to check the surface at a low angle, a wider knife for feathering larger fills, painter’s tape, and a drop cloth.
The wall should be dry and clean, and the room above the minimum working temperature on the label. Products in this category list minimums from roughly 40°F to 55°F.
Warning: Lead Paint in Older Homes
Homes built before 1978 may have lead-based paint, and sanding painted surfaces can create lead dust. If you are not sure of your home’s age, assume the paint could contain lead. The EPA’s Renovation, Repair and Painting rule generally does not cover homeowners working on their own home, but it does cover paid contractors and rental properties, and the EPA recommends lead-safe practices for DIY work.
For a tiny fill, that means no dry sanding. Fill neatly so little sanding is needed, mist the area or use a damp sanding sponge, keep children and pets out of the room, and clean up with a HEPA vacuum and damp cloths. For anything beyond a minor repair on old paint, read the EPA’s lead-safe guide for DIYers or hire a lead-safe certified contractor.
How to Patch a Small Hole in Drywall
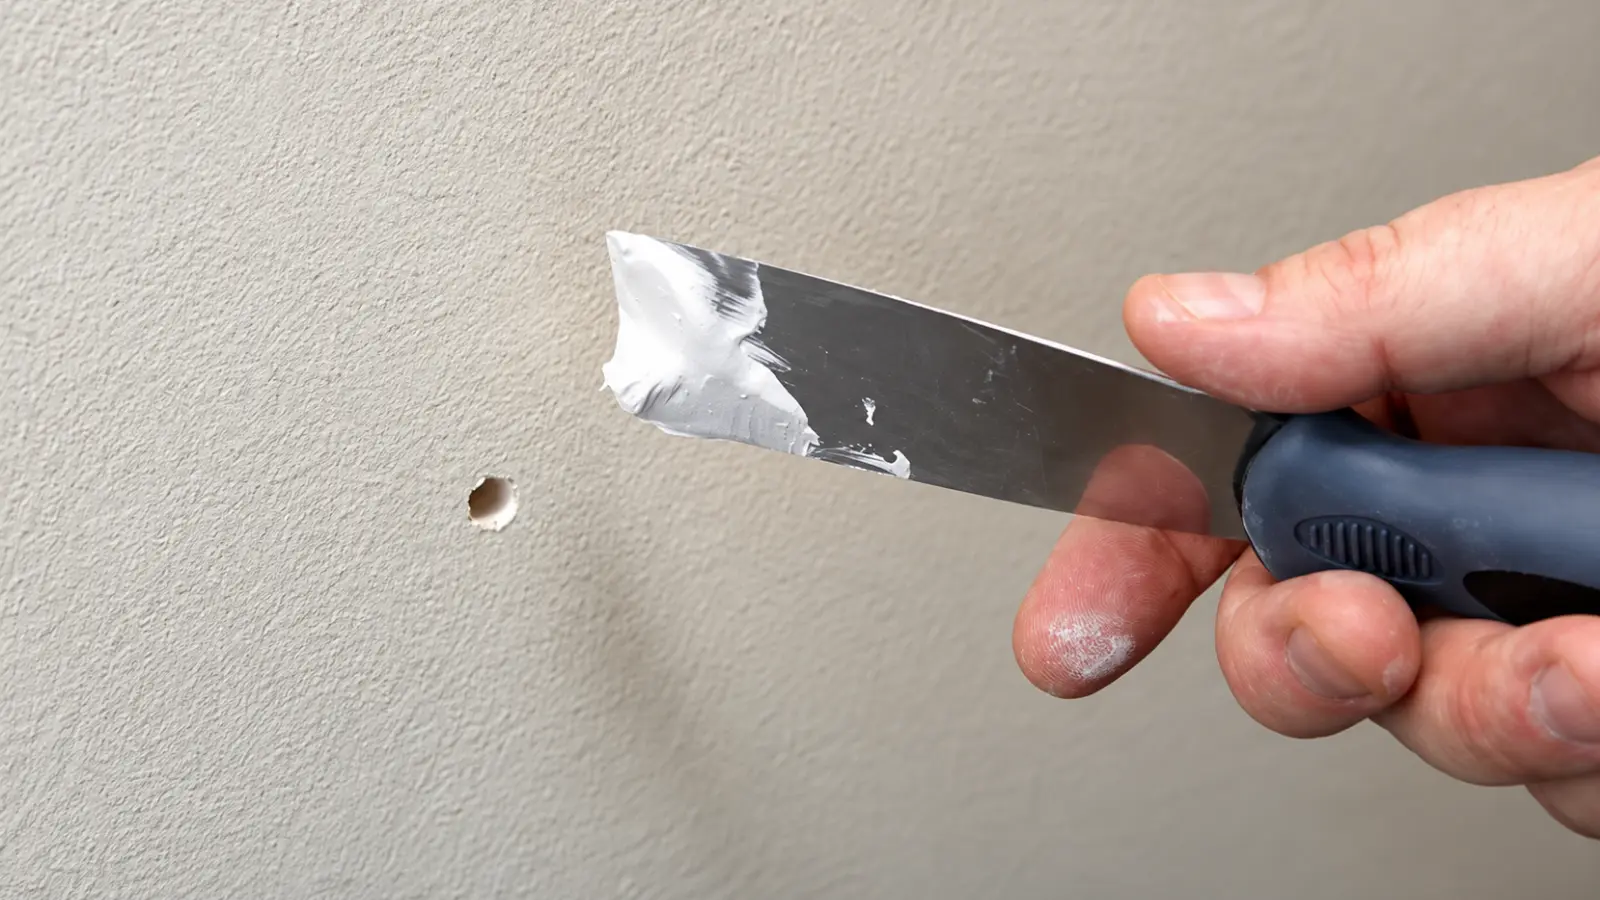
1. Clear Loose Material and Check the Edges
Brush away dust, then use the putty knife to lift loose paper, flaking paint, crumbled gypsum, or old filler that is no longer attached. Remove only what is loose. Do not widen a sound hole to make it neater.
The edges should feel firm when you press them, and the surface should be dry. Stop if the board crumbles or gives, or if the hole is close to an outlet, switch, or plumbing fixture. You can’t know what is behind the wall from the surface, so do not dig or enlarge it. Go to the section on larger repairs instead.
2. Fill the Hole
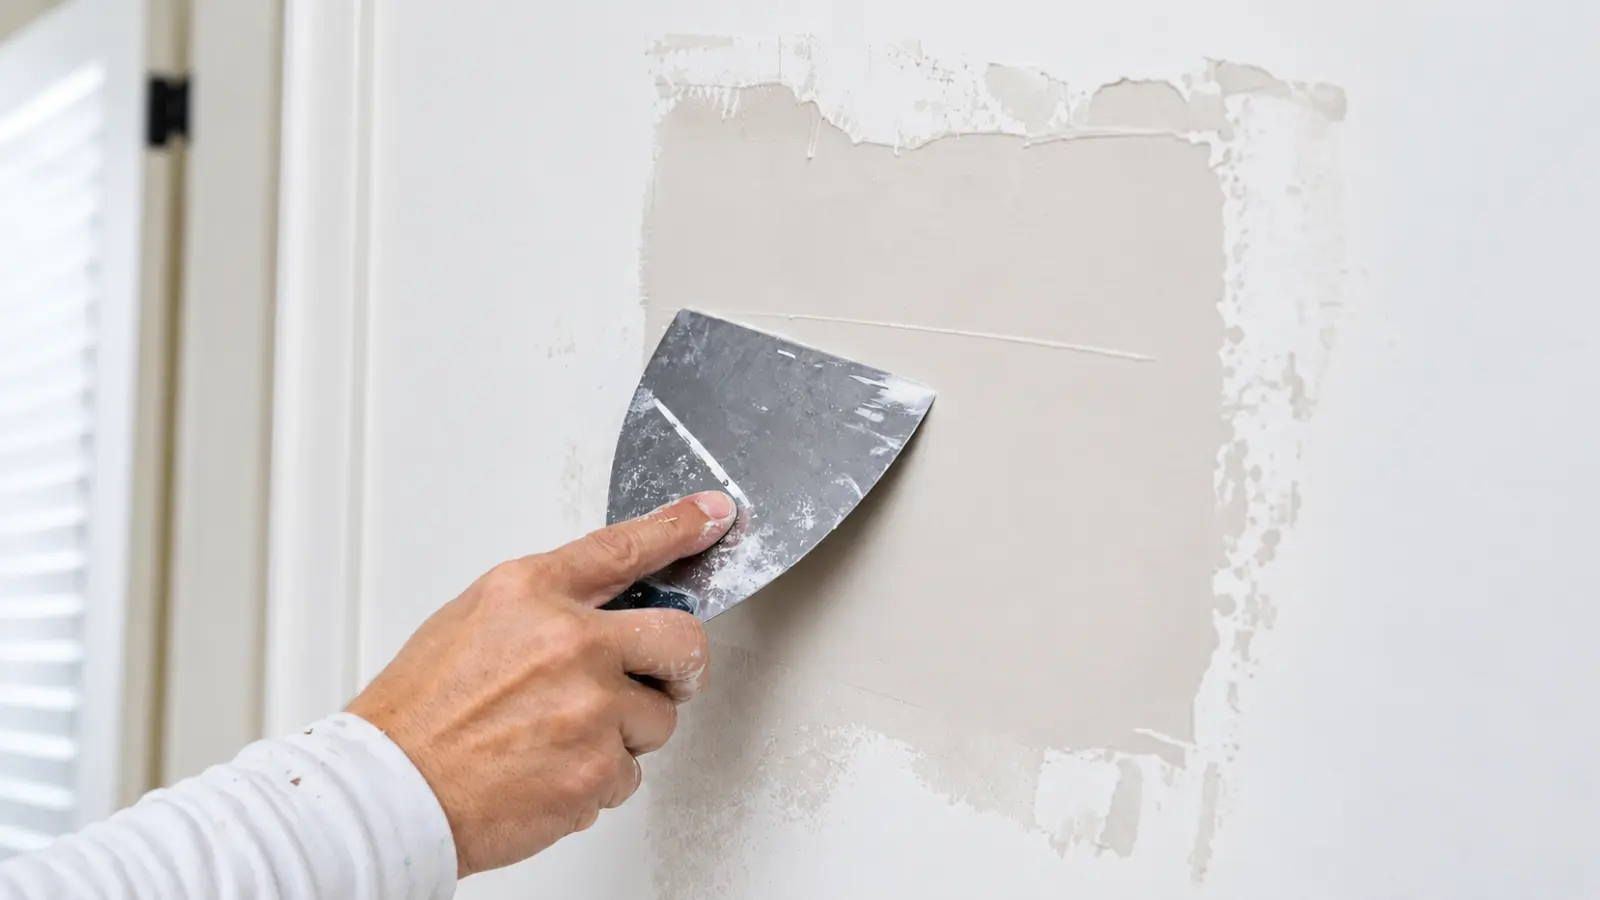
Load a little compound on the knife and press it firmly into the hole. Then draw the knife across at a shallow angle, once in each direction, to leave the surface level with the wall. The hole should be full with no gaps at the bottom and no tall mound on top. A mound looks like less work now and means more sanding, and more dust, later.
If the hole is deeper than the label’s depth for one application, fill it in layers instead of one heavy pass.
3. Let It Dry Completely
Follow the label. Dry to the touch is not the same as dry through, and drying time depends on temperature, humidity, and depth of fill. Label times in this category run from a few hours to about a day between coats. Some spackles change color as they dry, so you can see when they are ready. If your sandpaper clogs with compound later, the repair needs more time.
4. Check the Surface and Add a Thin Second Coat Only If Needed
Hold a flashlight at a low angle along the wall and run your fingertips over the repair. Dips and ridges show up clearly in that light. If the fill dried low, apply one thin coat that extends slightly past the first, so the edge blends gradually instead of ending abruptly. Let it dry the same way.
5. Sand Flush
Use fine sandpaper or a sanding sponge. USG’s repair instructions suggest 150-grit or finer for dry sanding, and sanding with a damp sponge cuts dust. Stop when the repair feels flush and shows no ridge in low-angle light. Sanding too hard can wear through the paper face of the drywall and leave a low spot. If the paint may contain lead, use the damp method from the warning above.
6. Wipe the Dust, Prime if Required, and Paint
Wipe the area with a damp cloth so no dust is left under the primer or paint. The next section covers priming and touch-up.
Popped Nails, Torn Paper, Dents, and Anchor Holes
The steps above cover a plain hole. These four variations need one extra move.
Popped Nails or Screws
A bump, small crack, or ring in the paint over a fastener usually means the board has loosened from the framing. Filling it does not fix the loose board. USG’s repair instructions drive a new fastener about 1½ inches from the popped one, then re-drive the popped fastener so its head sits just below the surface, then cover both with compound. Do not guess where the framing is. Use a stud finder, and stay clear of outlets, switches, and plumbing. If pops keep coming back or cracks spread, it is no longer a cosmetic problem.
Torn Face Paper
Peel off the loose paper first, then apply a skim coat of compound over the damaged area and feather the edges. Add a second coat if needed. Do not try to push compound under paper that is still lifting, because it will keep lifting.
Dents
USG’s instructions for a dent are to sand it first and then fill.
Anchor Holes
If the plastic anchor pulls out, remove it. If it won’t, tap it just below the surface or trim it flush so the filler is not sitting on a raised plastic edge. Then fill it like a nail hole.
Note: A filled anchor hole looks right but does not hold weight. Do not reuse the same spot for anything heavy. Capacity depends on the wall, the fastener, and the direction of the load, so follow the fastener manufacturer’s instructions for your wall instead of relying on a number from a package.
Prime and Touch Up the Paint
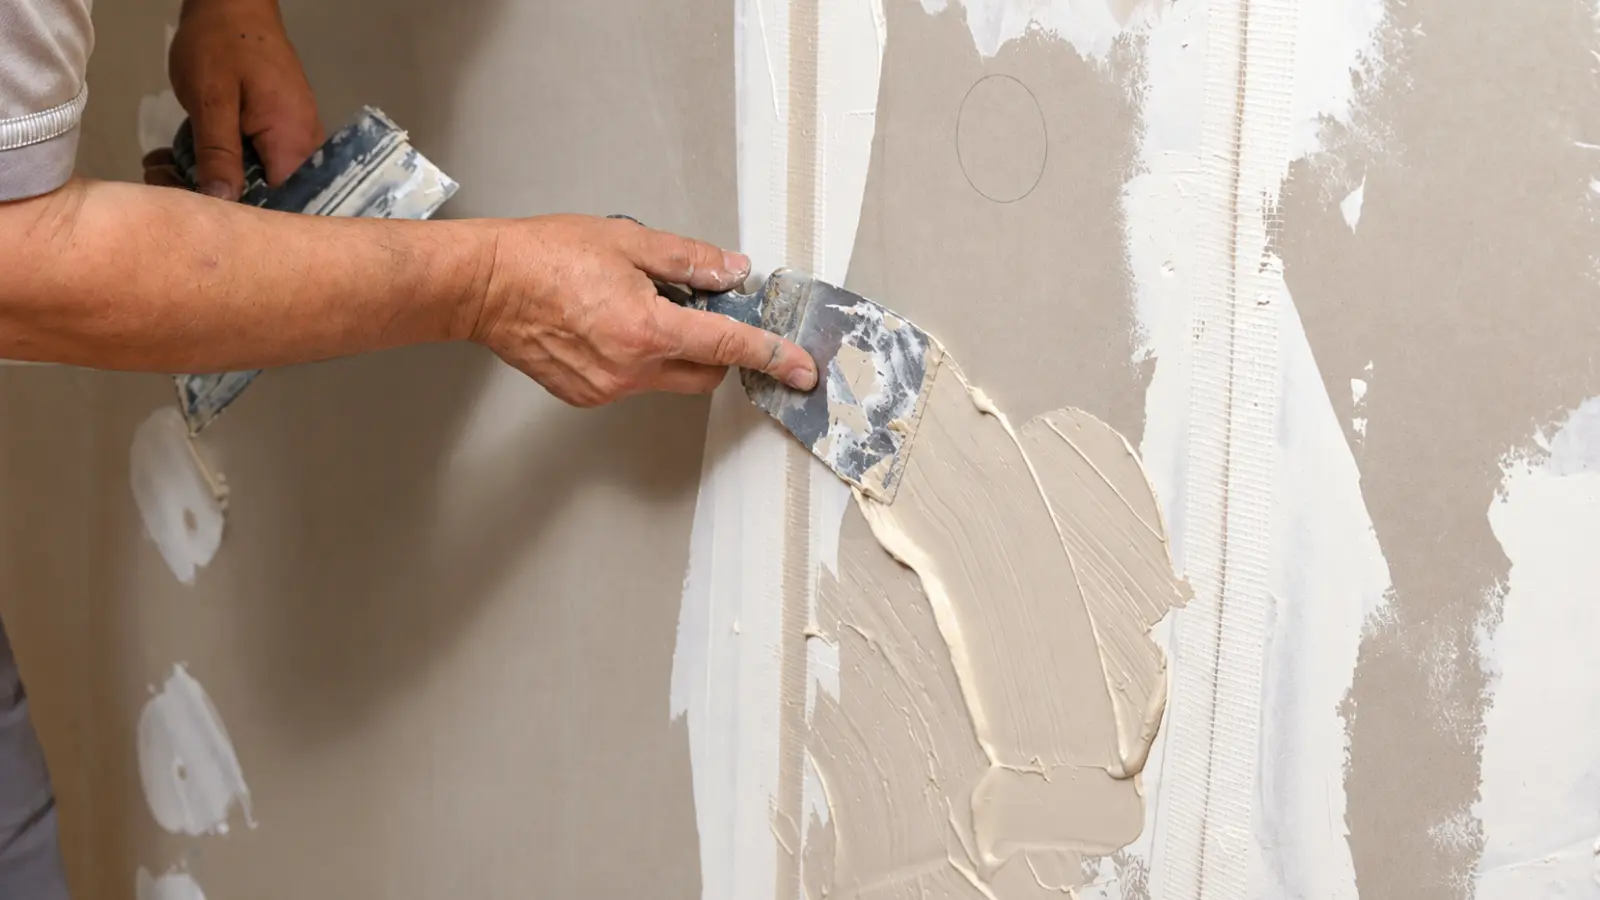
Whether you need primer depends on the product. USG’s instructions for conventional patching and joint compounds call for priming after sanding, because compound absorbs paint differently from painted drywall. Some spackles are sold as “patch and prime” products, and their manufacturers say a separate primer coat is not required. Follow the label of the product you used.
If the finished patch looks dull or shinier than the wall, that is called flashing, and it usually comes from the compound absorbing paint differently or from a sheen mismatch. A spot of primer under the paint often fixes it.
Use the same paint and sheen as the wall, and judge the result only after it dries in the room’s normal light. If the wall has older paint, a strong sheen, or visible wear, the practical fix may be to repaint out to the nearest corner or natural break rather than keep adding paint to one spot.
If the Wall Is Textured
A smooth patch on an orange-peel or knockdown wall will show. Recreate the texture after the compound is dry and sanded, and before painting. USG’s repair guide describes a brush-flick method for small areas, using joint compound thinned to a yogurt-like consistency.
When a Hole Is No Longer a Small-Hole Repair
Filling alone stops being the right answer when any of these are true:
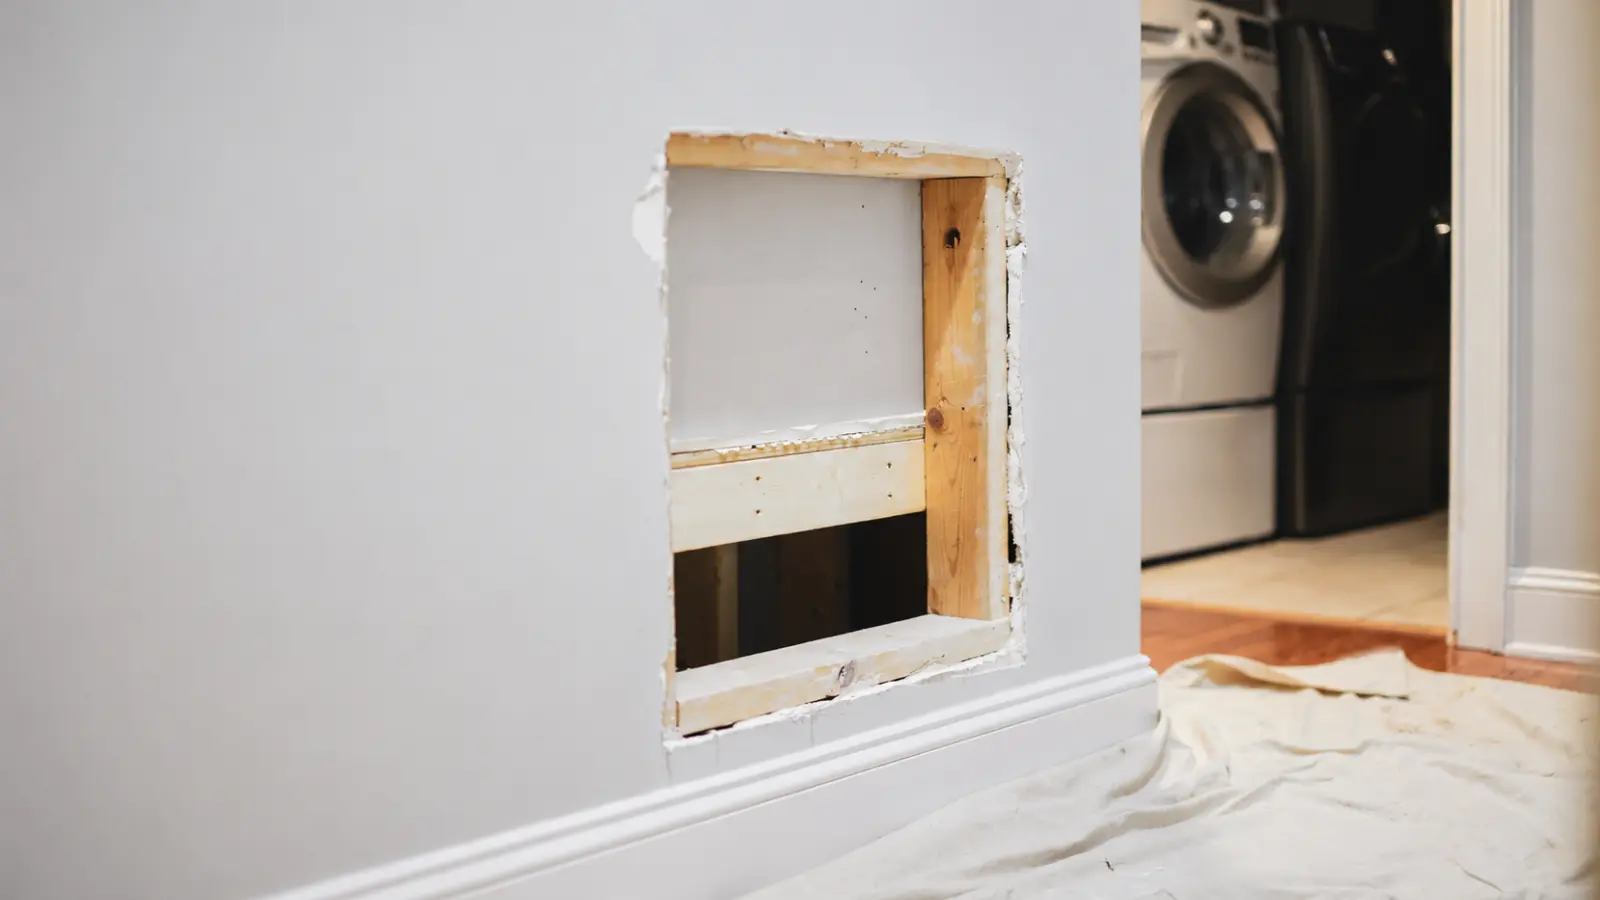
- The compound would have to bridge an empty gap, or you can see into the wall cavity.
- The edges are broken, crumbling, or will not hold compound.
- The board feels soft, damp, swollen, or stained.
- The damage keeps growing, or the same crack keeps returning.
- The hole is near wiring or plumbing, or you hit something when probing.
For holes that need backing or a replacement section, use the large drywall hole repair guide. It covers the repairs that restore missing board and support instead of disguising a bigger failure with surface material.
If the damage is damp or stained, stop and find the water source before any repair. A stain or musty smell can’t tell you what is growing or how far moisture has spread, so treat recurring or spreading moisture as a source problem, and consider a professional assessment when the area is large or the cause is unclear. Covering it with compound and paint only hides it.
How to Patch a Small Hole in Drywall for a Smooth, Lasting Finish
Knowing how to patch a small hole in drywall comes down to using the right filler, working on a sound surface, and allowing each coat to dry before finishing. A careful repair with smooth edges, appropriate priming, and matching paint can make small nail holes, screw marks, and minor dents far less noticeable.
If the damage came from a wall anchor or fastener pulling loose, remember that filling the hole restores the appearance, not its original holding strength. Before hanging anything again, choose a suitable fastener and a secure location. When the drywall is soft, unstable, or missing support, address that problem rather than relying on a cosmetic patch.
Frequently Asked Questions
What is the best filler for small holes in drywall?
Lightweight spackle is a good choice for nail holes, screw holes and shallow dents. Deeper repairs may require heavier spackling or patching compound applied in layers. Choose a product suitable for the hole’s depth and follow the manufacturer’s instructions for application, drying and priming.
How small does a drywall hole need to be to use spackle?
There is no universal size limit. Spackle works best when the surrounding drywall is firm and the opening provides enough support to hold the filler. If the compound would fall into an empty wall cavity or the edges are crumbling, use an appropriate patching method instead of filler alone.
Can you fill drywall anchor holes with spackle?
Yes. Remove the anchor or recess it below the surface, provided the surrounding drywall remains sound. Fill the opening, let the spackle dry and sand it smooth before painting. However, the repaired hole does not restore the wall’s original holding strength, so avoid reusing it for heavy items.
How long does spackle take to dry before sanding?
Drying time depends on the product, application depth, temperature and humidity. Some lightweight spackles dry within a few hours, while deeper repairs may take 24 hours or longer. Follow the product label and make sure the filler is completely dry before sanding, priming or painting.
Do you need to prime a small drywall patch before painting?
It depends on the patching product. Conventional joint compounds and many spackles benefit from primer because they absorb paint differently from the surrounding wall. Some patch-and-prime products do not require a separate primer. Always check the label to prevent uneven sheen or visible patches.
How do you make a drywall patch invisible after painting?
Apply thin layers of filler, sand the repair flush and feather the edges into the surrounding wall. Remove sanding dust, prime when required and match the existing paint color, sheen and texture. Older or glossy finishes may require repainting a larger section to achieve a consistent appearance.